| 1961
E Type FHC (885036)
Total Team CJ restoration |
|
| 1961
E Type FHC (885036)
Total Team CJ restoration |
|
|
Putting the finishing touches to another Stage One engine rebuild.
 |
 |
|
|
|
|
|
|
 |
 |
|
|
|
|
|
|
 |
 |
|
|
|
|
|
|
 |
 |
|
|
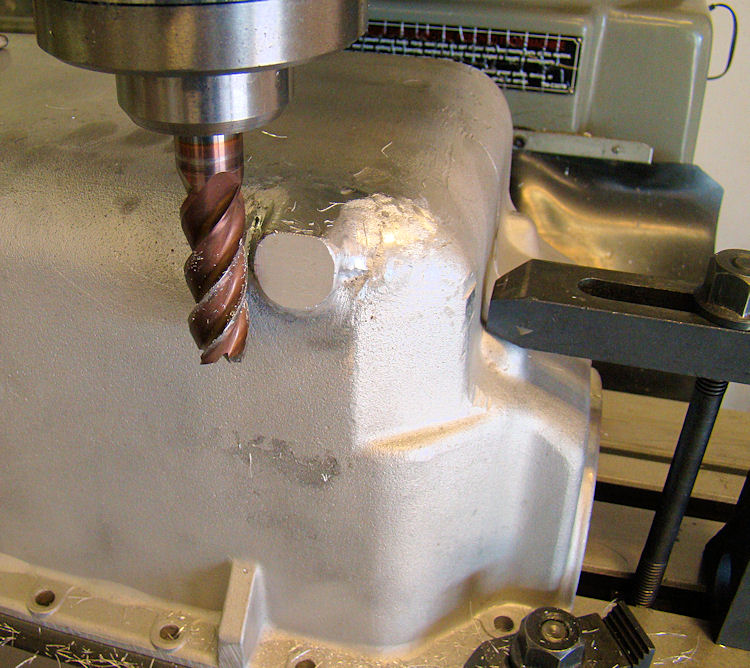
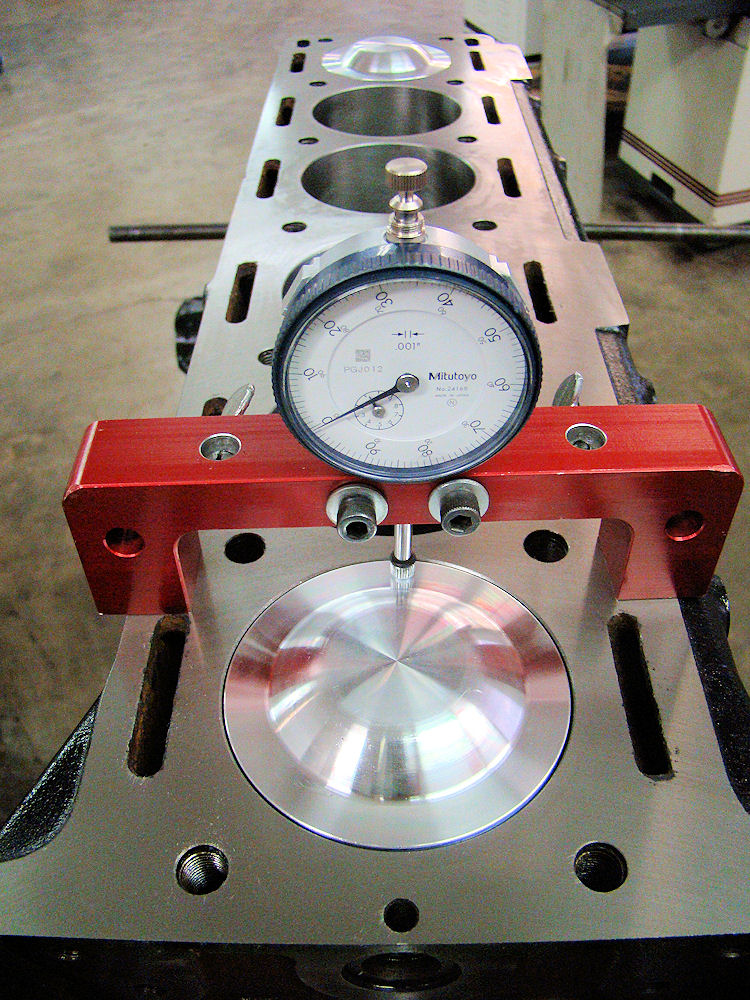
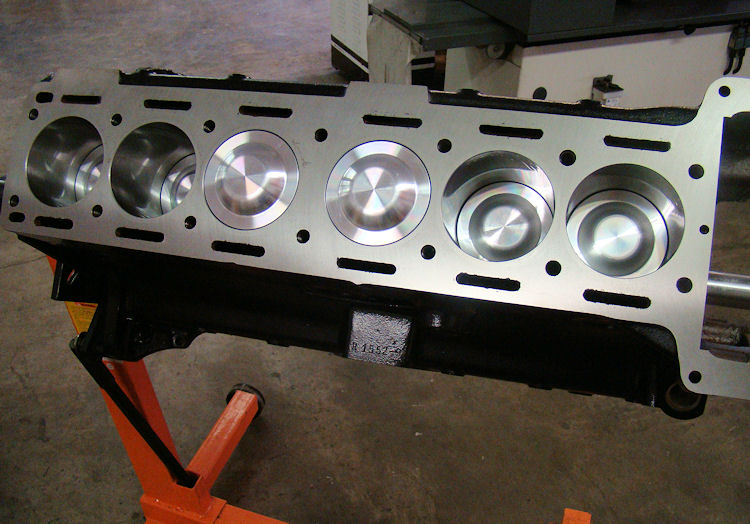
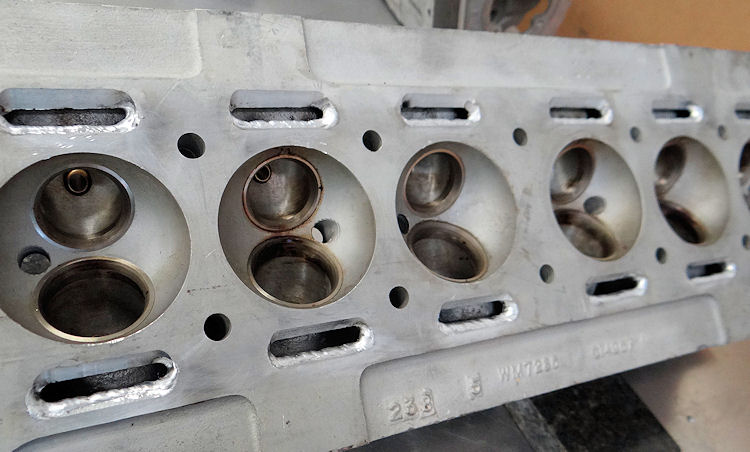
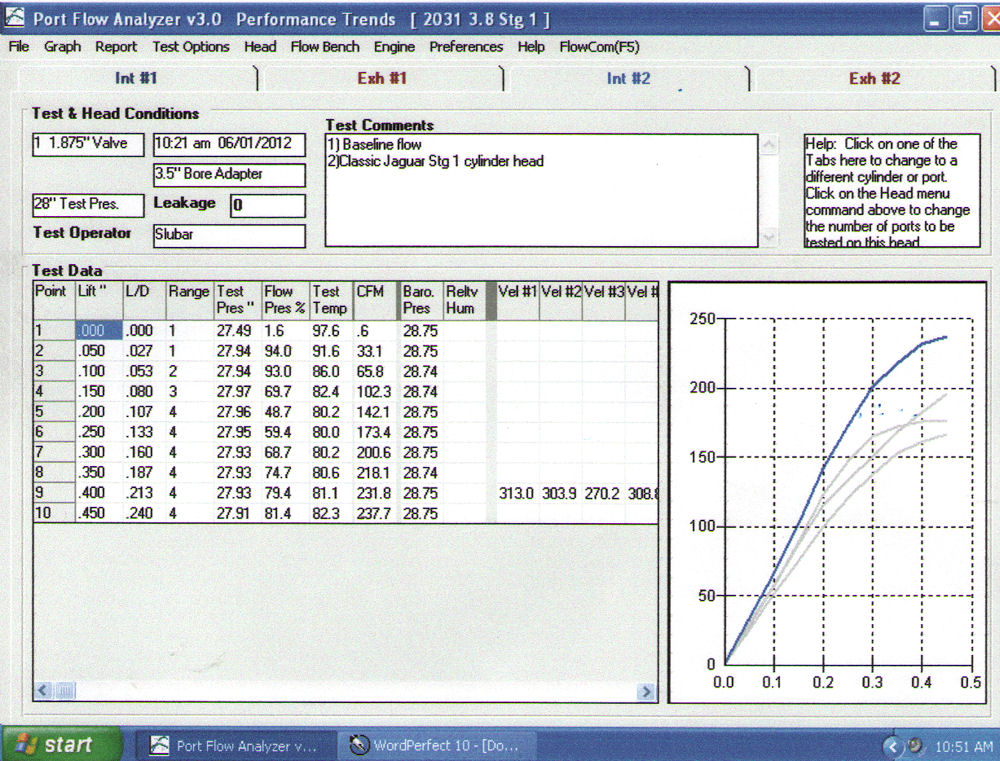
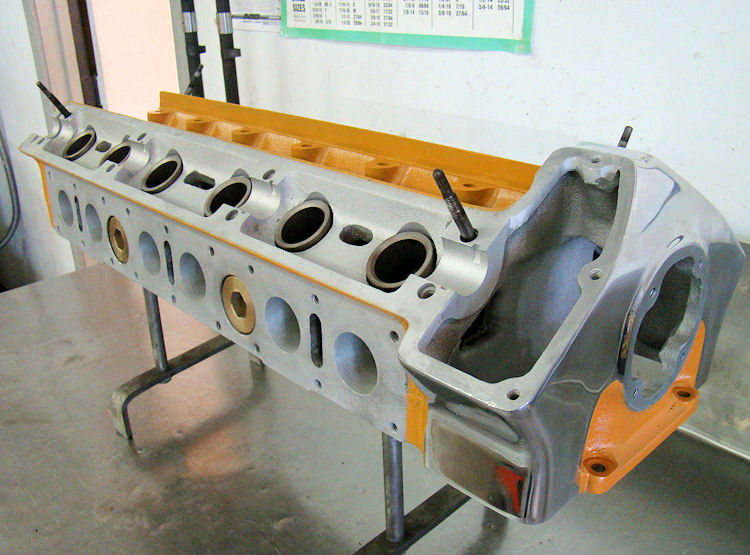
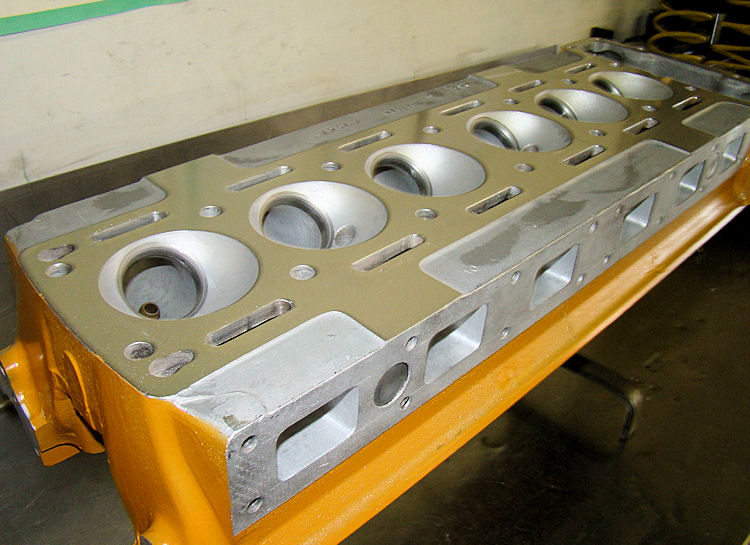
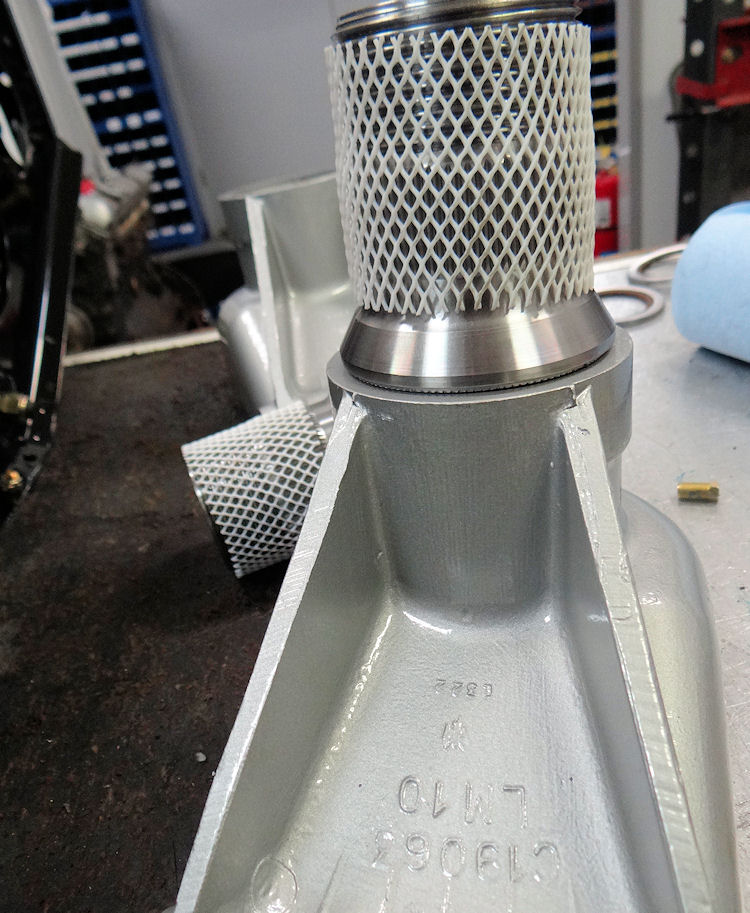
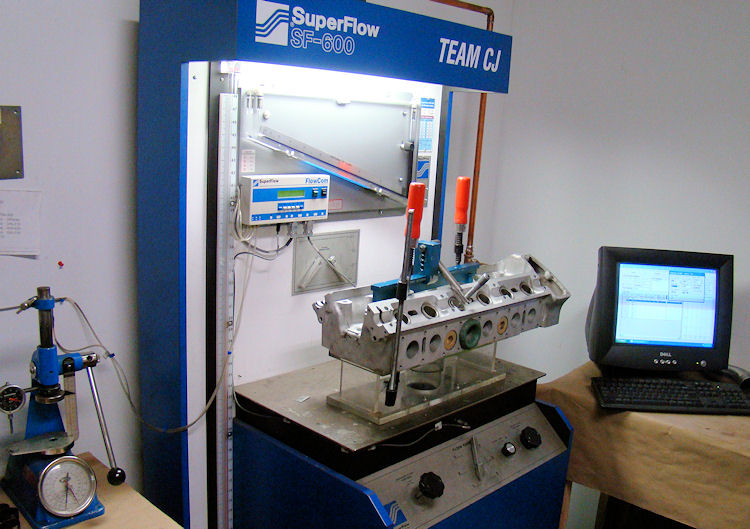
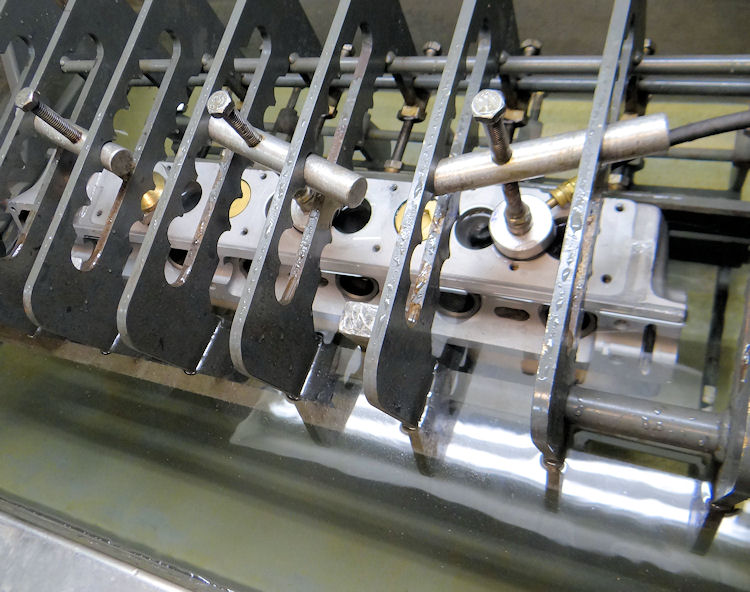
Repairs and machine work completed on cylinder head, huge gains on the flow bench...
 |
 |
|
|
|
|
|
|
 |
 |
|
|
|
|
|
|
 |
 |
|
|
|
|
|
|
 |
 |
|
|
|
|
|
|
 |
 |
|
|
|
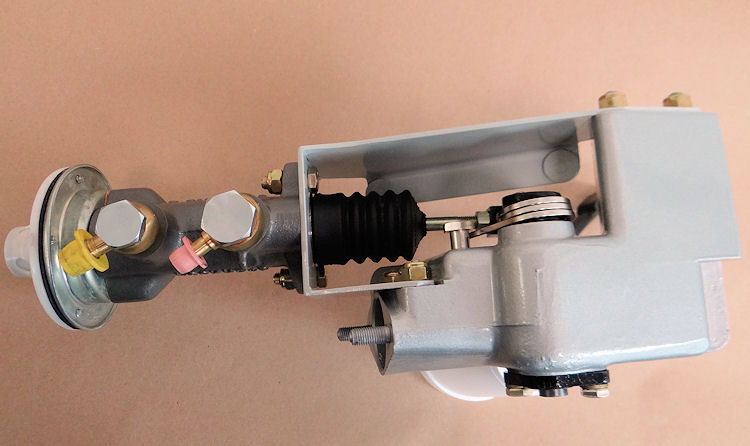
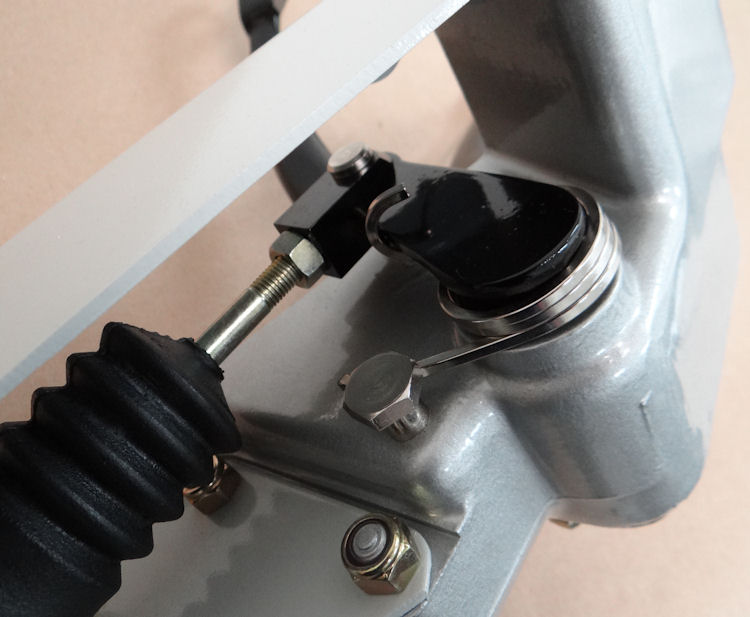
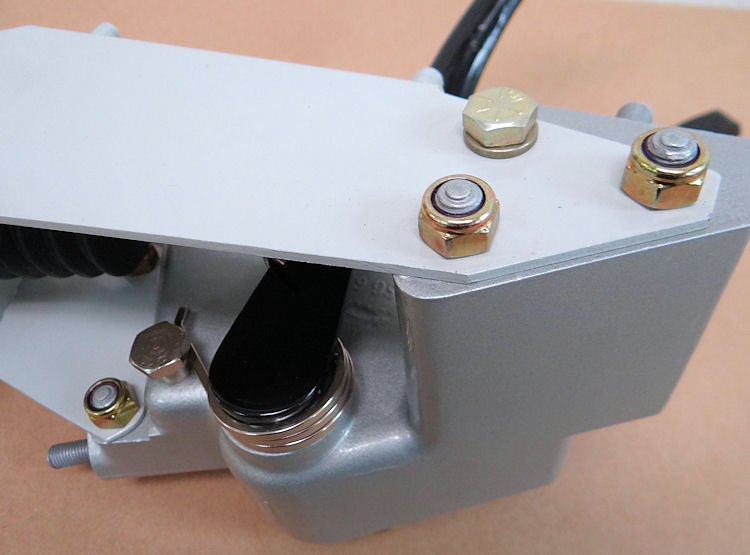
Early pedal box modified for use with later master cylinder and booster..
 |
 |
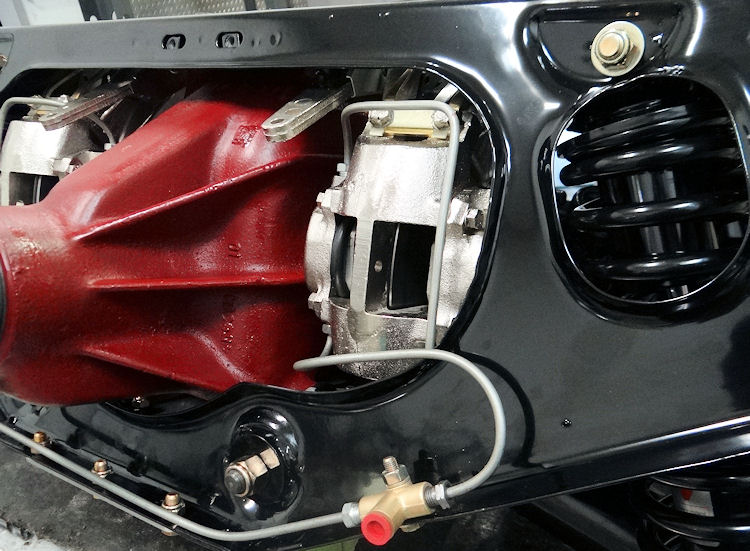
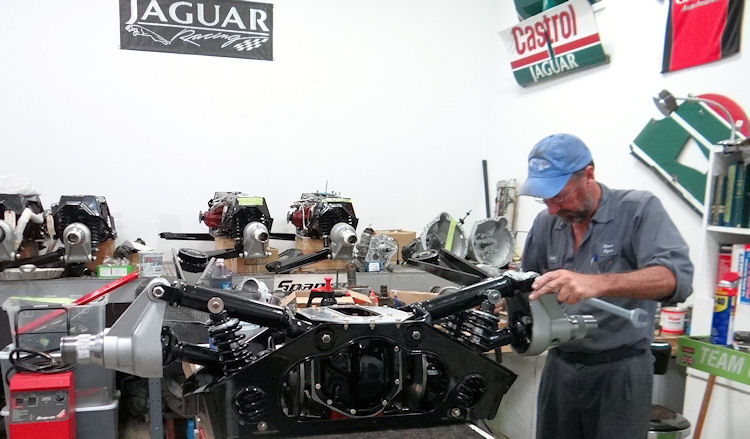
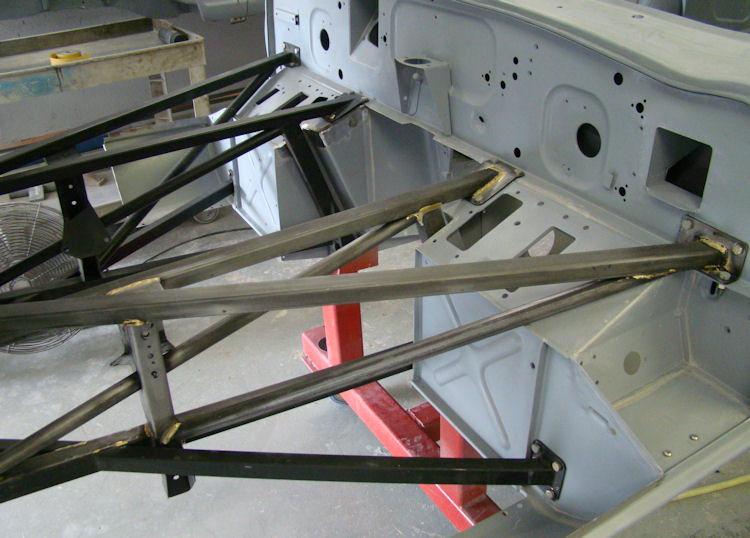
We have now completed your IRS rebuild.
 |
 |
|
|
the rear - front brakes will be converted to vented Wilwoods |
|
|
|
 |
 |
|
|
|
|
|
|
 |
 |
|
the hub and the hub carrier |
|
|
|
|
 |
 |
|
|
|
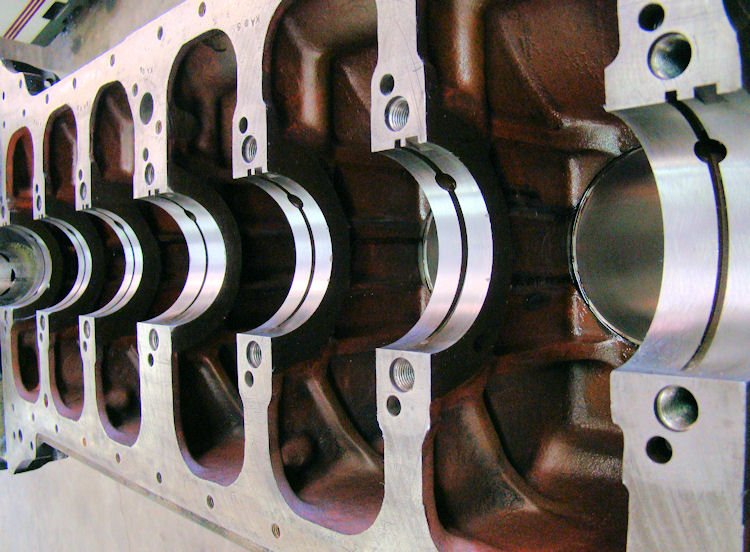
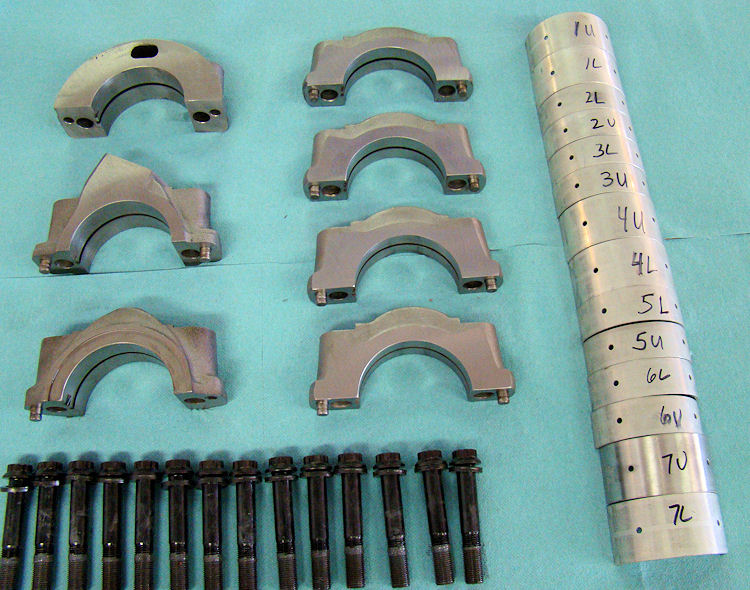
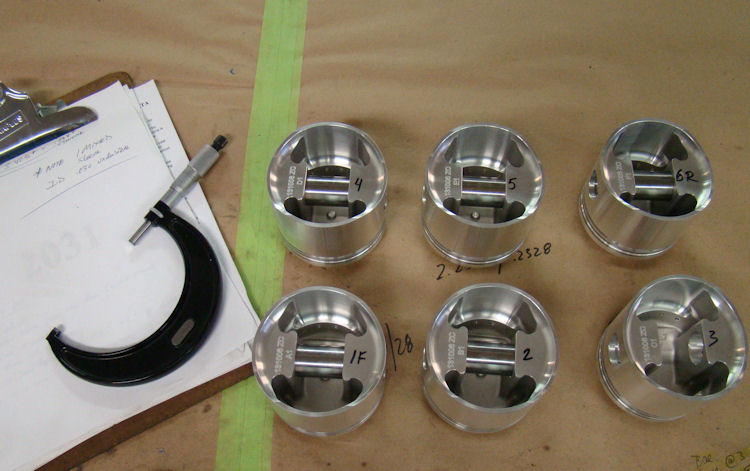
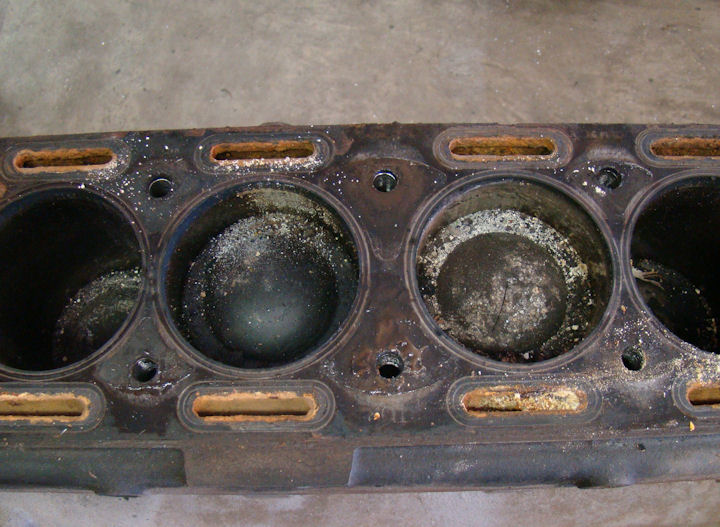
Pulling down sleeves prior to surfacing the block and mocking up main bearings to calculate requisite crankshaft journal sizing...
 |
 |
 |
 |
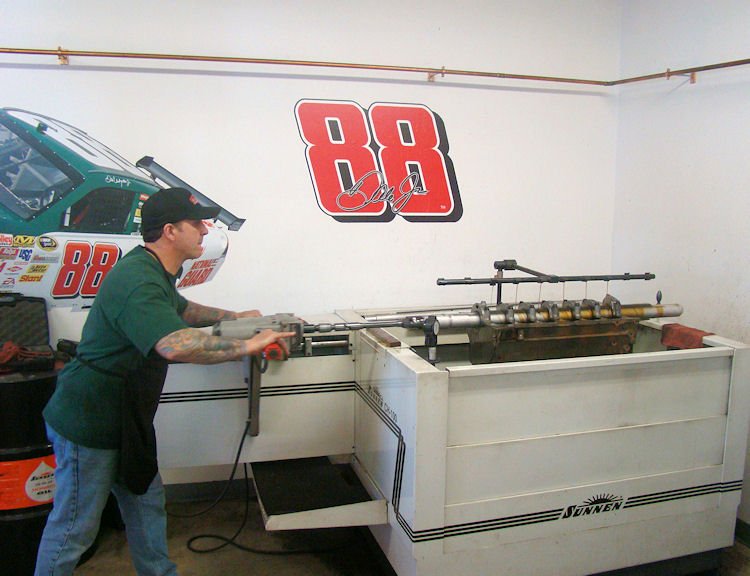
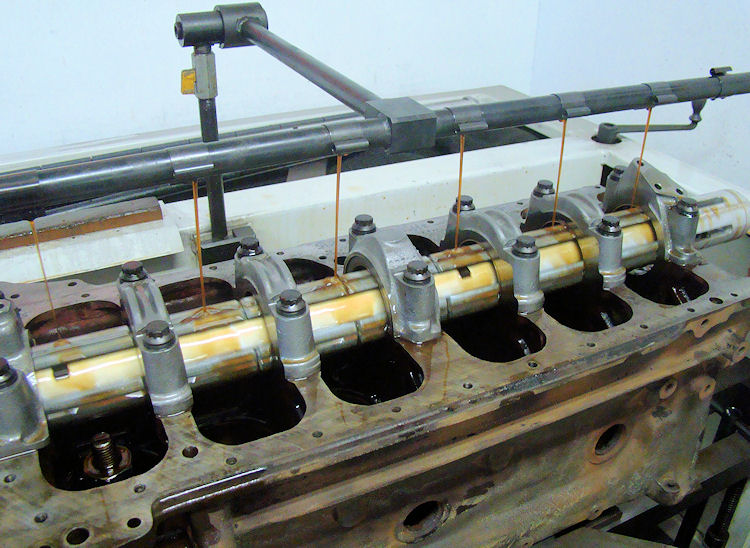
The following sequence of photos show the align hone and cylinder hone in progress....
 |
 |
|
|
|
 |
 |
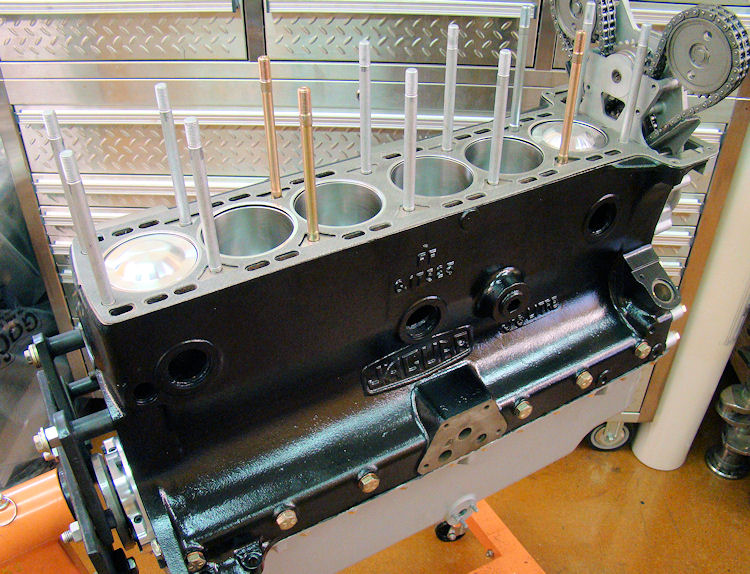
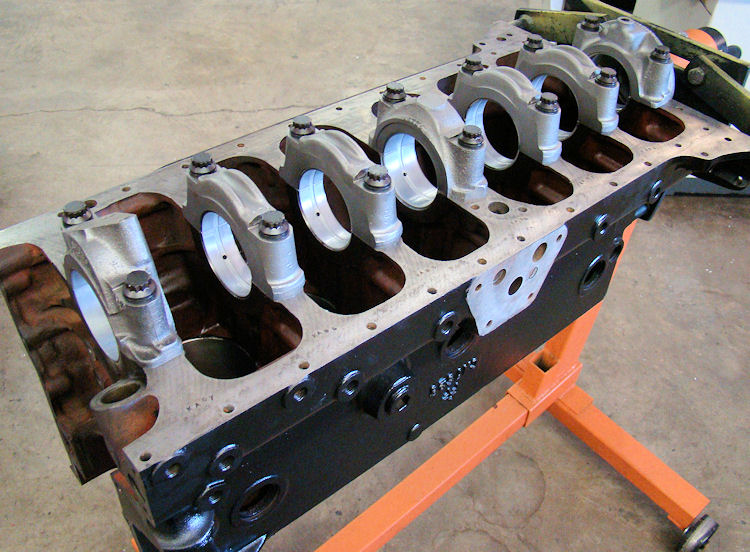
Getting your Stage One engine rebuild underway...
 |
 |
|
|
|
|
|
|
 |
 |
|
|
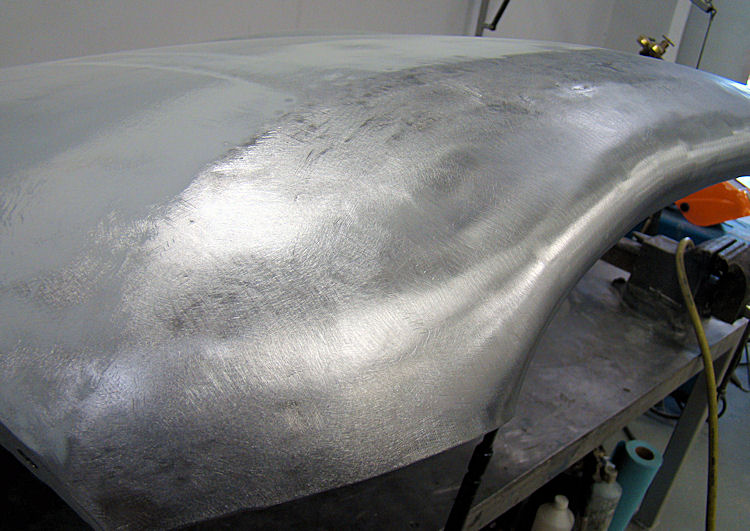
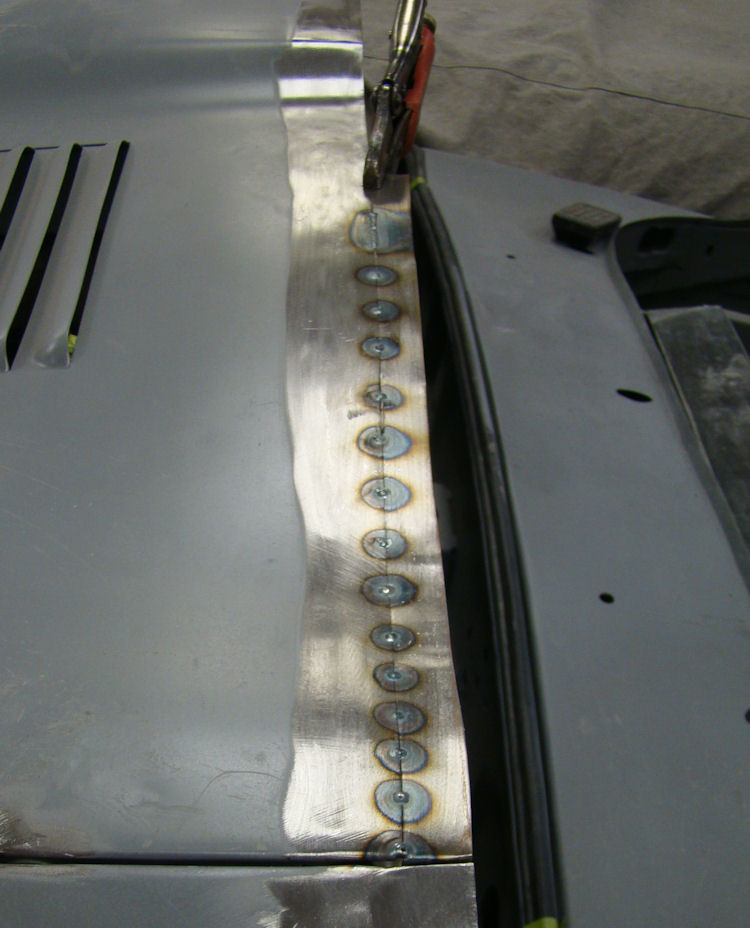
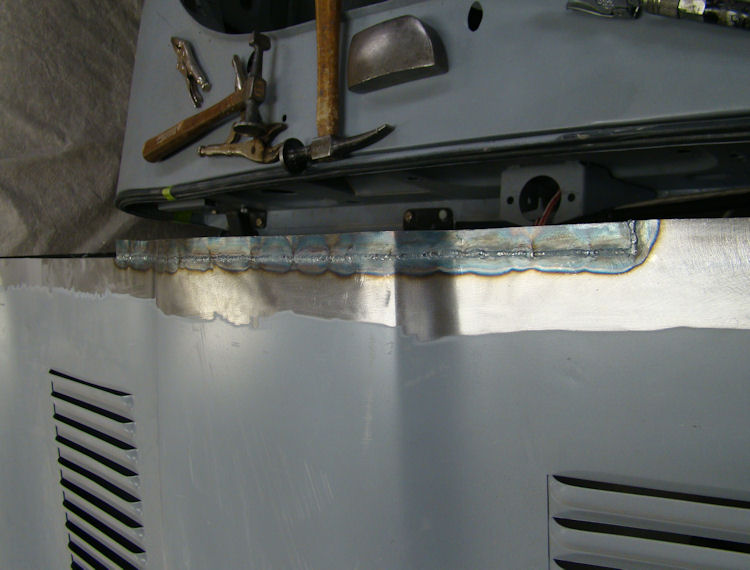
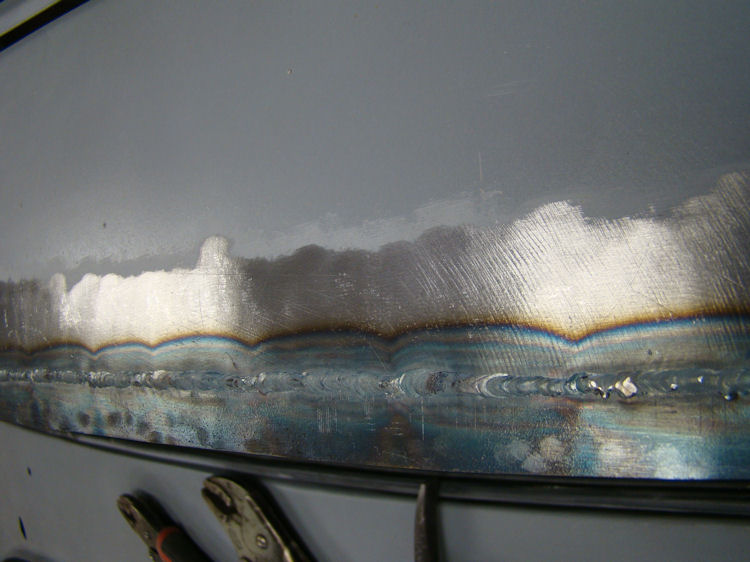
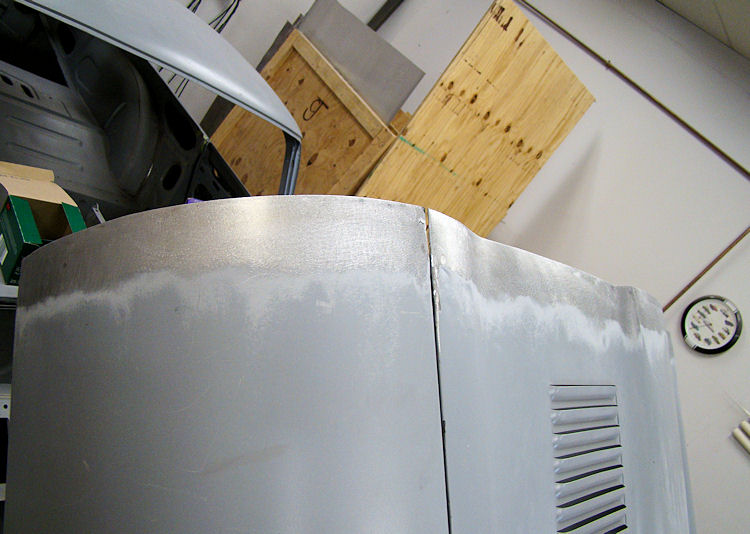
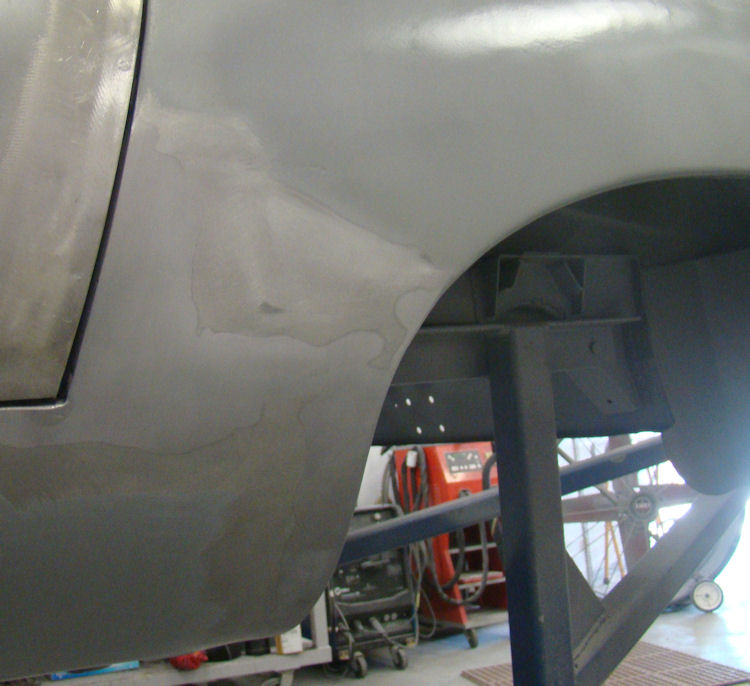
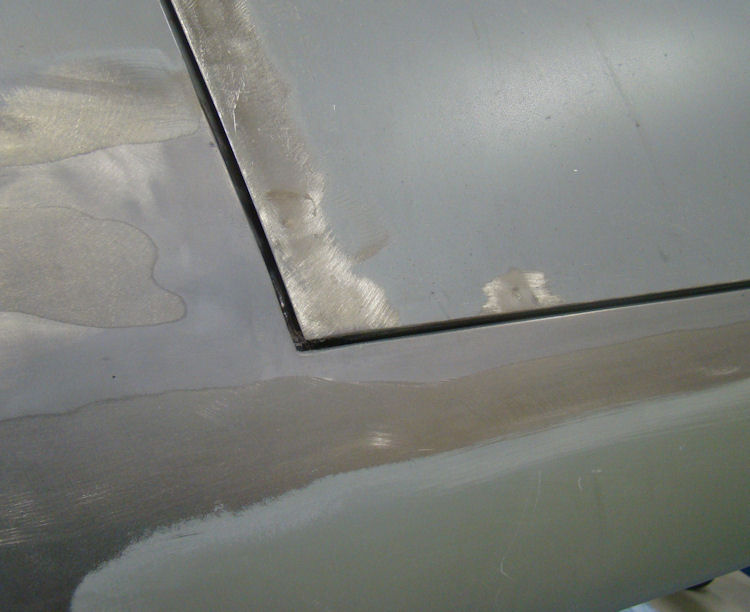
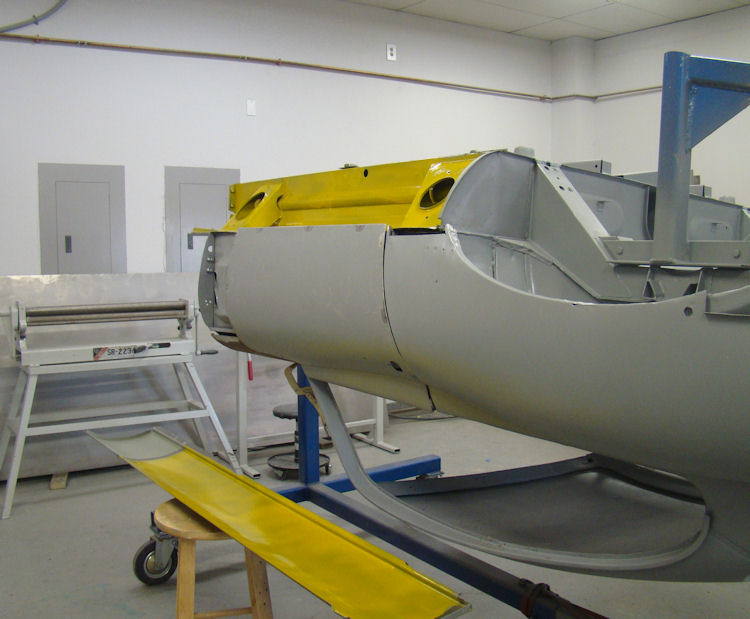
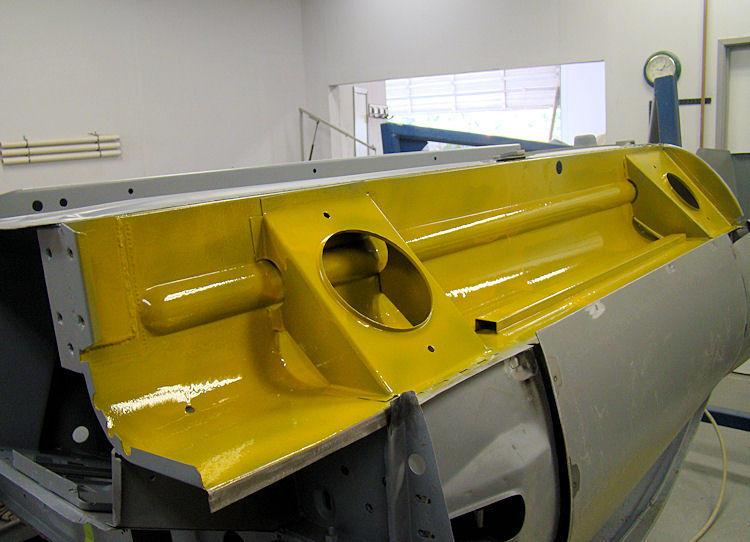
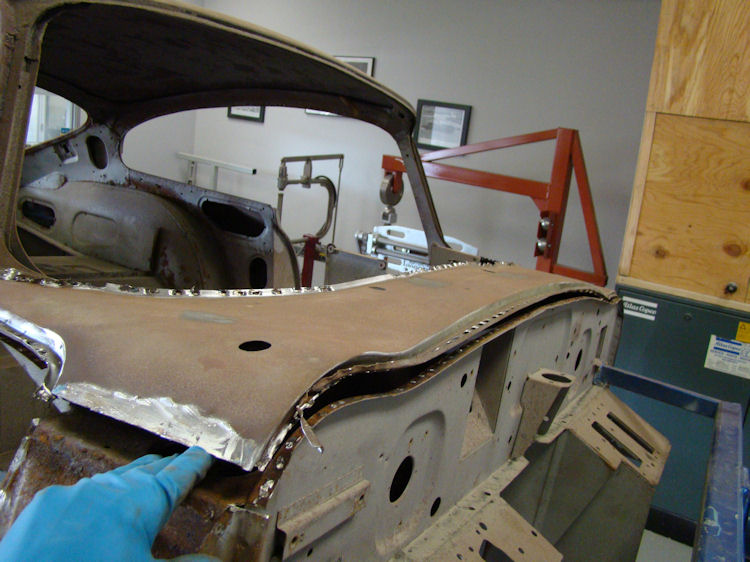
With the last couple of repair panels now welded in place, it is time for some lead loading.
 |
 |
|
the side cowl panels are welded in place |
|
|
|
|
 |
 |
|
|
|
|
|
|
 |
 |
|
|
|
|
|
|
 |
 |
|
|
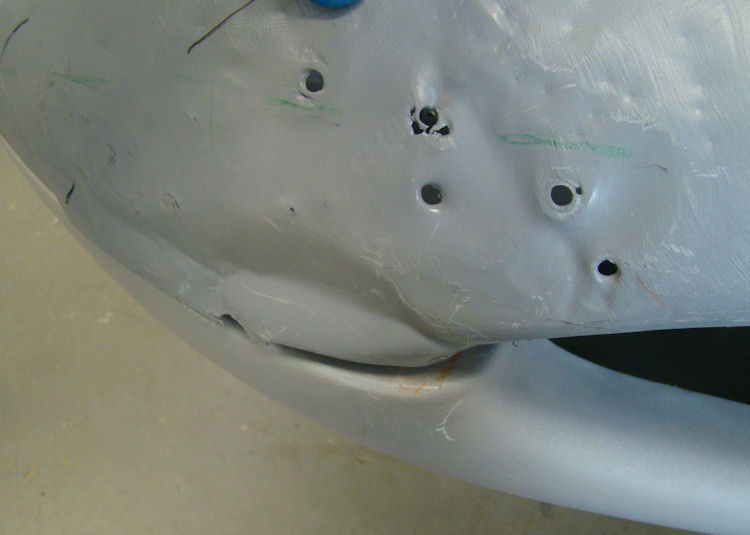
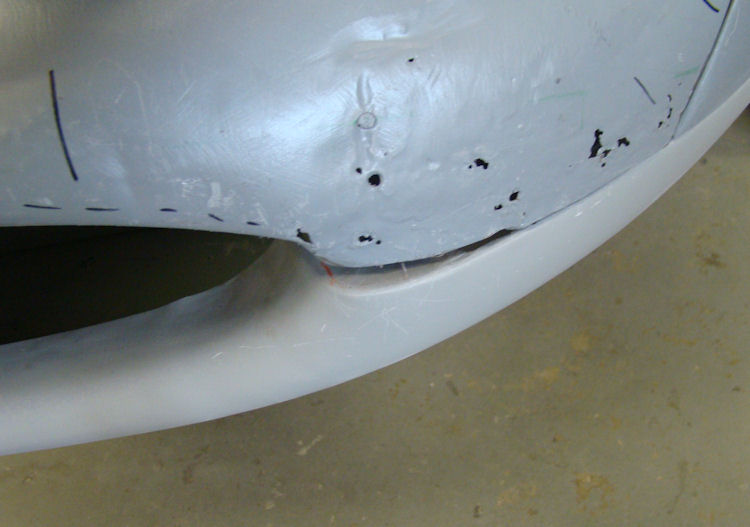
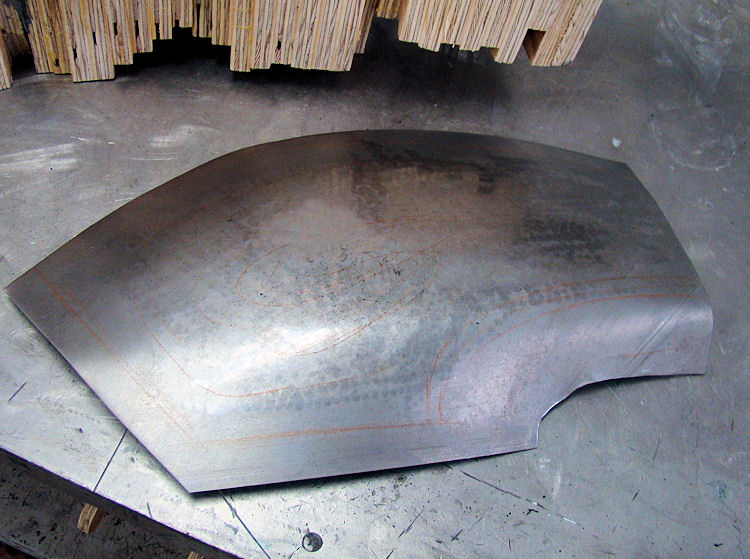
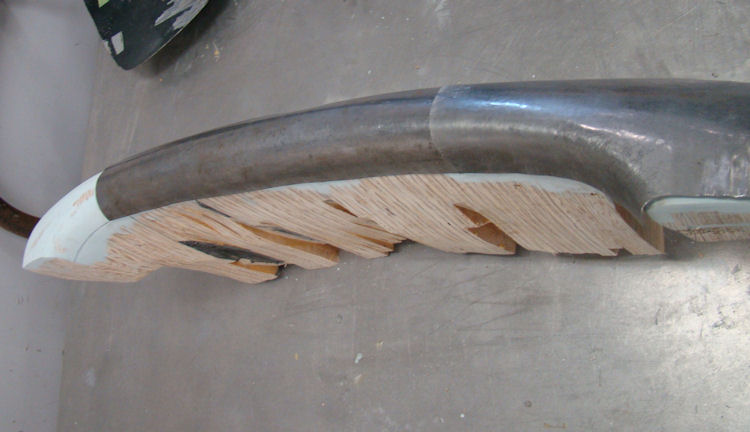
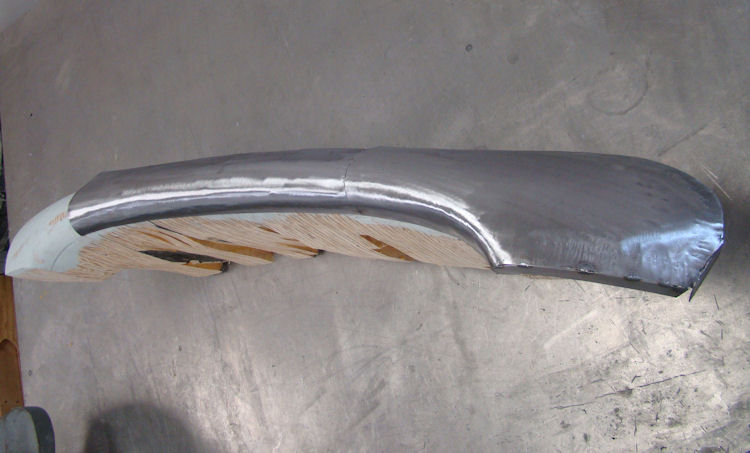
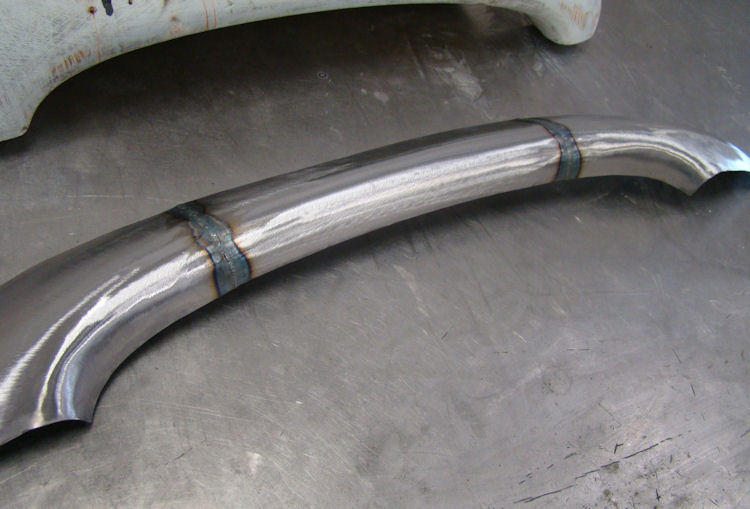
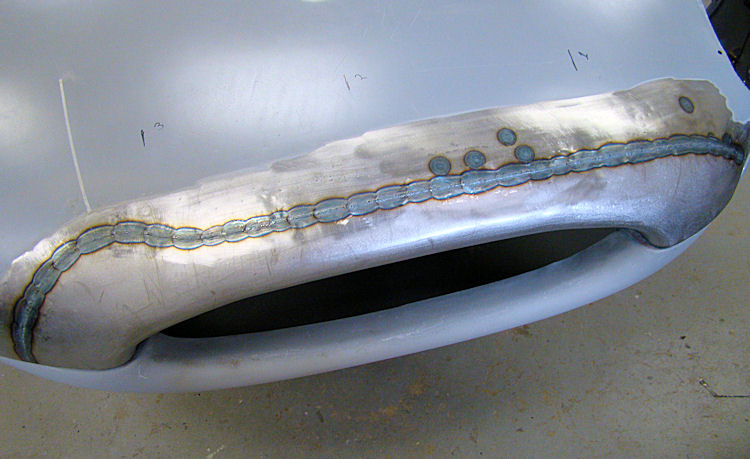
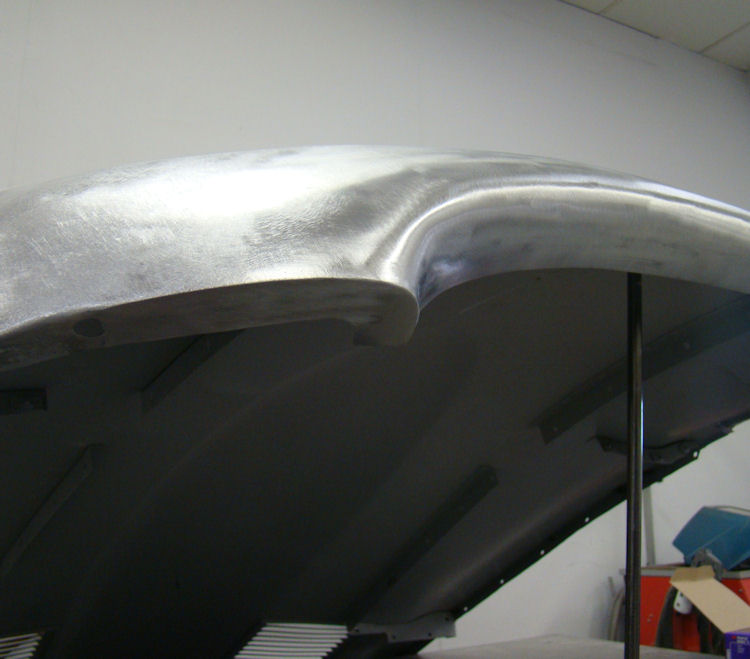
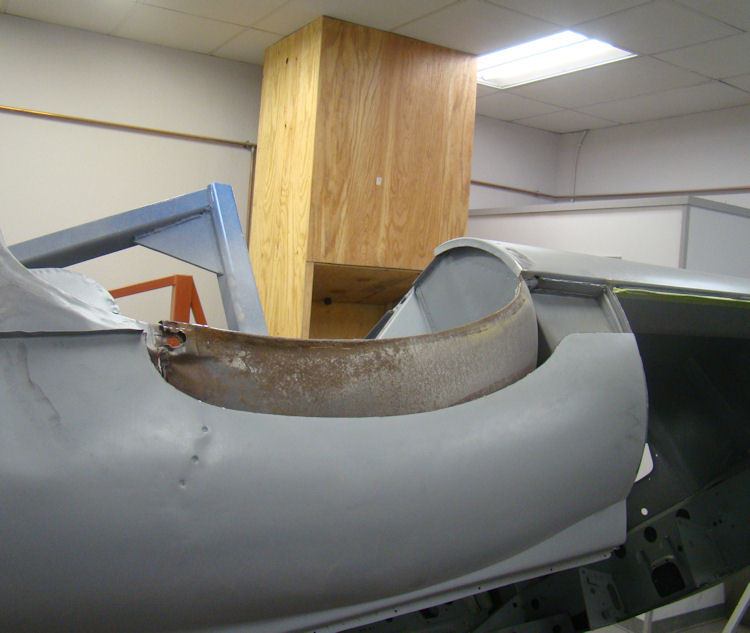
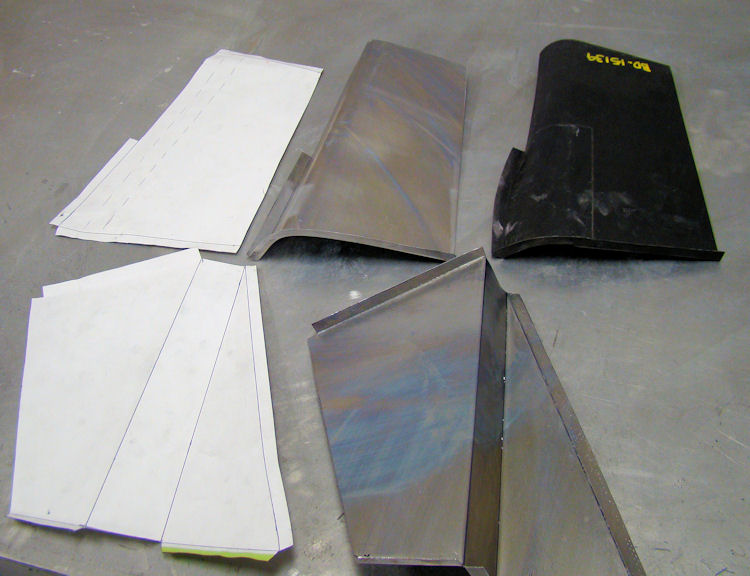
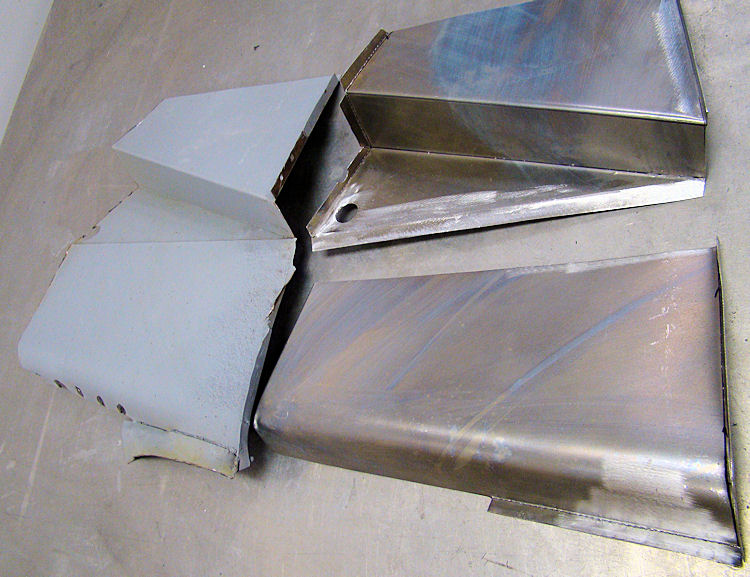
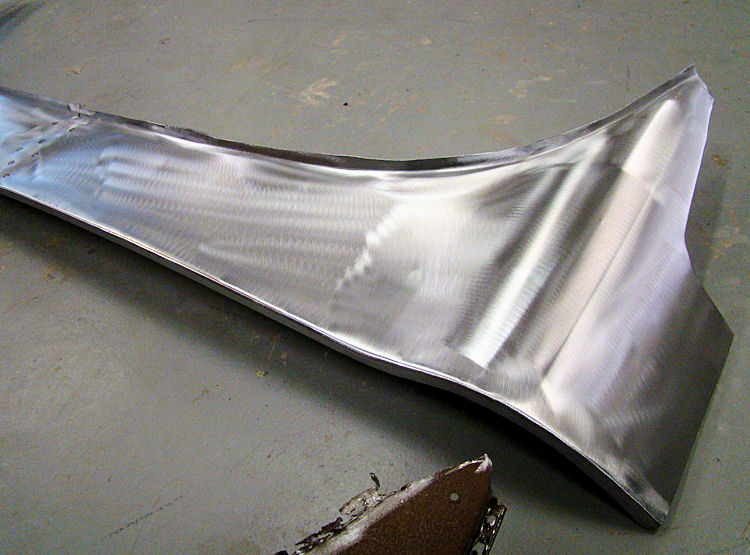
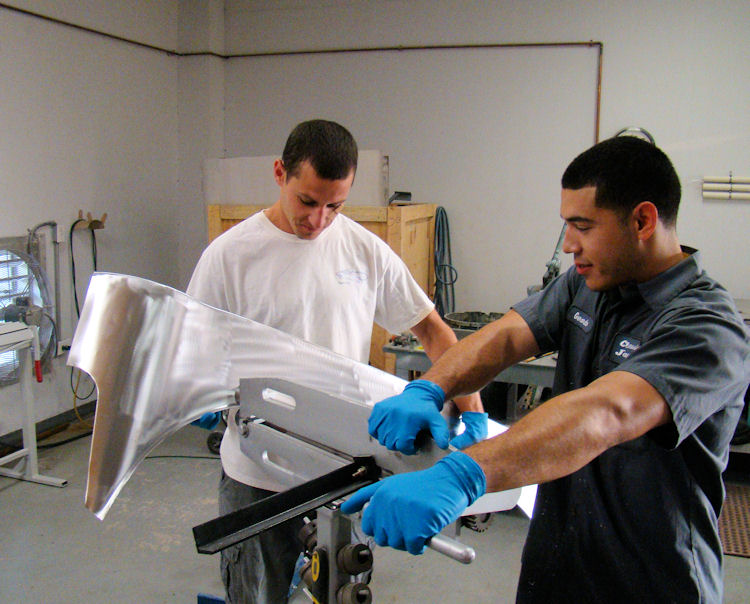
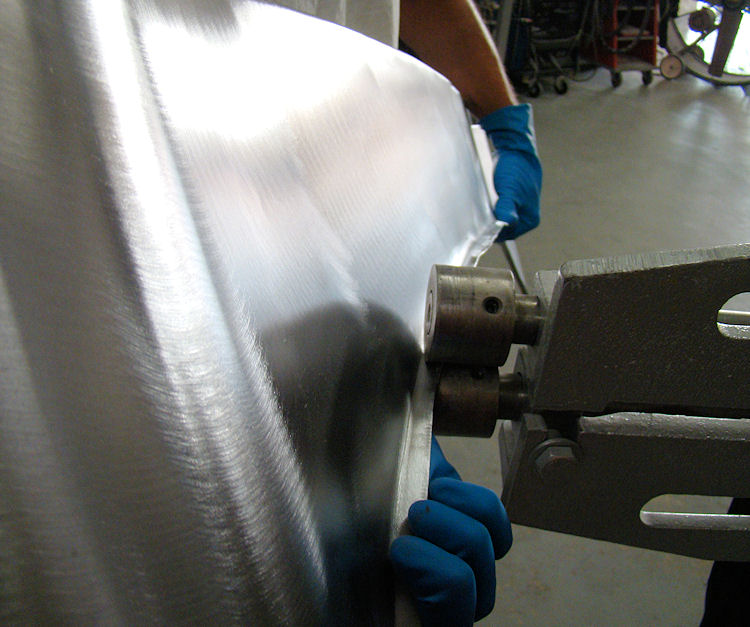
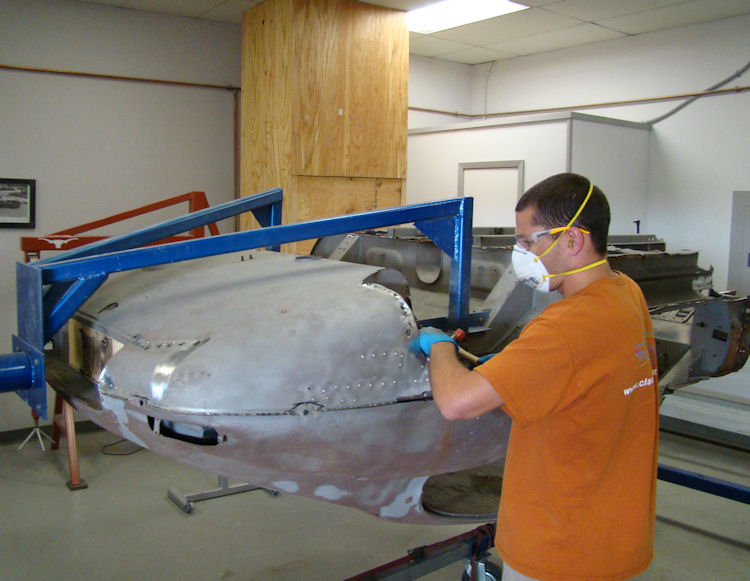
The following sequence of photographs show us fabricating some complex repair panels to restore the nose of your bonnet to its former glory.
 |
 |
|
|
|
 |
 |
|
shape for the upper part of the bonnet mouth |
|
|
|
|
 |
 |
|
|
|
|
|
|
 |
 |
|
|
|
|
|
|
 |
 |
|
|
|
|
|
|
 |
 |
|
|
|
|
|
|
 |
 |
|
|
|
|
|
|
 |
 |
|
|
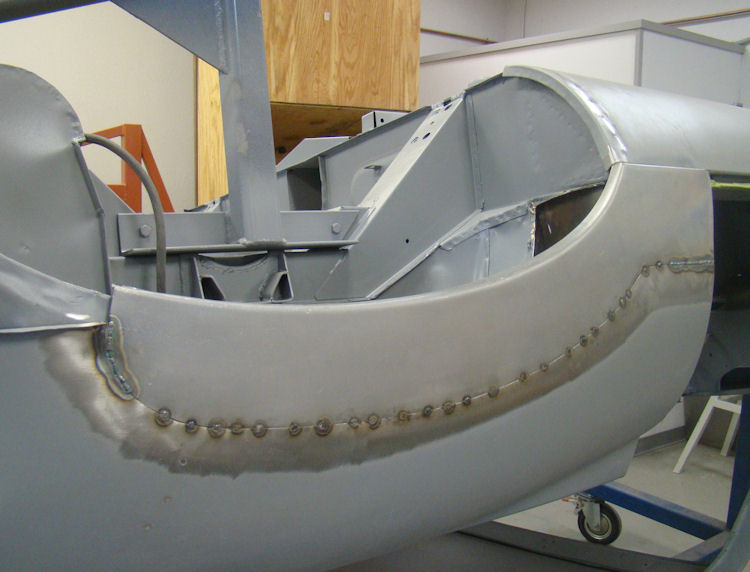
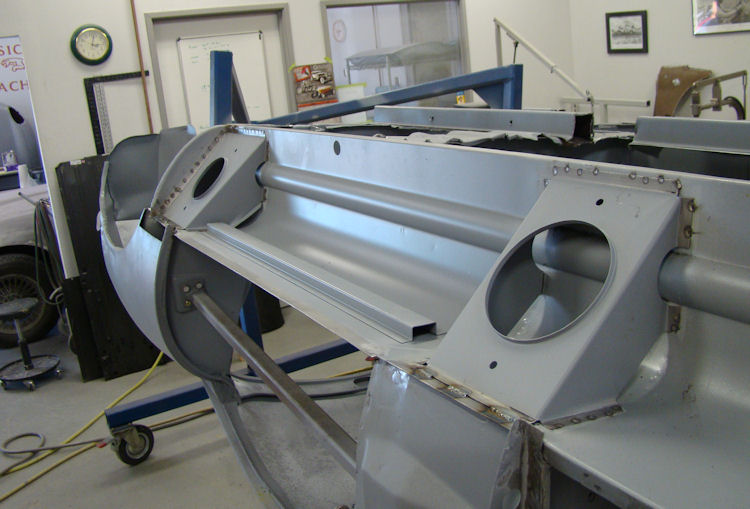
After a lengthy delay caused by an apparent world shortage of new engine frames, I am pleased to report that we now have this project back underway. Fitting the bonnet was something of a challenge as the bonnet itself was more than an inch too short. The solution was to weld additional sheet metal across the rear edge of the bonnet to close up the gap at the cowl.
 |
 |
|
|
|
|
|
|
 |
 |
|
the bonnet was still more than an inch too short |
the rear edges of the fenders and center section |
|
|
|
 |
 |
|
|
|
 |
 |
|
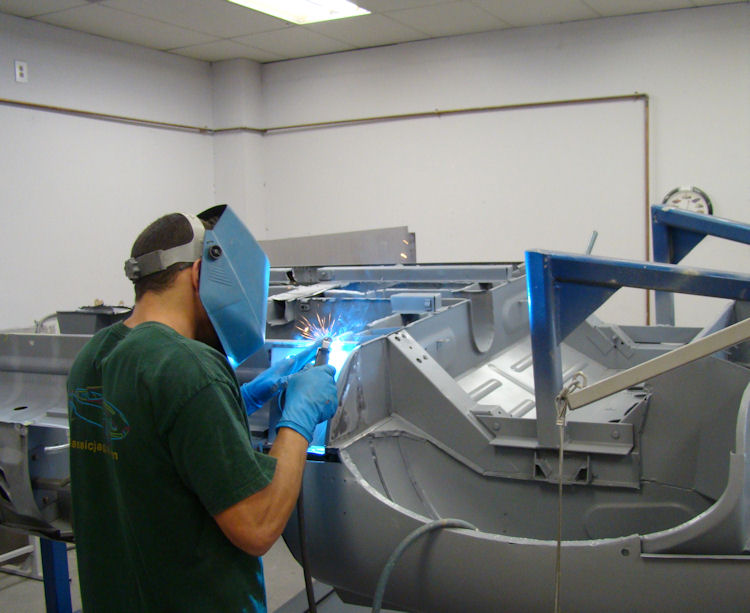
resulting seam is TIG welded |
|
|
|
|
 |
 |
|
|
|
|
|
|
 |
 |
|
|
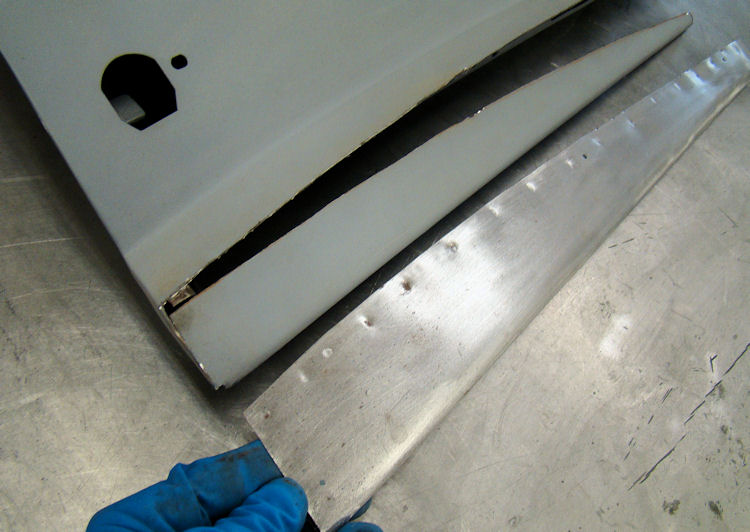
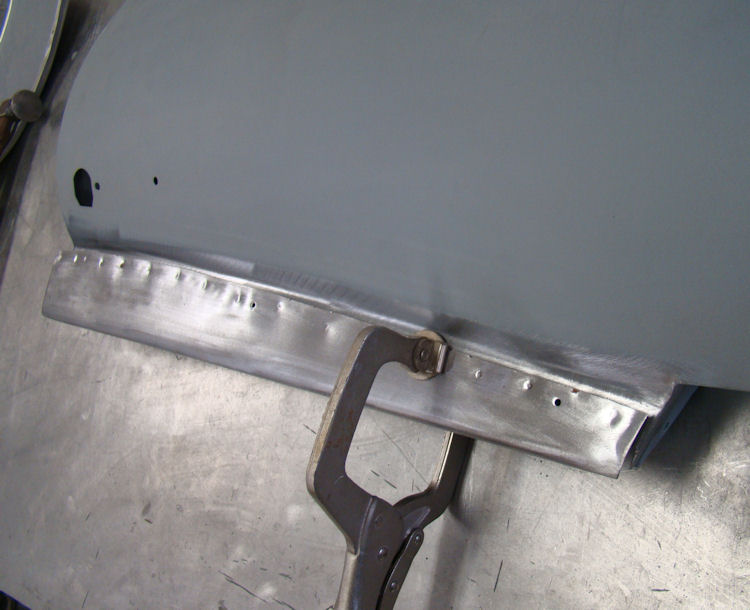
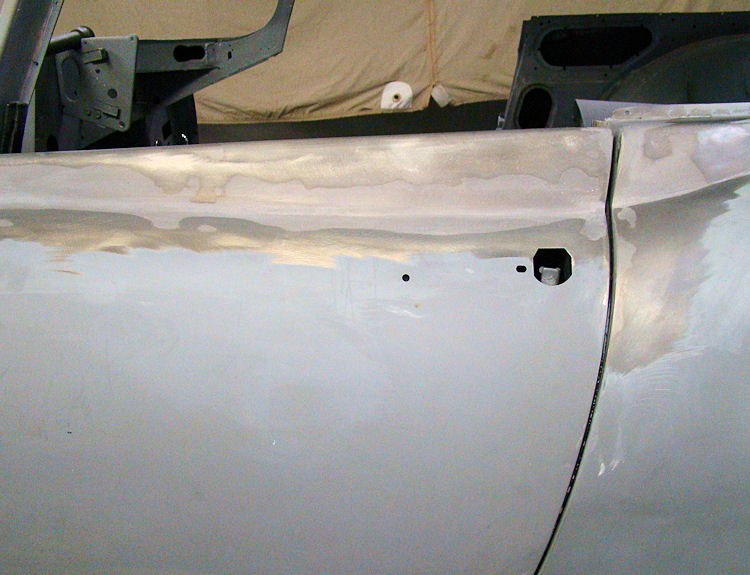
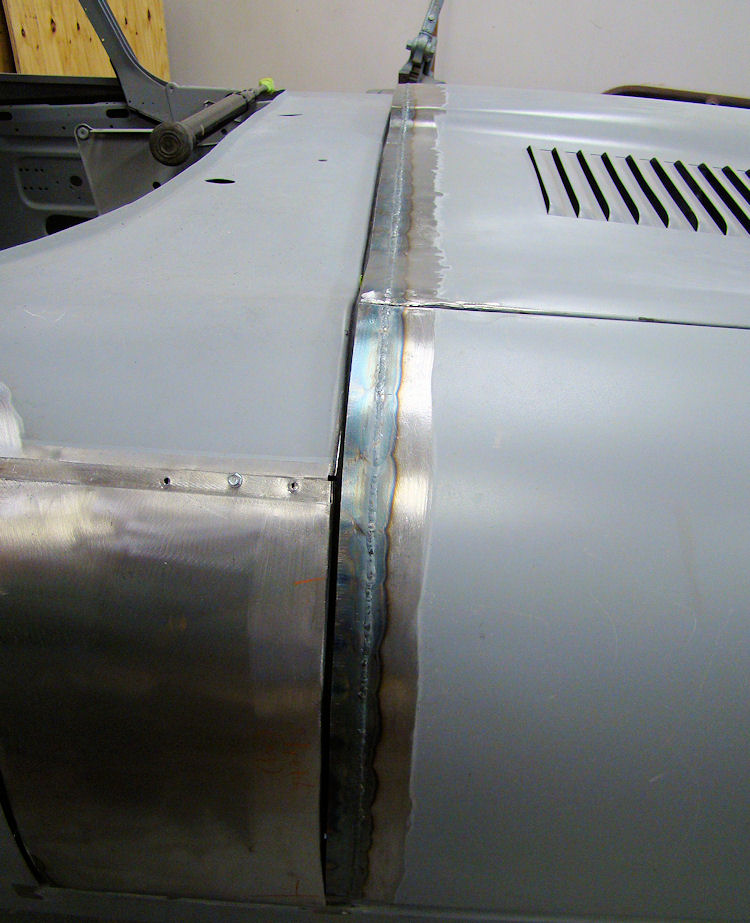
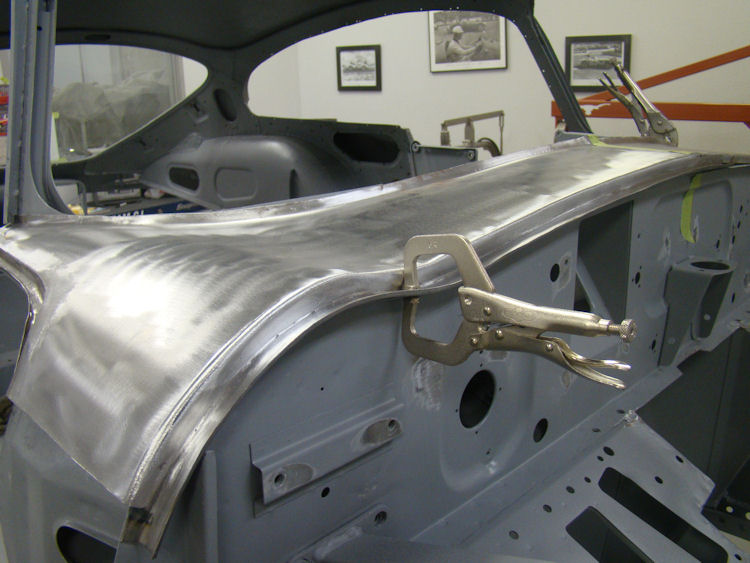
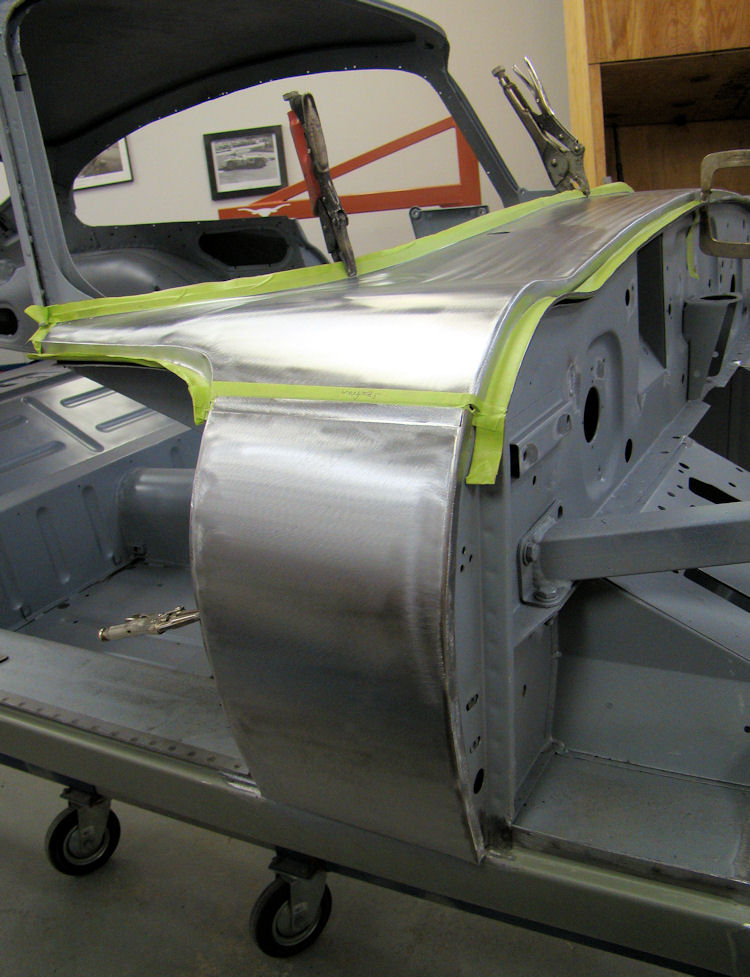
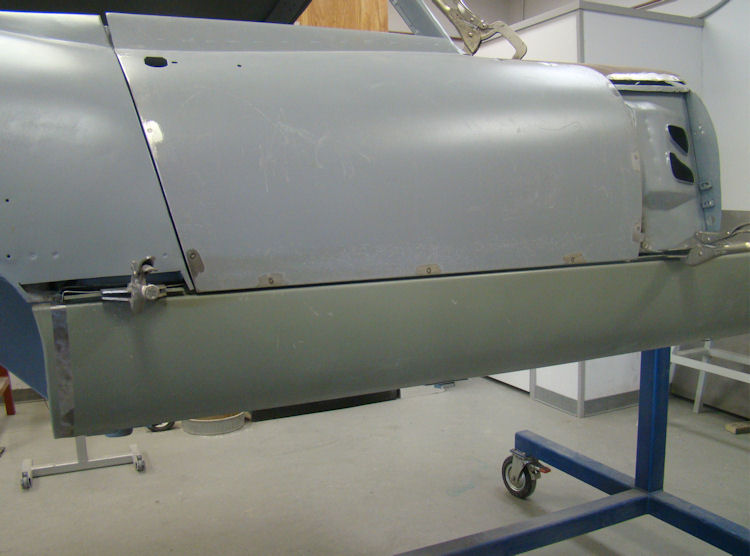
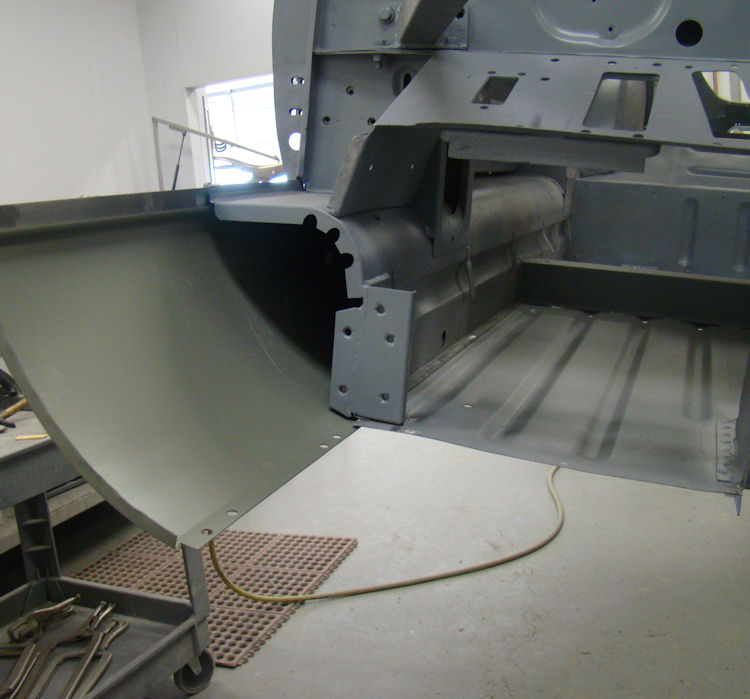
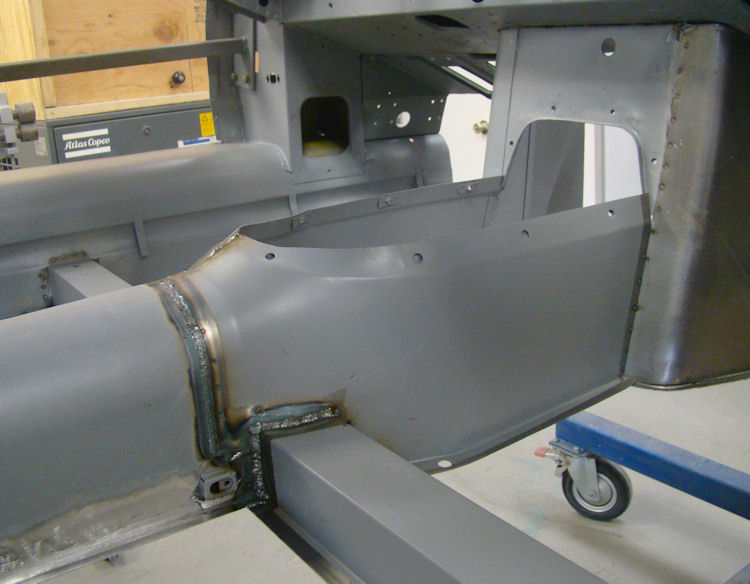
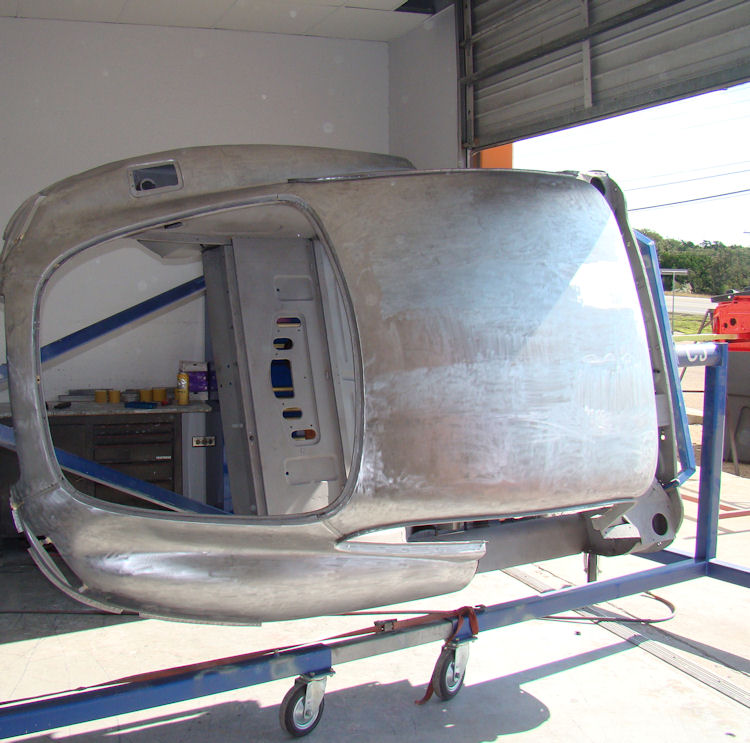
Darrell has now installed the front cowl panel he fabricated a couple of weeks ago, and has also fabricated and installed a repair panel for the left hand rear quarter panel/wheel arch.
 |
 |
 |
|
|
||
 |
 |
 |
|
|
||
 |
 |
 |
|
of leading edge of door skin |
new front cowl panel |
|
 |
 |
 |
|
|
||
 |
 |
 |
|
wheel arch repair panel |
|
|
 |
 |
 |
|
|
an invisible repair |
|
 |
 |
 |
|
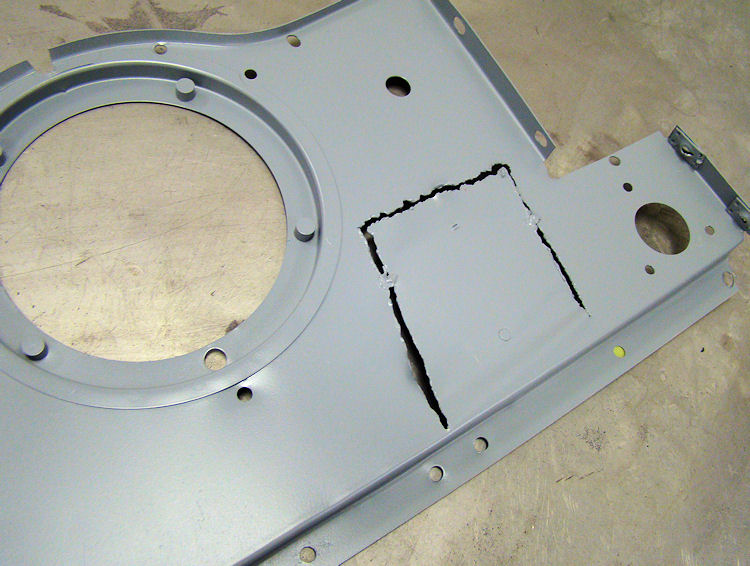
extensive repairs |
fabricated |
inner surfaces |
 |
 |
 |
|
is lead loaded |
|
require extensive work |
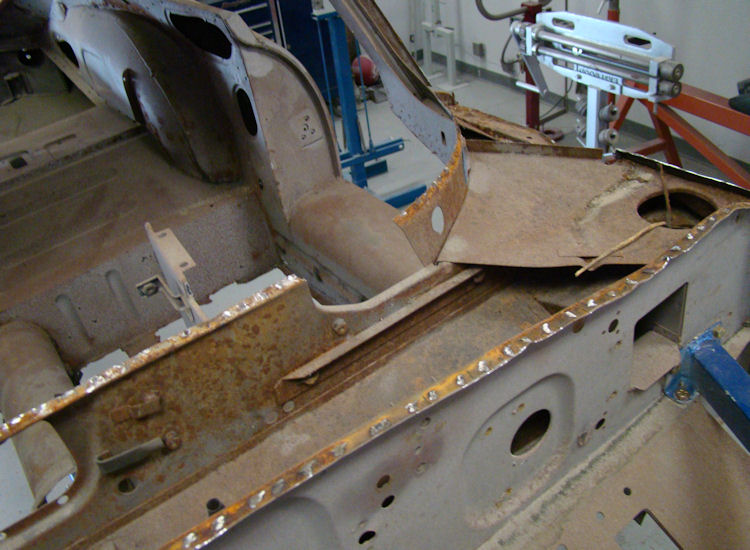
Installing new floors and outer sills...
 |
 |
 |
|
|
||
 |
 |
 |
|
inner boxed sections |
edge of new floors |
Fabricating and installing new panels for the right hand side of the transmission tunnel...
 |
 |
 |
 |
 |
 |
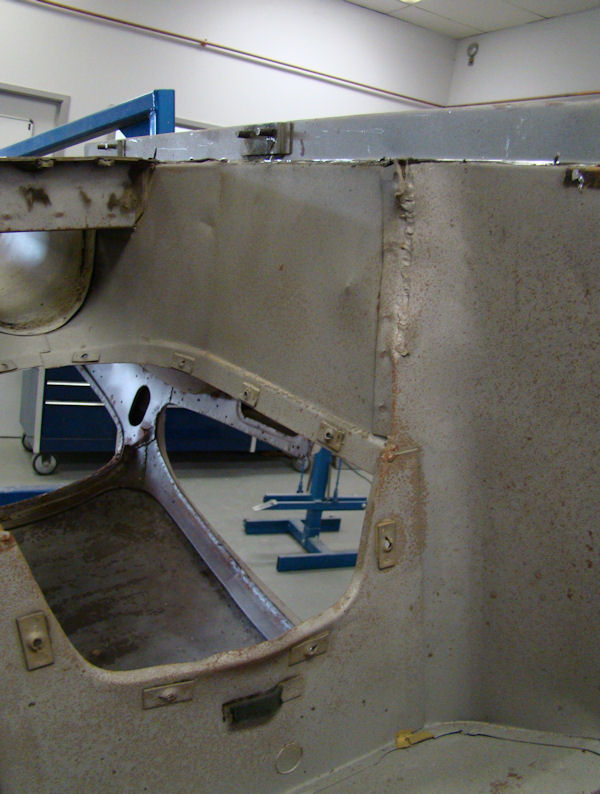
Installing new inner sills...
 |
 |
|
to all closed box sections |
|
|
|
|
 |
 |
|
|
|
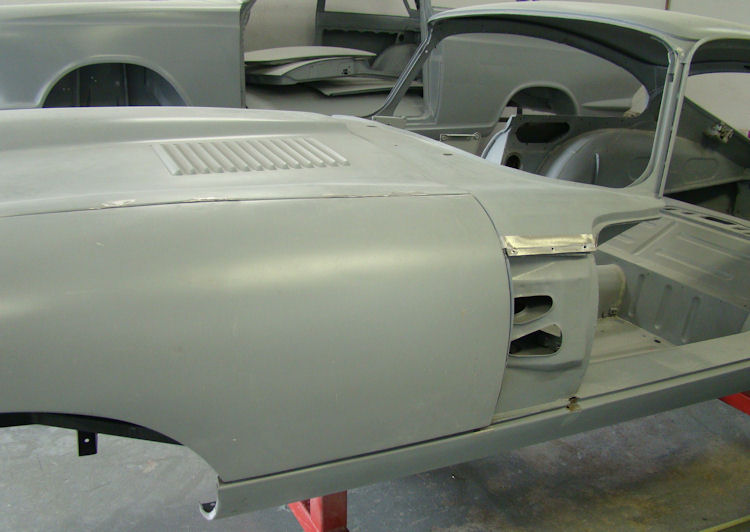
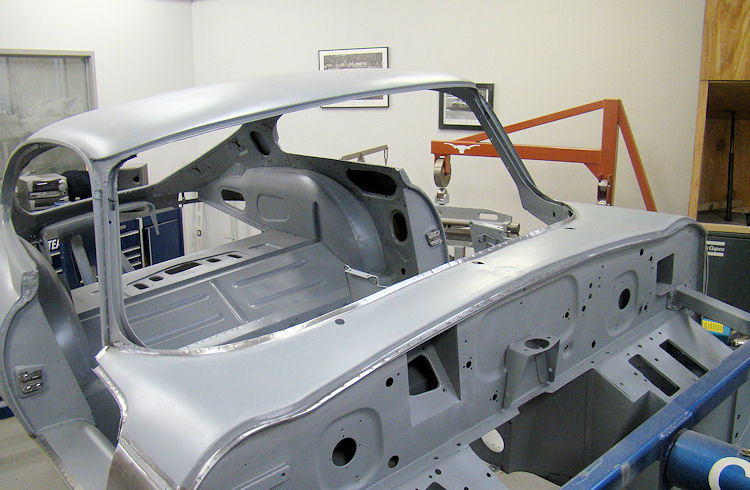
The bodywork restoration is now underway...
 |
 |
 |
 |
 |
 |
 |
 |
 |
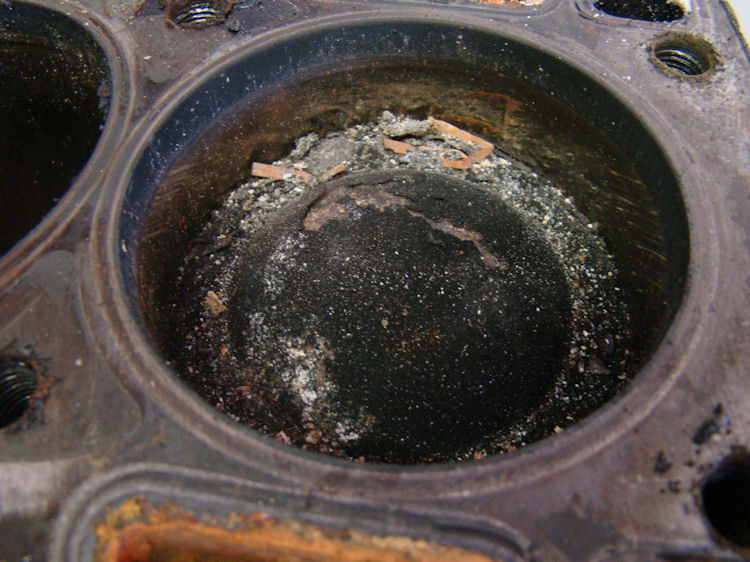
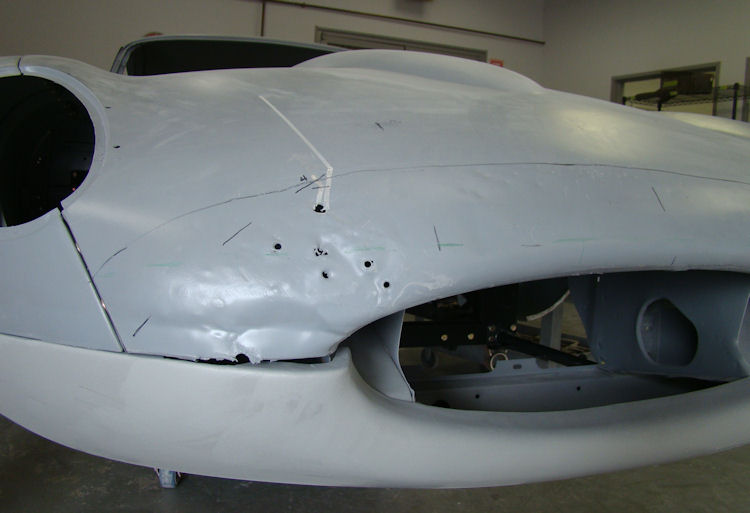
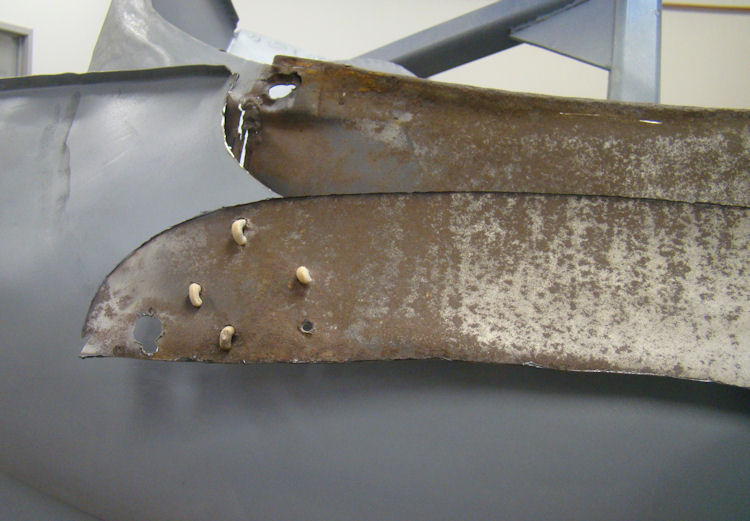
Back from the blasters, everything is pretty much as expected with the exception of the nose of the bonnet center section, which is very rusty.
 |
 |
 |
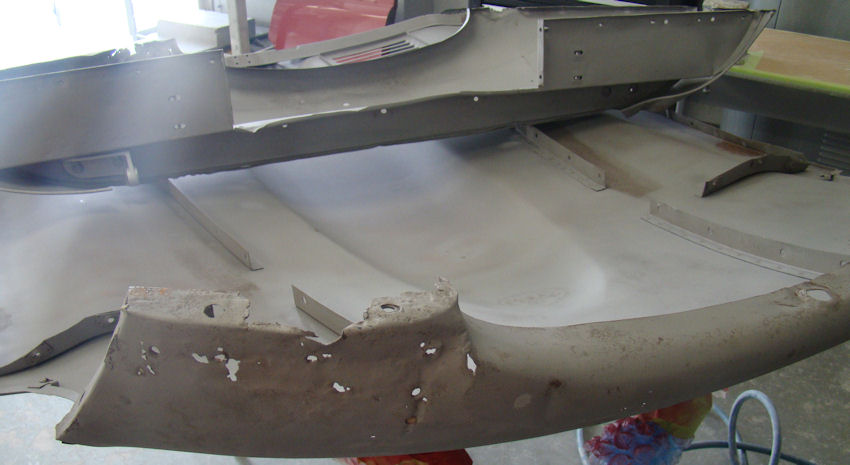 |
 |
 |
|
|
be required |
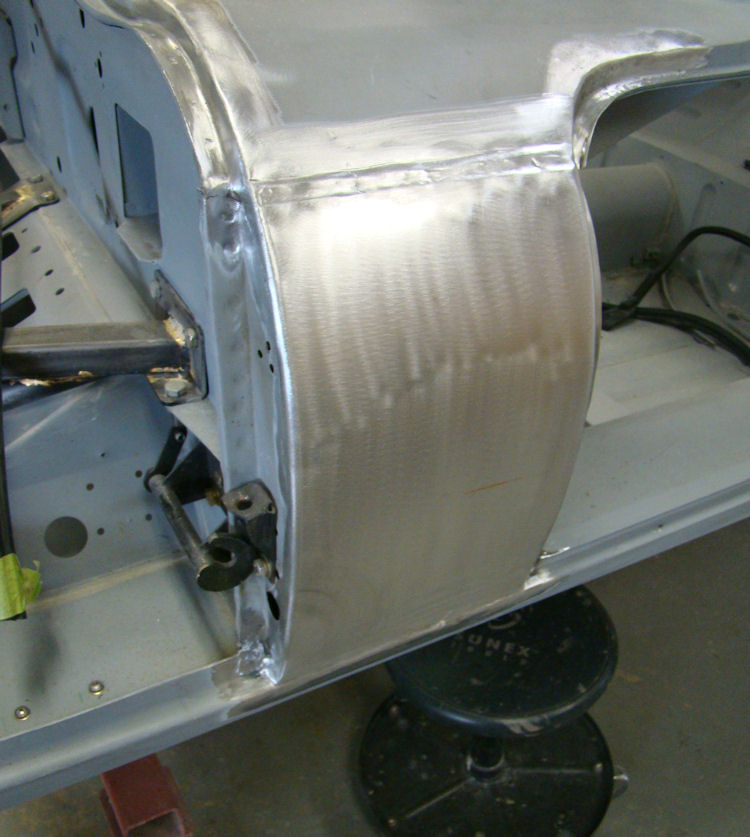
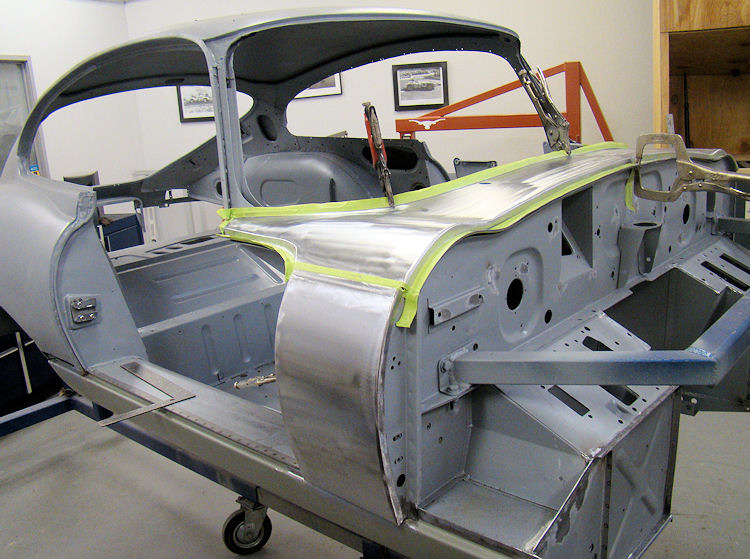
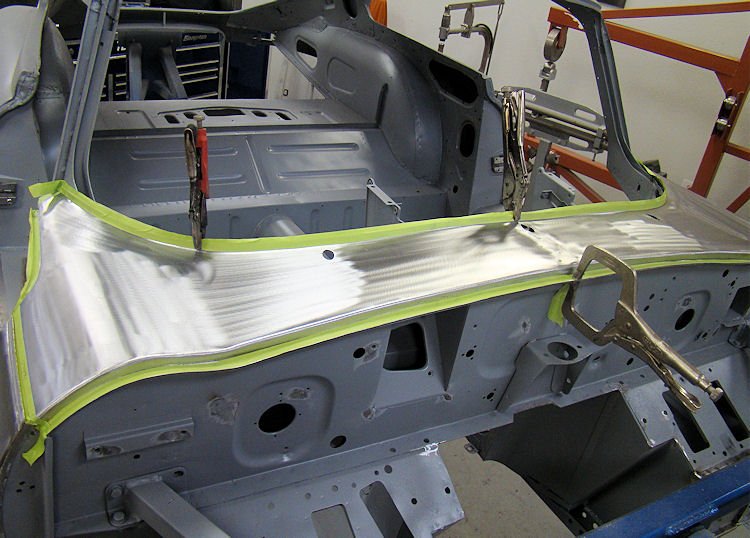
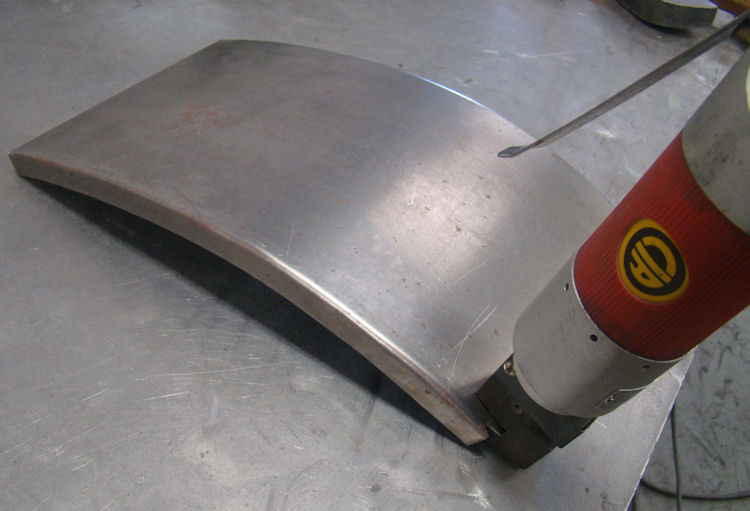
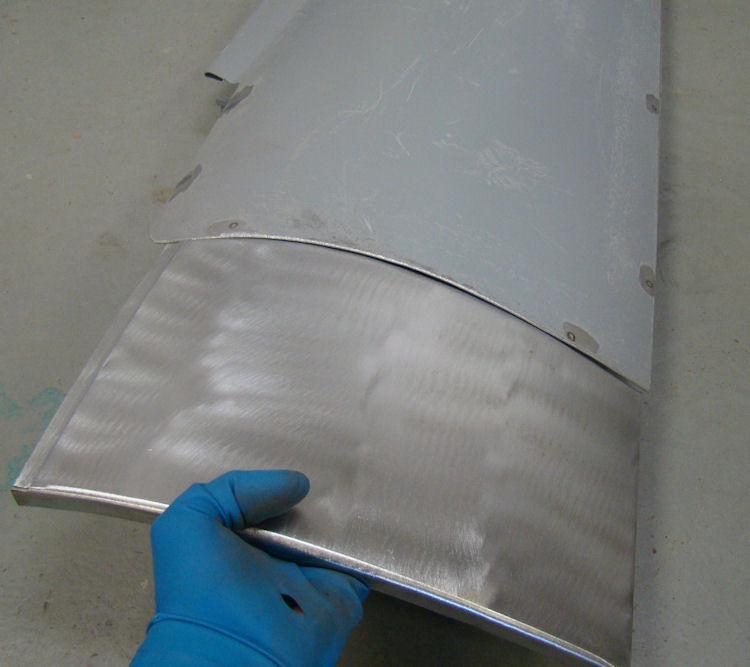
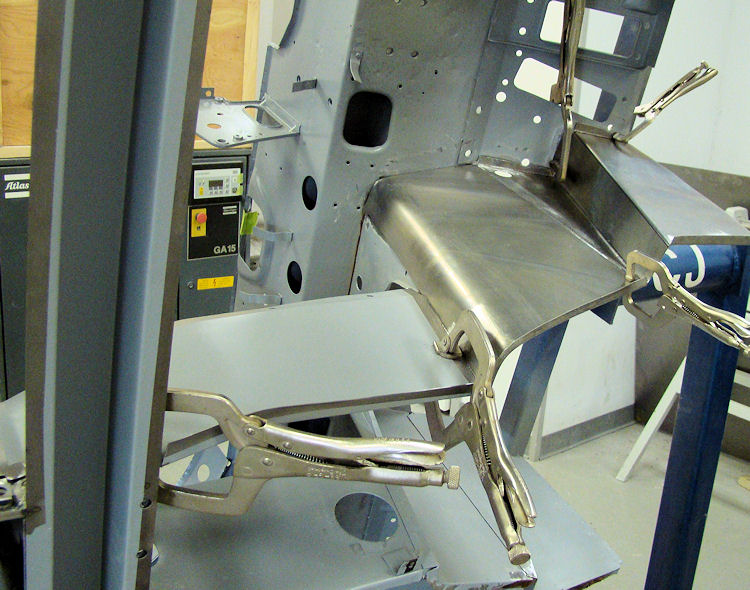
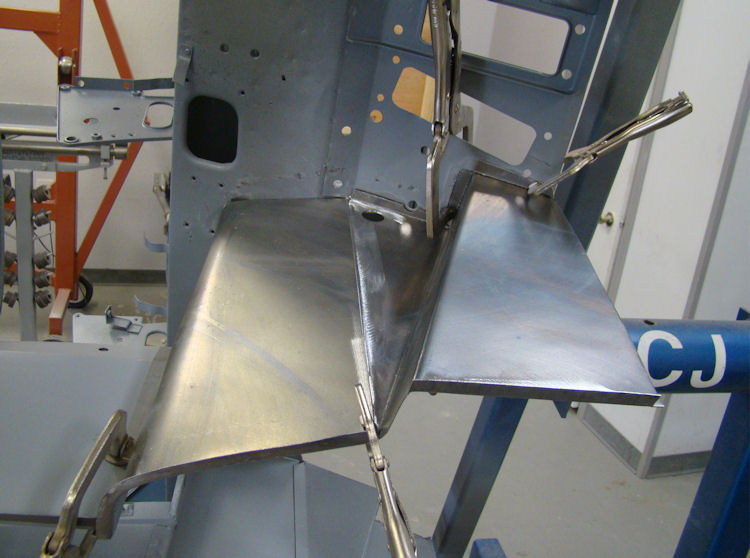
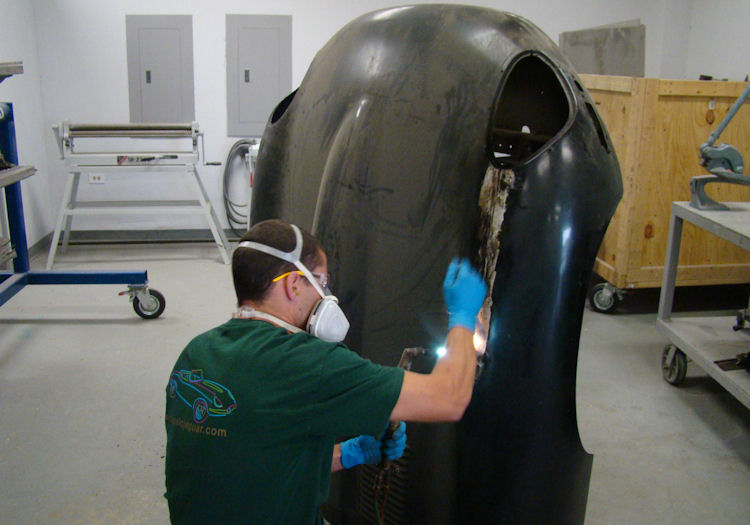
The following sequence of photos show Darrell fabricating a new sceen cowl panel from 18 gauge sheet metal.
 |
 |
 |
|
rusted cowl panel |
|
|
|
|
|
|
 |
 |
 |
|
|
|
|
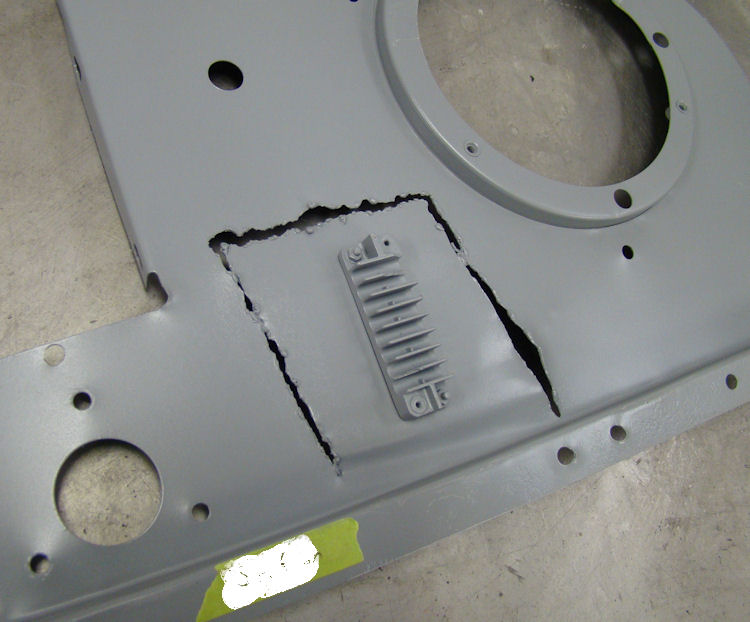
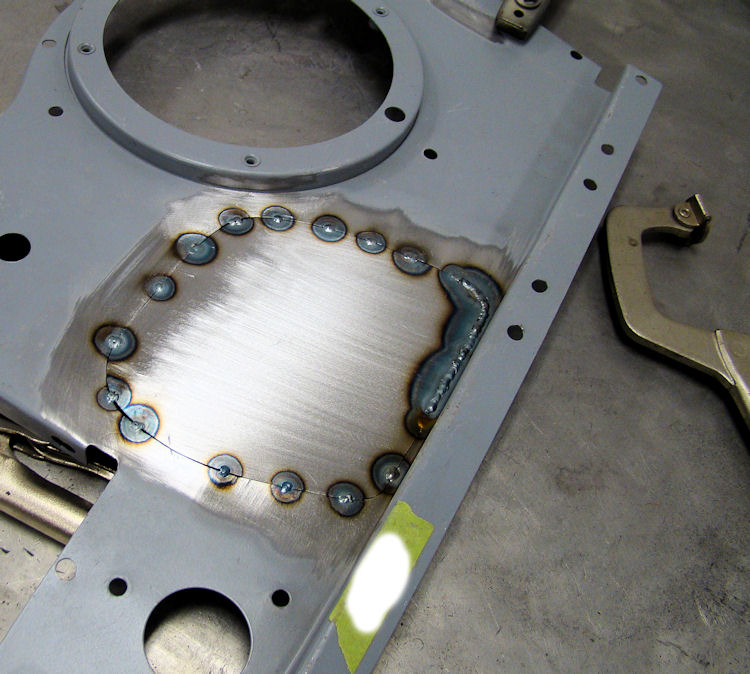
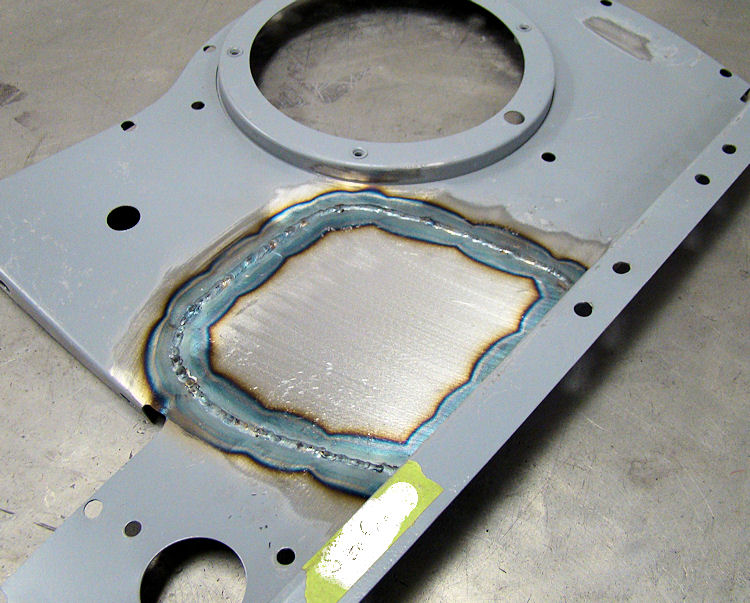
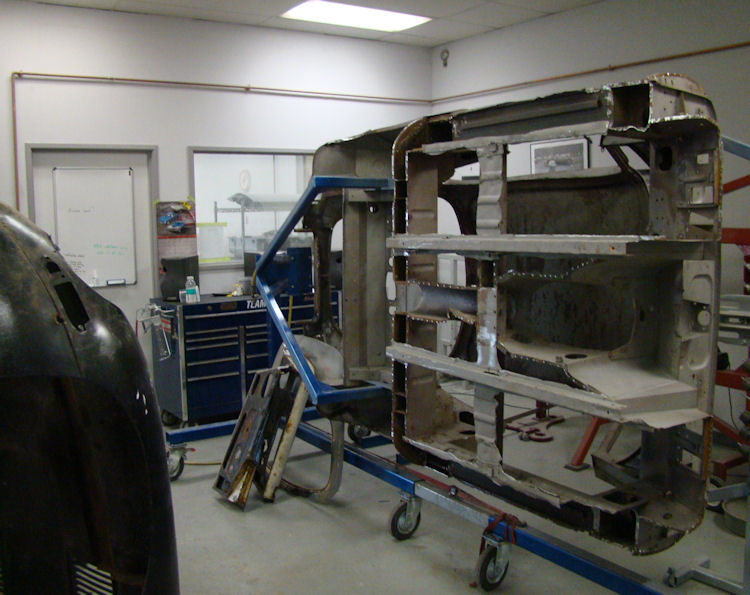
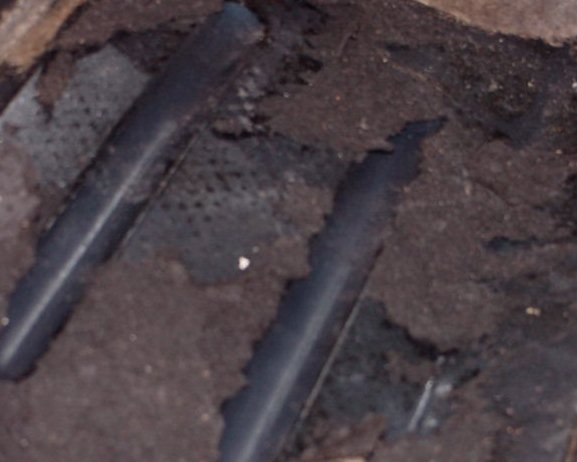
Cutting away corroded sheet metal to give the media blaster the best possible access to all inner panels and box sections...
 |
 |
 |
|
|
and will be replaced |
|
 |
 |
 |
|
|
||
 |
 |
 |
|
|
||
 |
 |
 |
 |
 |
 |
|
|
|
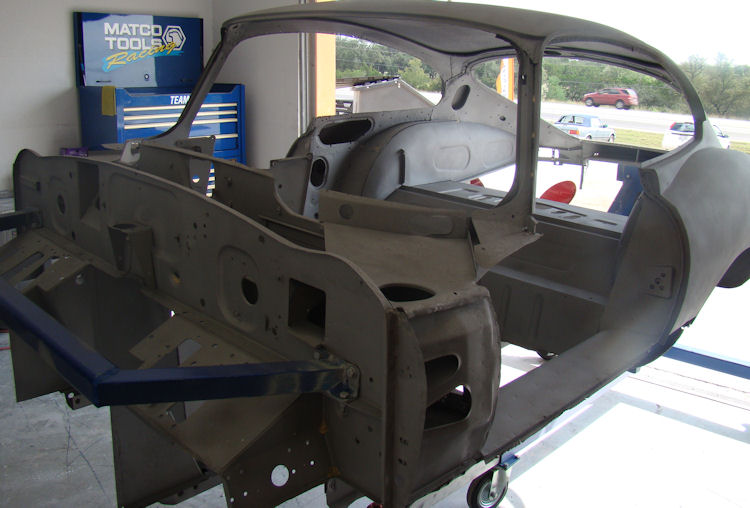
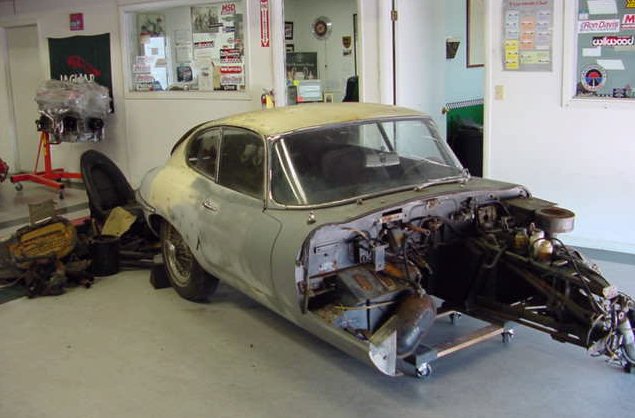
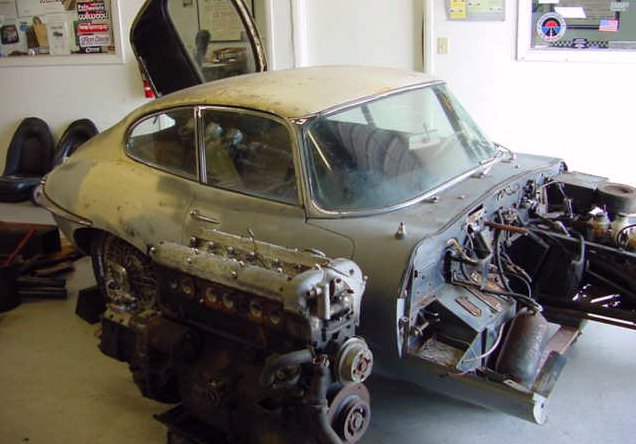
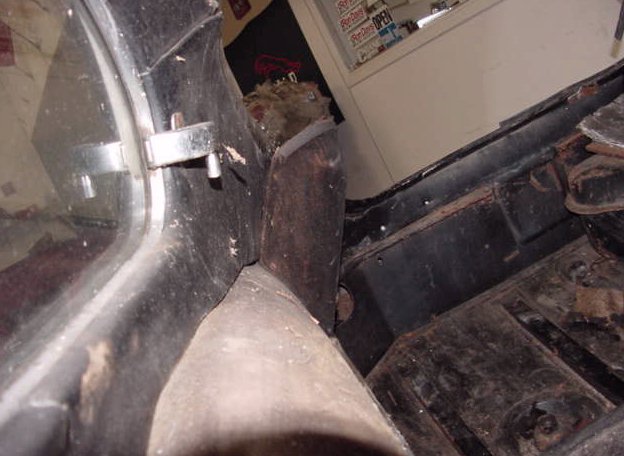
We are delighted to get the restoration of this very early coupe underway. Our first task, after disassembly, will be to cut away the corroded sheet metal and have the car media blasted.
 |
 |
 |
|
|
|
|
|
|
|
|
 |
 |
 |
|
|
|
|