| Our Cars - 1970 Aston Martin DBS |
by Dan Mooney |
Other cars
in the CJ fleet |
|
|
 |
 |
 |
 |
 |
 |
 |
 |
 |
 |
 |
 |
 |
 |
I imagine the first owner of our DBS (Mr. James L. Stevens) wasn't terribly impressed with the extent of warranty service repairs the car needed in the first month and 754 miles of its life! Also interesting to note that the car was built in December 1969 but the warranty wasn't issued until October 1970. Given it was a US spec car but supplied new to Mallorca, Spain, perhaps it was a cancelled order?

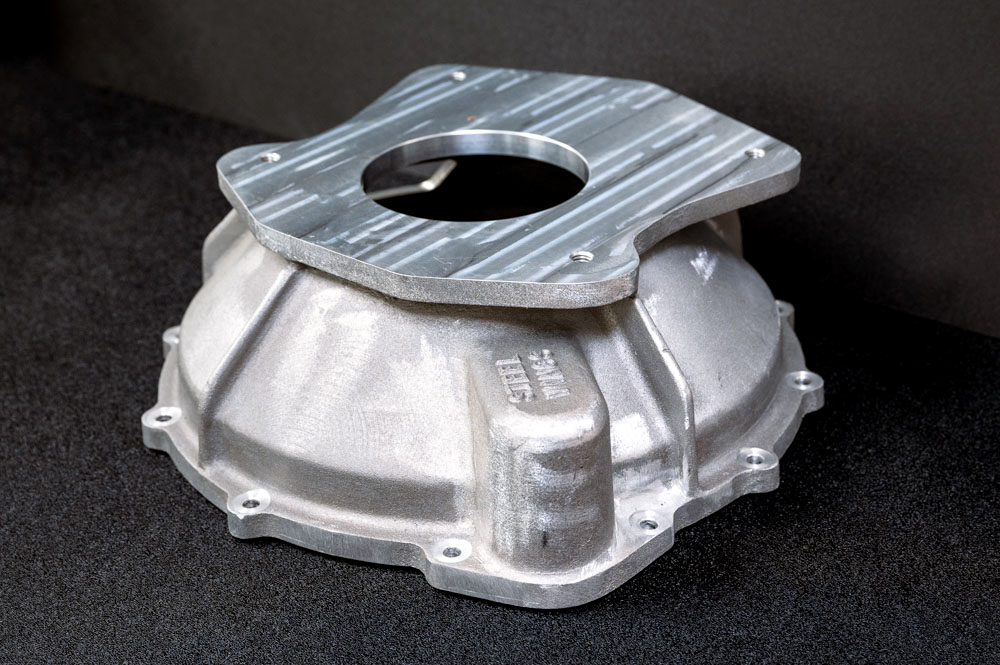
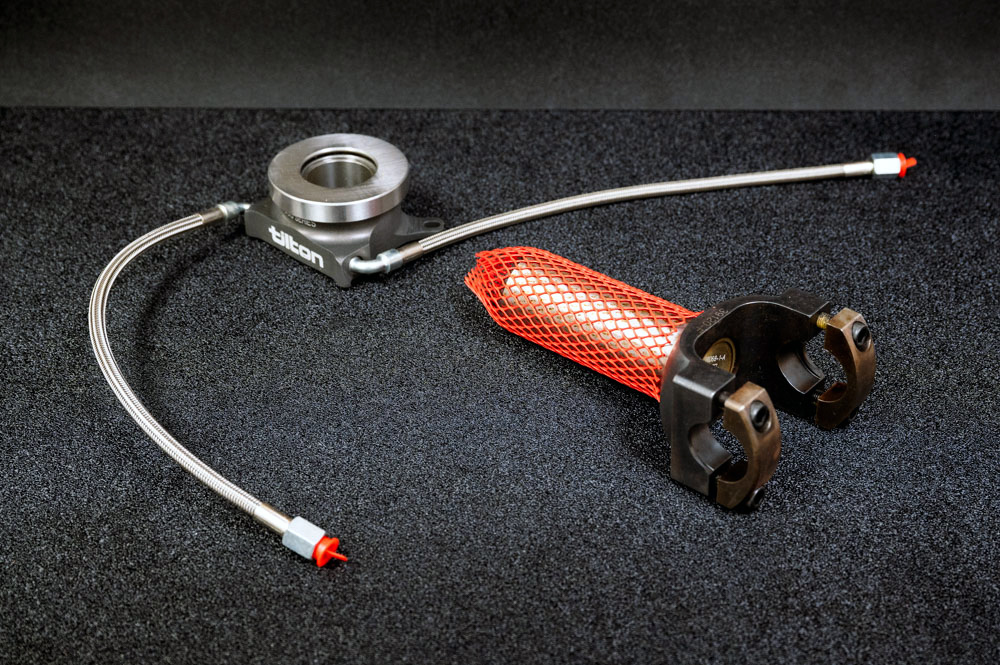
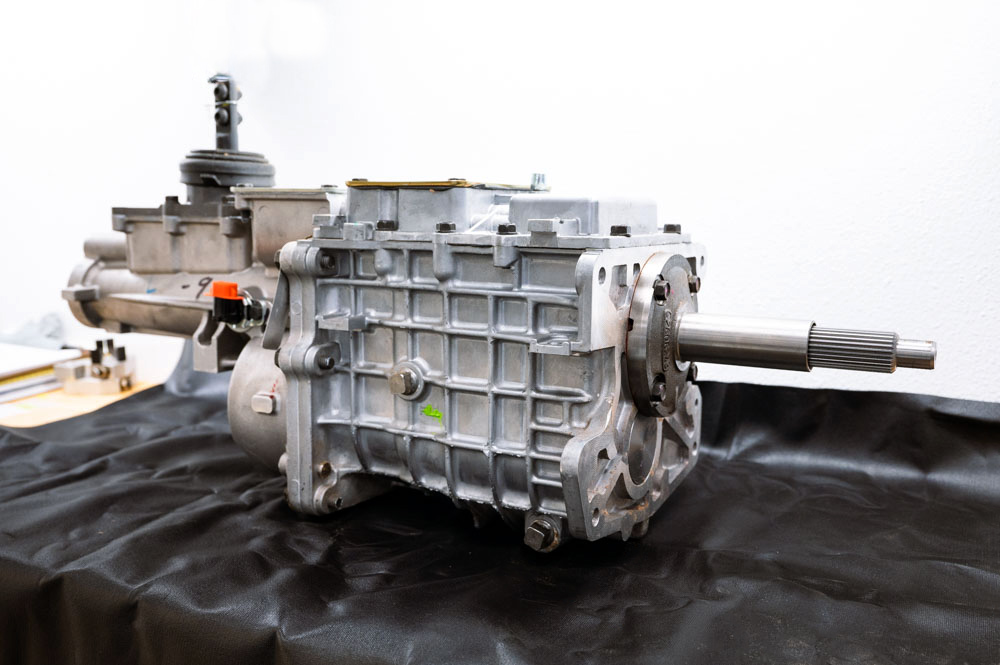
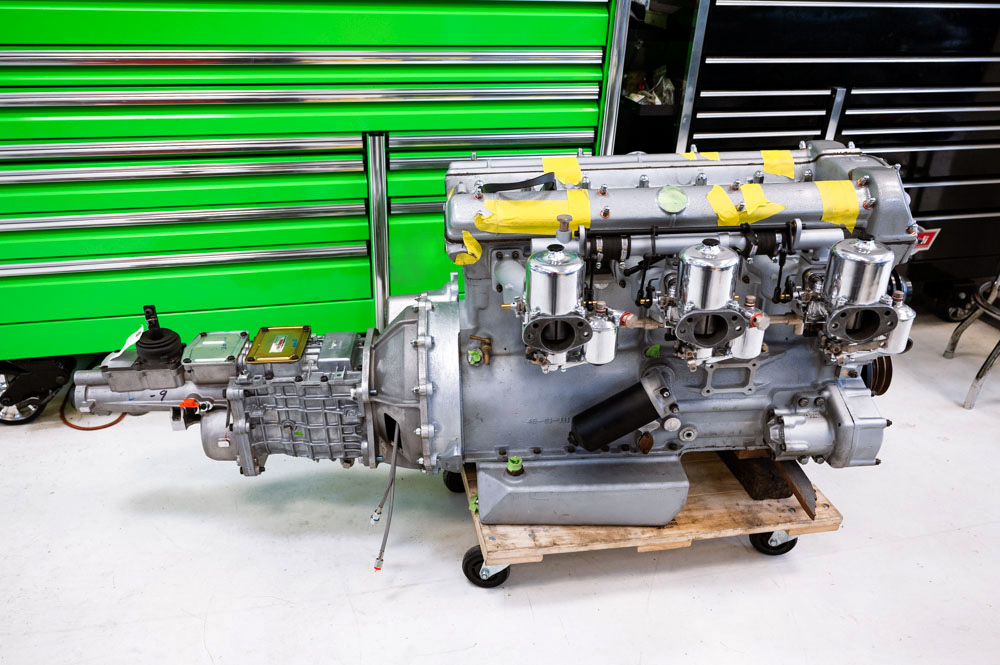
We have now completed our DBS engine rebuild. Currently debating whether to convert to a Steel Wings five speed in place of the Borg Warner automatic.
 |
 |
| |
|
 |
 |
Putting the finishing touches to the DBS engine rebuild.
 |
 |
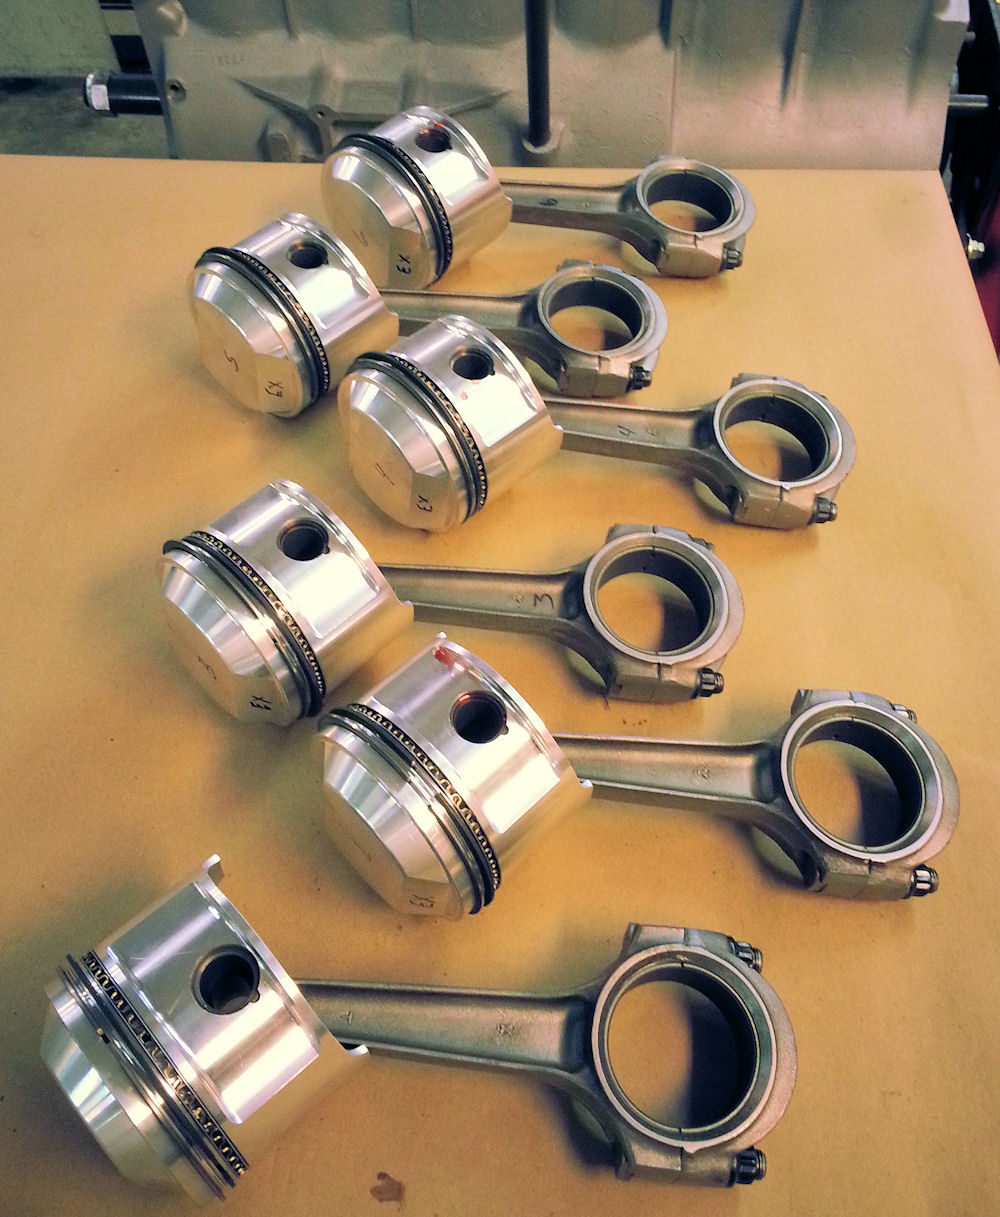
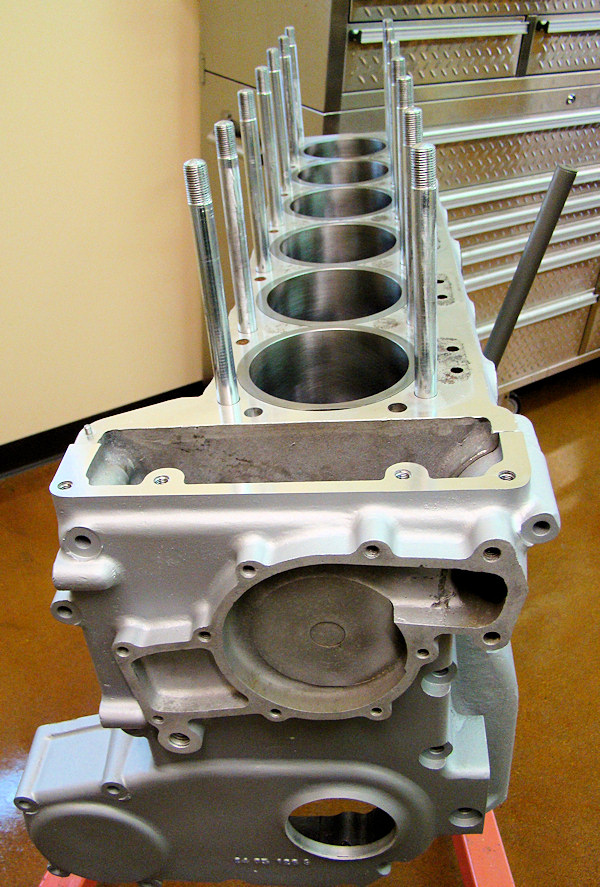
| Ready to start assembling the
short block |
Forged CJ/Ross pistons |
| |
|
 |
 |
| |
Pistons and rods now installed |
| |
|
 |
|
| |
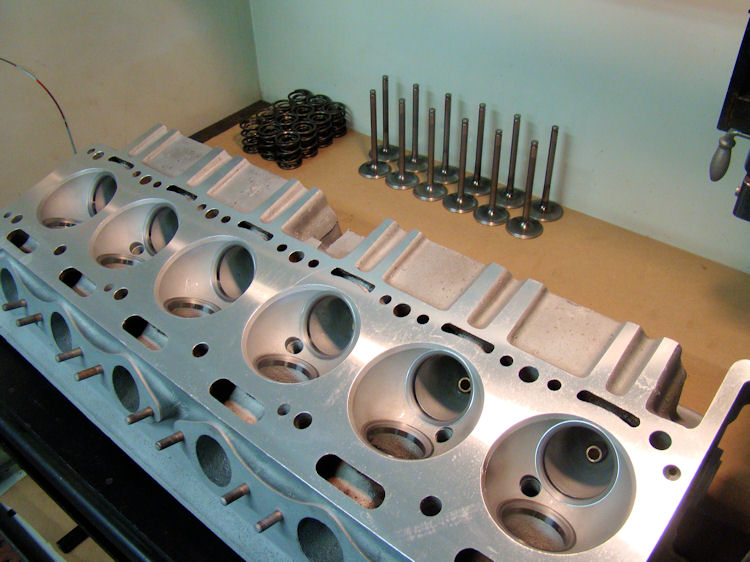
Ready to install the
previously rebuilt head |
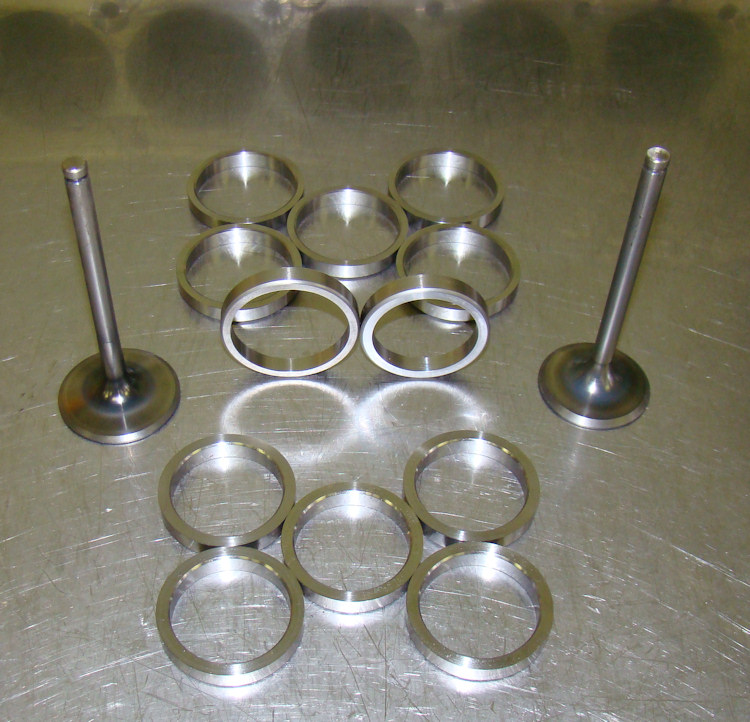
Cylinder head rebuild completed....
 |
 |
Cylinder head rebuild underway...
 |
 |
 |
|
|
|
|
|
|
|
|
 |
 |
 |
|
up some pretty big numbers |
|
|
|
|
|
|
 |
 |
 |
|
|
|
|
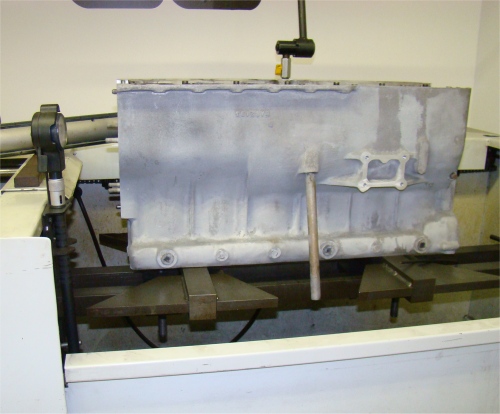
Time to clean and paint the block...
 |
 |
 |
| |
||
 |
 |
|
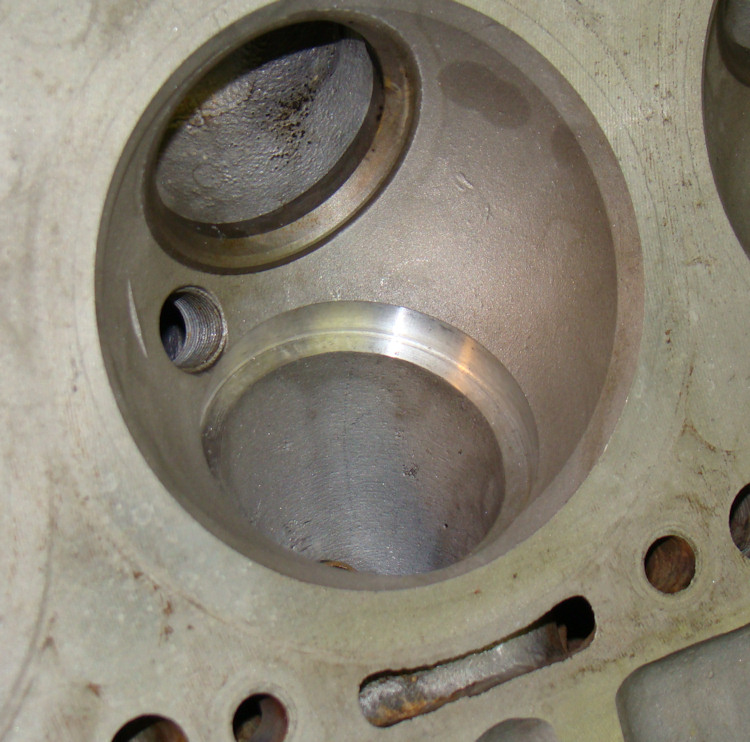
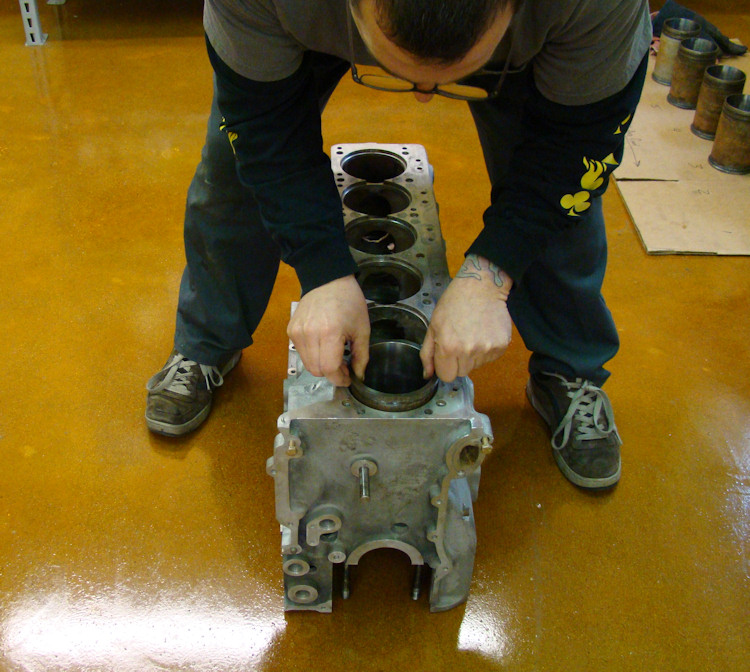
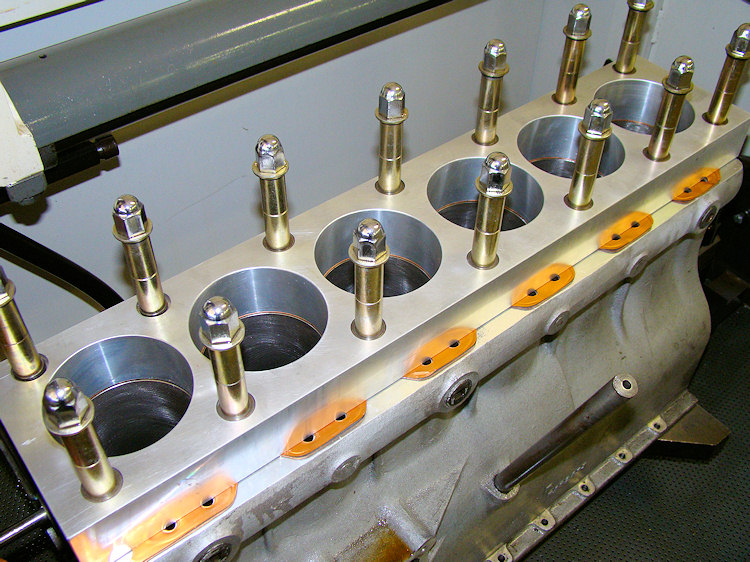
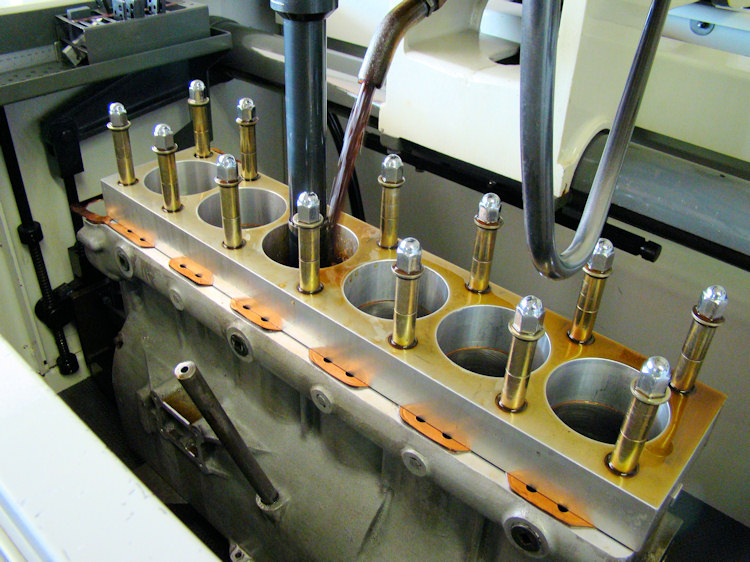
After honing the cylinders, the liners were removed and the block was thoroughly cleaned. The block was then heated, the liners cooled, and new O rings installed at the bottom of each liner. The following photos and video show Kevin installing the liners.
 |
 |
 |
| Block is heated in the oven |
Bare block is extremely
light |
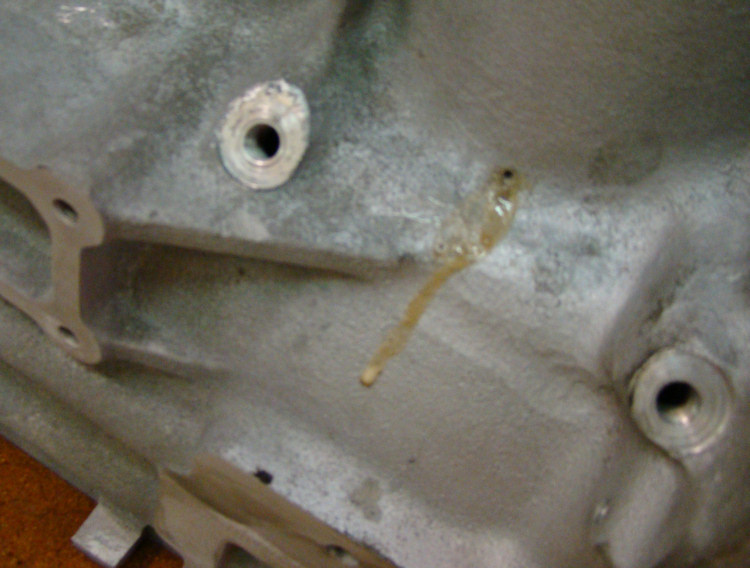
O rings at the bottom of each
liner are wiped with soap |
| |
|
|
 |
 |
 |
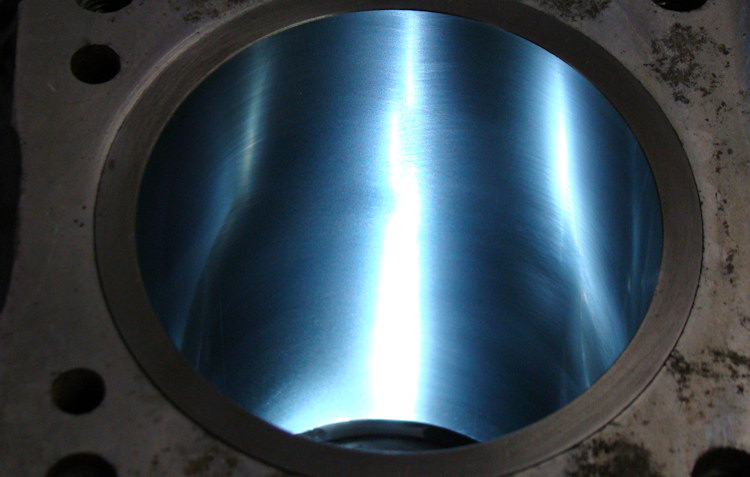
| Nice 'back lit' shot of honed
liner |
Liners sit about .0015" proud
of block deck |
Kevin installing the first
liner |
| |
|
|
 |
 |
 |
| |
Heated soap escapes from weep holes |
|
We have now honed the cylinders to fit the custom forged pistons.
 |
 |
 |
We have now align honed the block. All mains now within spec (measuring between 2.9157" and 2.9159") with less than one tenth of one thousandths of an inch (.0001") variation across all seven caps.
 |
 |
 |
We have now received the block, connecting rods and crankshaft back from the machine shop in California. Unfortunately, the newly honed cylinders were inexplicably covered in deeply ingrained surface rust so we are obviously going to have to re-hone them. Also, three of the main caps were a few tenths too loose, and the front cap was .0005" too tight, with a .0006" taper across the cap. Needless to say, we are obviously going to have to redo the align hone, too. All a bit disappointing, to put it mildly, but nothing we can't put right in the CJ machine shop over the next few days.
 |
 |
 |
|
|
|
machine |
| |
||
 |
 |
 |
|
|
|
|
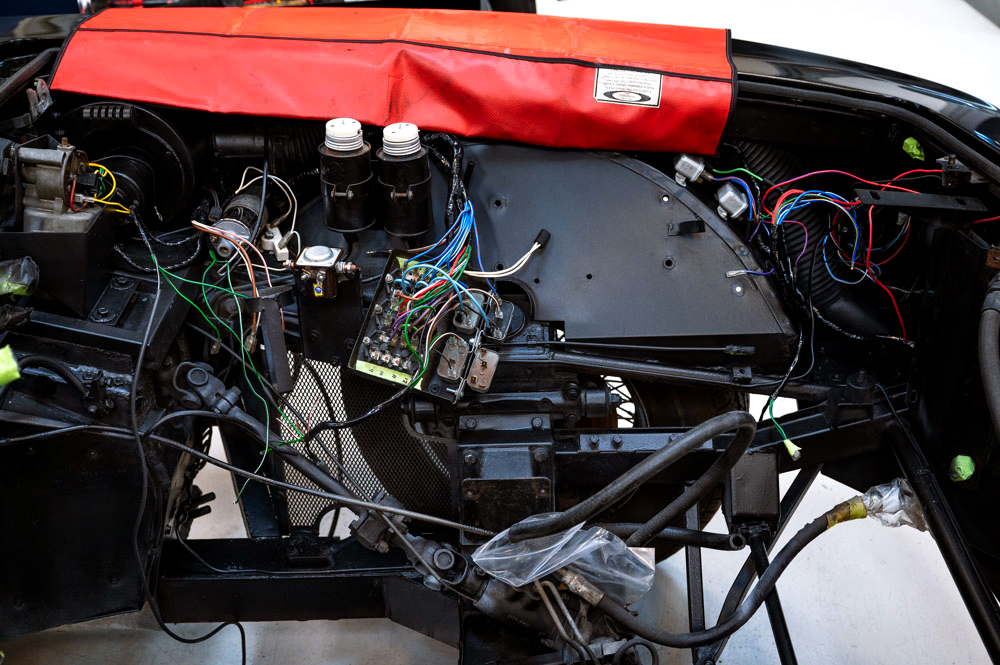
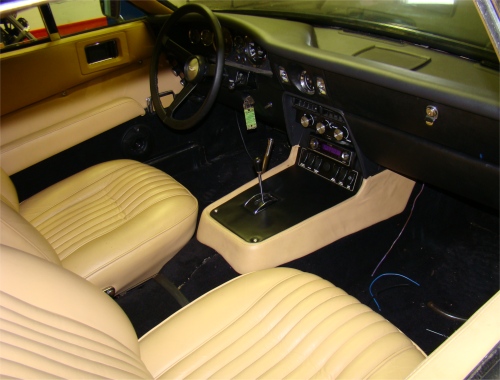
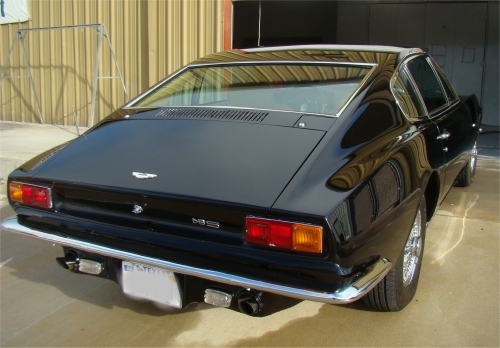
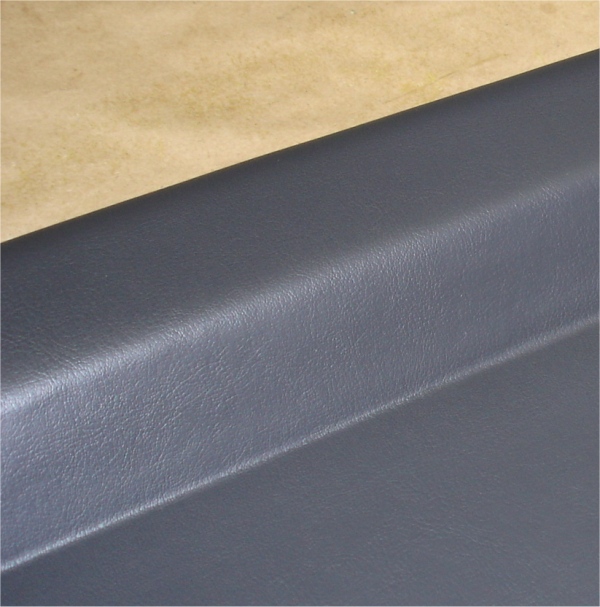
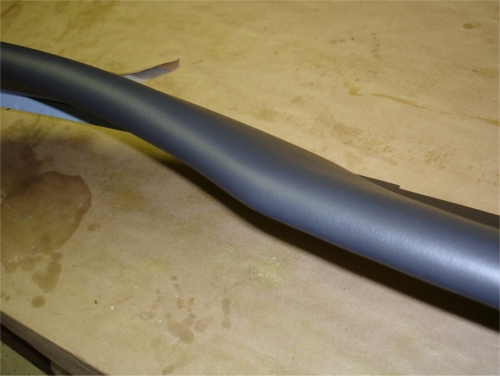
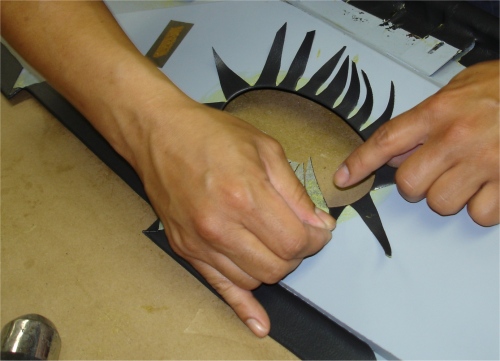
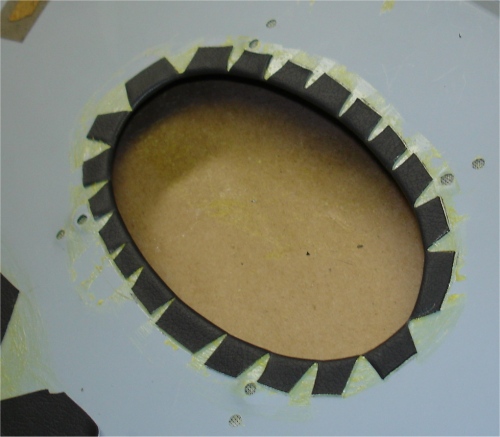
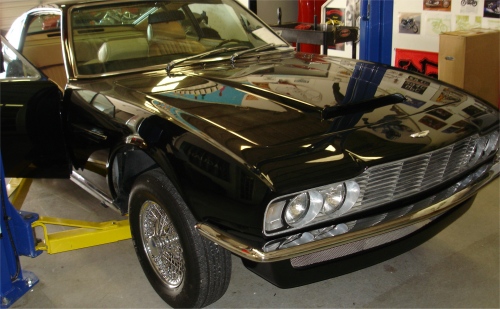
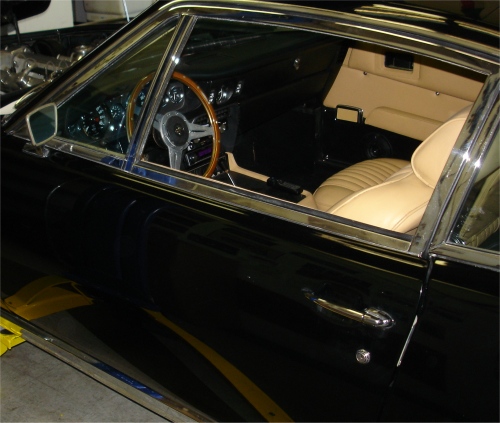
One step forward, two steps back....The good news is that this is a totally, one hundred percent, rust free Aston Martin DBS. The bad news is that the car, as purchased, needed a complete mechanical rebuild. Having rebuilt the carbs and automatic transmission, installed a new stainless steel exhaust and sorted out the mess of wiring left by a previous (presumably pyromaniac) mechanic, I then decided to fix a few minor cosmetic issues that had been bugging me. As well as re-trimming the dash top, we also put some nice black hide on the shifter console, and spent an obscene amount of money on a new steering wheel. The old windscreen seal was leaking so we removed the screen in order to fit a new seal - and somehow managed to break the old screen in the process. A new Triplex screen was obtained at great expense, and thankfully installed in one piece. And so the challenges kept coming...
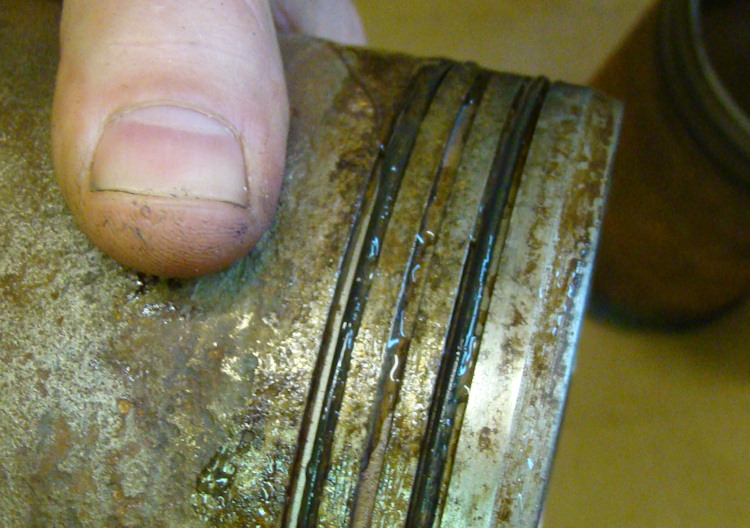
Anyway, at about this point I became flushed with optimism and actually washed the car, foolishly thinking I might take it home that evening. Noticing that it was all it could do to pull itself up one of the ramps (a very modest gradient) outside the CJ workshop, I began to doubt whether it was really going to be up to the task of my planned afternoon commute. A glance under the bonnet revealed a huge amount of oil blowing past the piston rings, and a compression and leak-down test confirmed my worst fears - engine rebuild time.
Looking for positives in all of this, I do at least take some comfort from the fact that I should end up with one of the very best DBS Astons out there when my work is done. That I may have to sell an organ or two in order to fund the project is a mite unfortunate...Obviously, my next job is to pull the engine. While I have the engine out, I have decided I might as well go ahead and restore the engine bay.... and have a nice alloy radiator made.... and maybe some cool alloy coolant tanks....and maybe a five speed conversion...
 |
 |
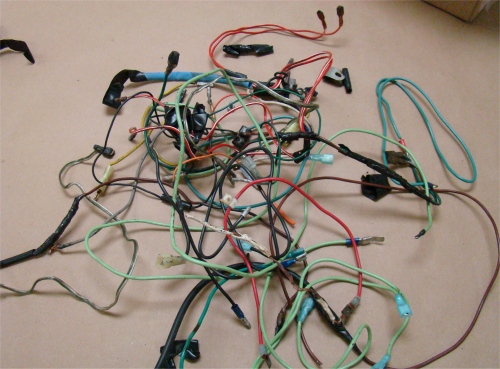 |
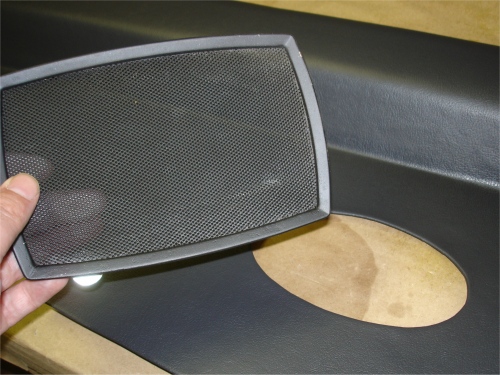
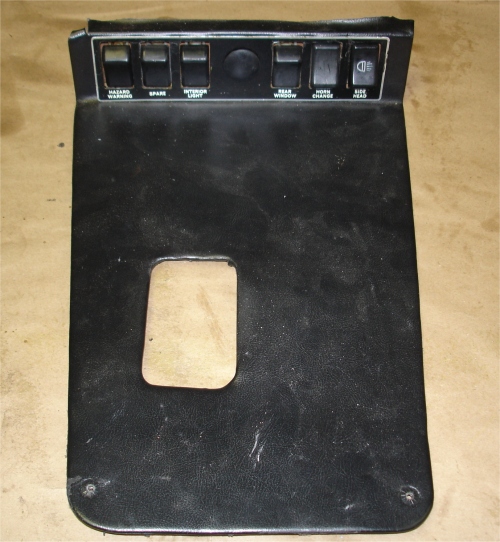
| Center console will be trimmed |
Wiring needs attention |
|
| |
||
 |
 |
 |
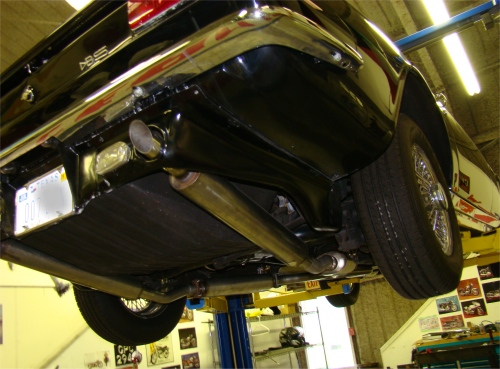
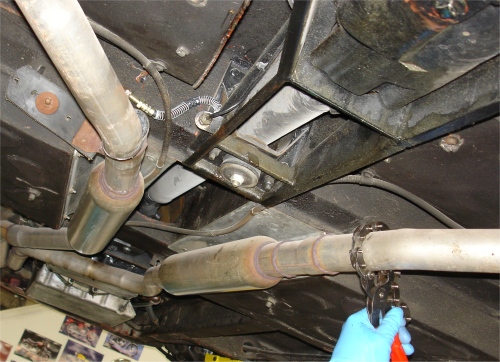
| Installing a new SS exhaust |
New exhaust hangers $$$ |
|
| |
||
 |
 |
 |
| Interior starting to look very
nice |
New steering wheel $$$ |
|
| |
||
 |
 |
 |
| Washing the car (prematurely) |
Dashtop retrim completed - center console next!
 |
 |
 |
|
|
||
| |
||
 |
 |
 |
|
now looks factory |
|
|
| |
||
 |
 |
 |
| |
||
 |
 |
 |
|
|
|
|
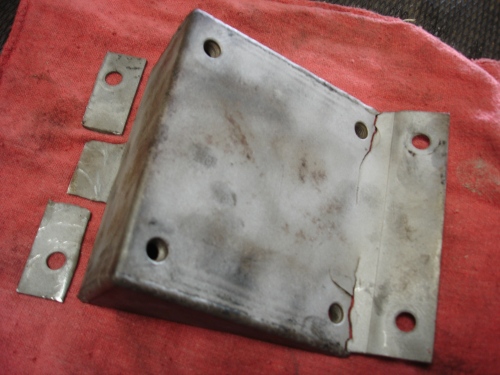
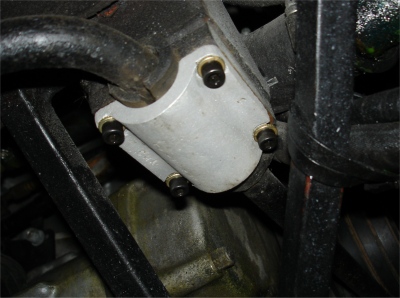
All sorts of stuff going on with the DBS this week! We have replaced the engine mounts, repaired the broken engine mount brackets, removed the front screen, removed the transmission for rebuild and removed the center console and dashtop for a retrim.
 |
 |
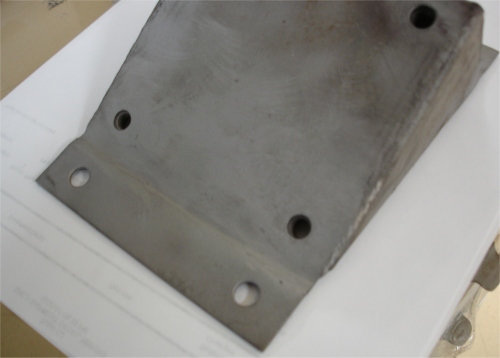 |
| Engine mount bracket cracked |
Simple weld repair was all
that was needed |
|
| |
||
 |
 |
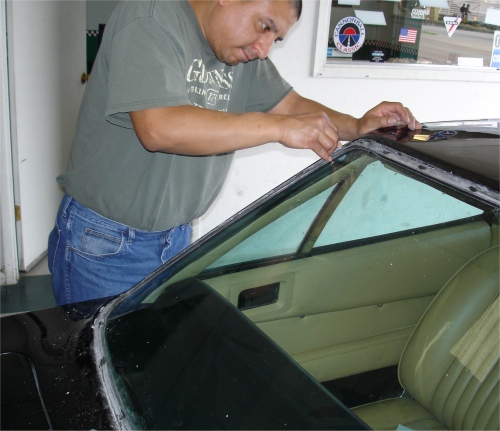 |
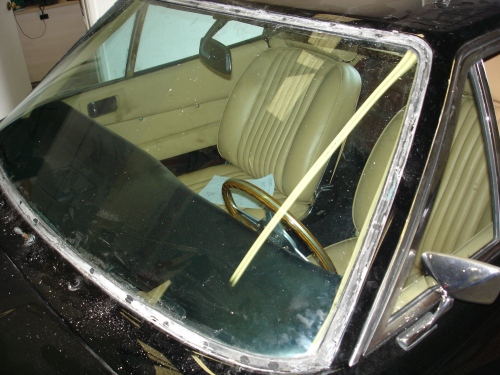
| Time to remove the screen |
Sam razors the dry, old seal
off |
|
| |
||
 |
 |
 |
| Chrome clips will be replaced |
|
|
| |
||
 |
 |
 |
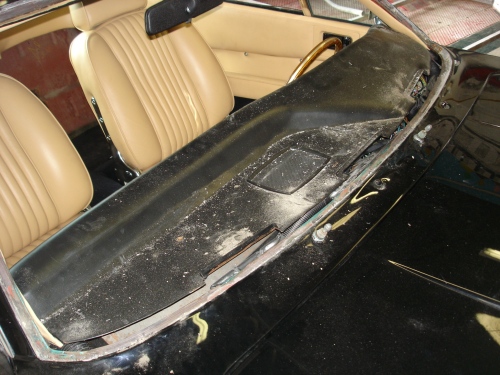
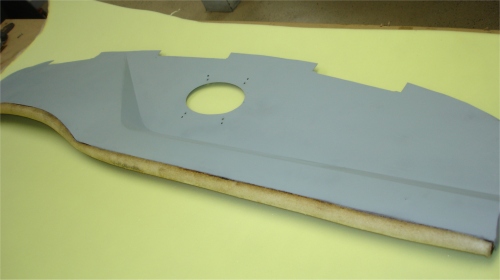
| Dash top will be recovered |
Front spoiler removed for
repair |
Seats removed |
| |
|
|
 |
 |
 |
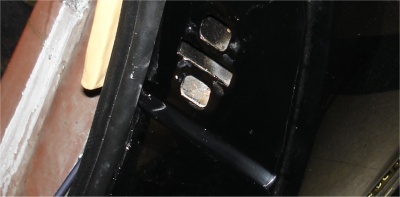
| Chassis # on masking tape |
Chassis # stamped in the dash |
Cleaning away all the old glue |
| |
||
 |
 |
 |
| |
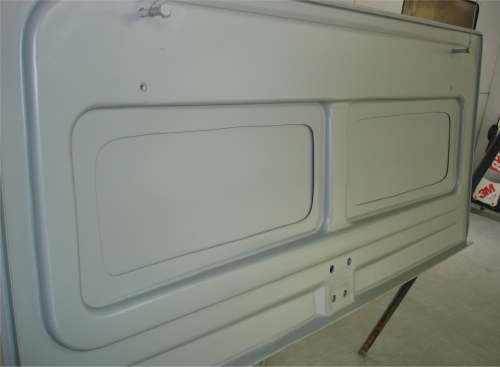
We etch primed the stripped dash frame |
Reinstalling factory scribed masking tape |
| |
||
 |
||
| |
We found some seriously thick bondo at the back edge of the boot lid where the car has obviously suffered some minor collision damage in the past - probably a low speed parking incident.
 |
 |
 |
|
|
|
|
| |
||
 |
 |
 |
|
|
|
|
| |
||
 |
 |
 |
|
epoxy primer |
|
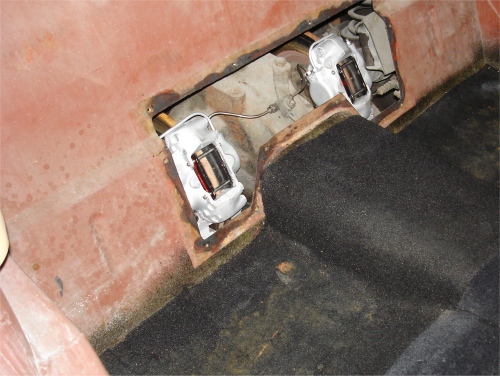
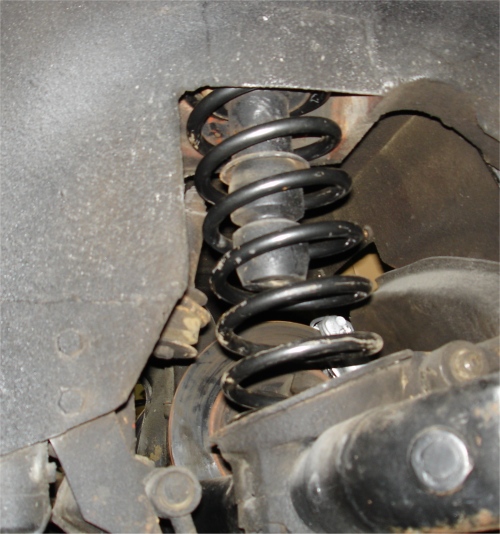
This is basically a great car that needs a major mechanical service and thorough fettling. Cosmetically, the car is obviously very presentable, but is let down by its weak mechanical condition. A tentative test drive before work began revealed a host of mechanical woes, not least of which the almost complete absence of any brakes! Add to that the need for a transmission rebuild, complete suspension overhaul, carb rebuild, new exhaust, etc, and you can see that we have quite a bit of work to do before this car can become the frequent driver it was intended to be at the time it was purchased.
 |
 |
 |
|
|
|
the rear brake calipers |
| |
|
|
 |
 |
 |
|
|
|
|
| |
|
|
 |
 |
 |
|
had been fried |
|
|
| |
|
|
 |
 |
 |
|
|
being cut away... |
|
| |
|
|
 |
 |
 |
|
Aston Martin? |
bay - LH engine mount shot |
|
|
|
|
|
 |
 |
 |
|
replaced and upgraded |
|
|
| |
|
|
 |
 |
 |
|
especially the LH |
place with some jerry rigged wire |
plate threads were stripped out |
|
|
|
|
 |
 |
 |
|
and closes perfectly |
|
|