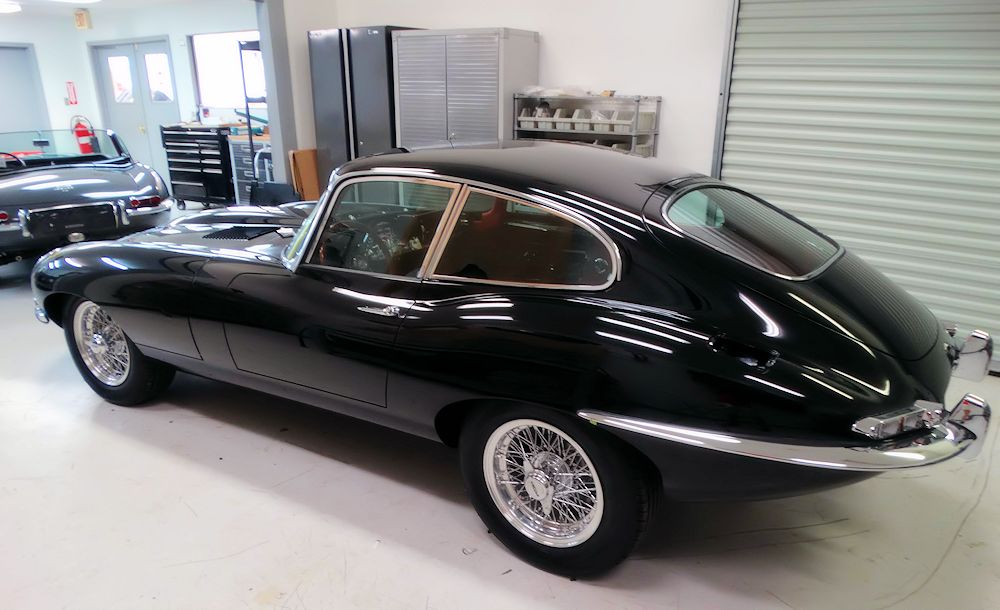
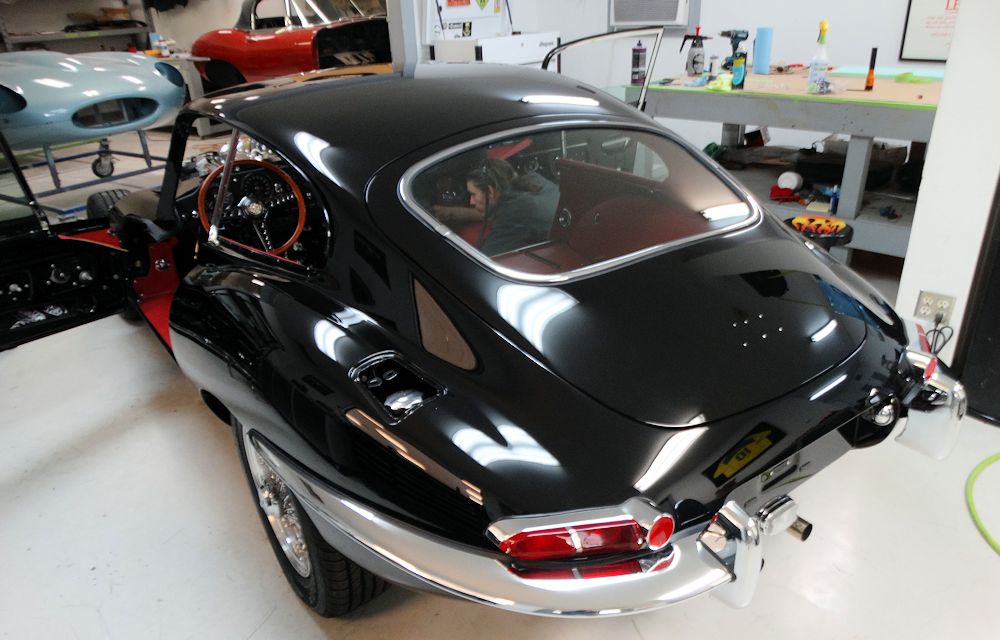
| 1967 E Type FHC (FS)
Team CJ restoration |
|
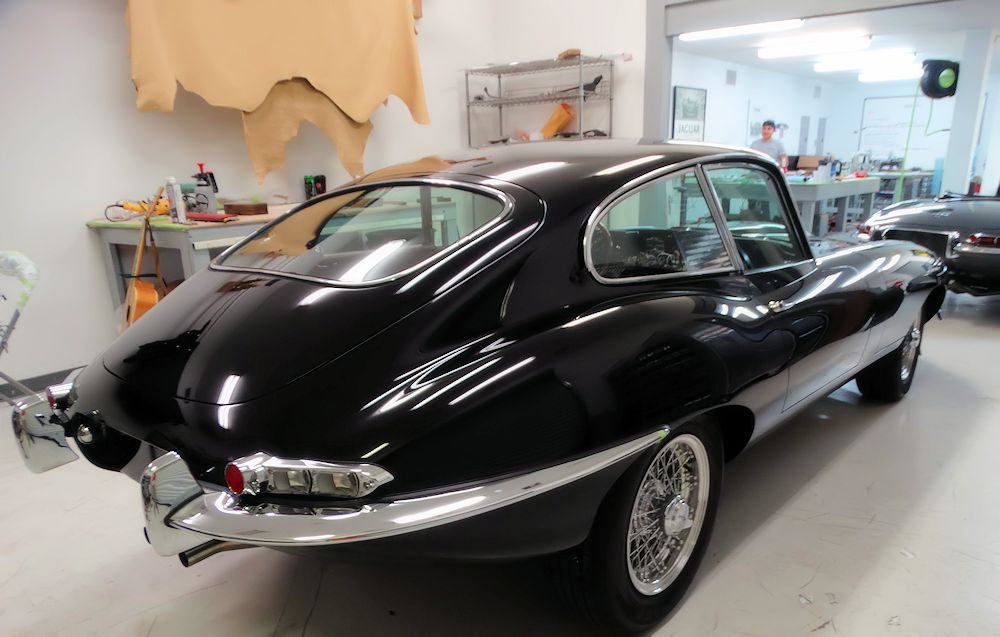
| 1967 E Type FHC (FS)
Team CJ restoration |
|
|
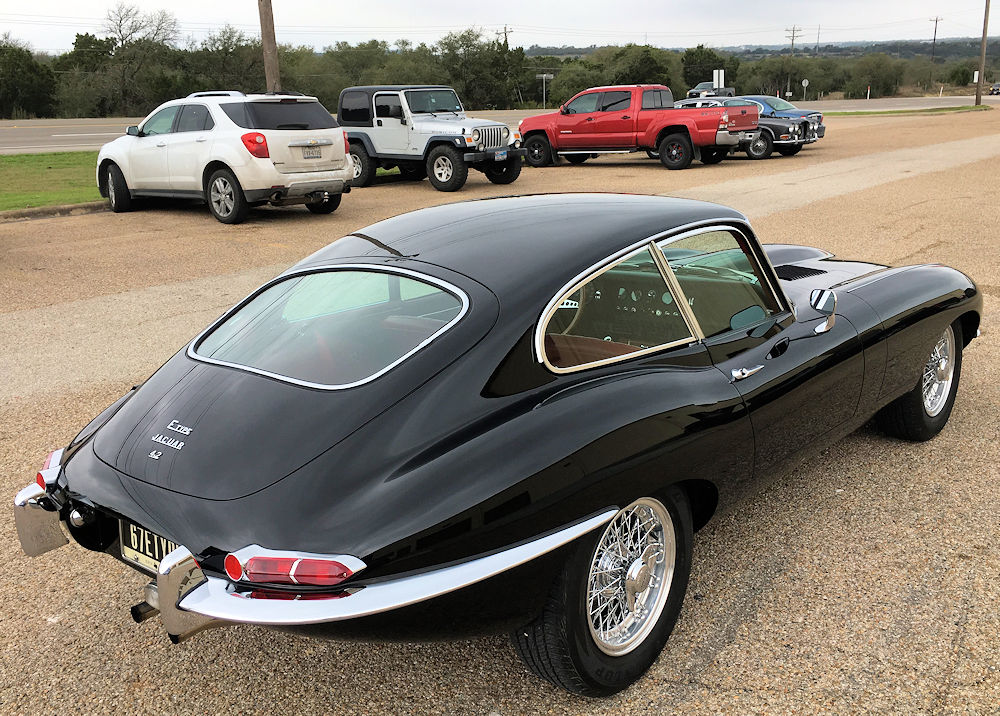
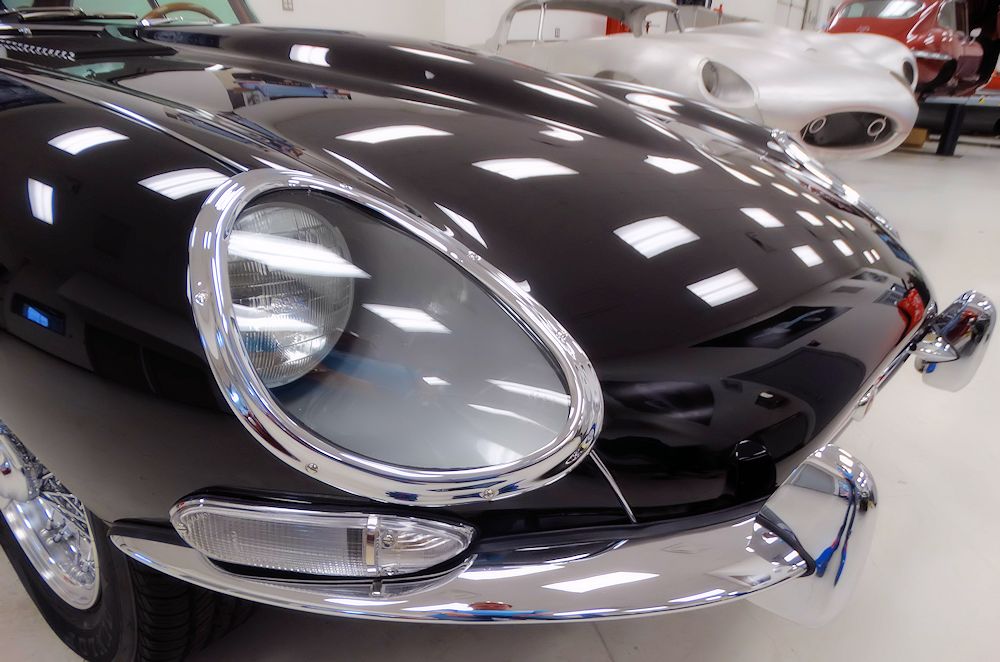
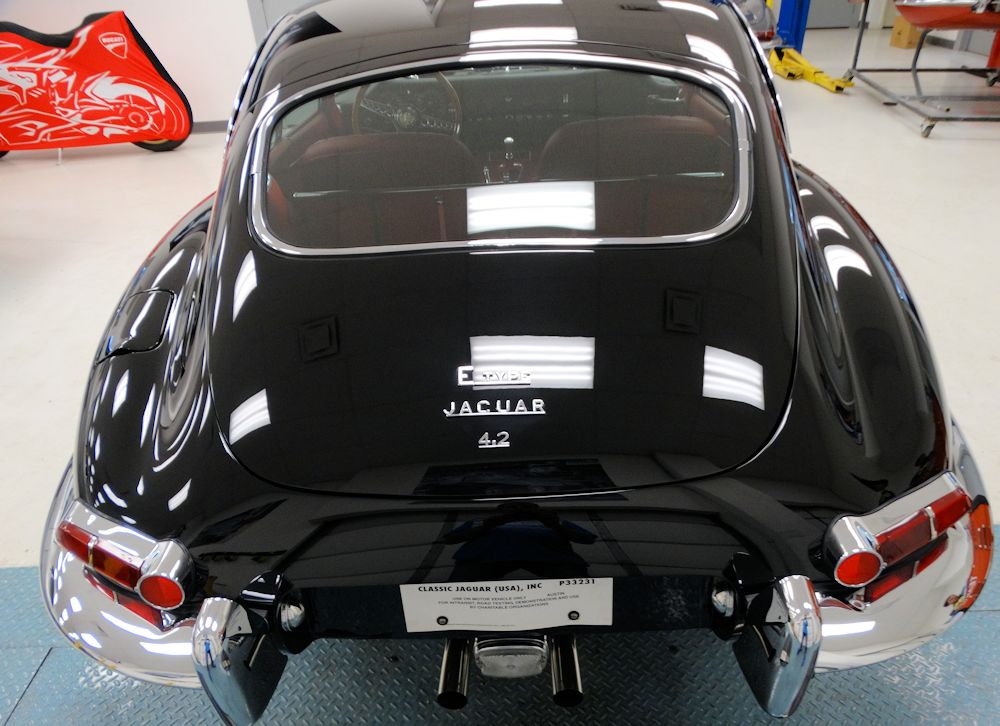
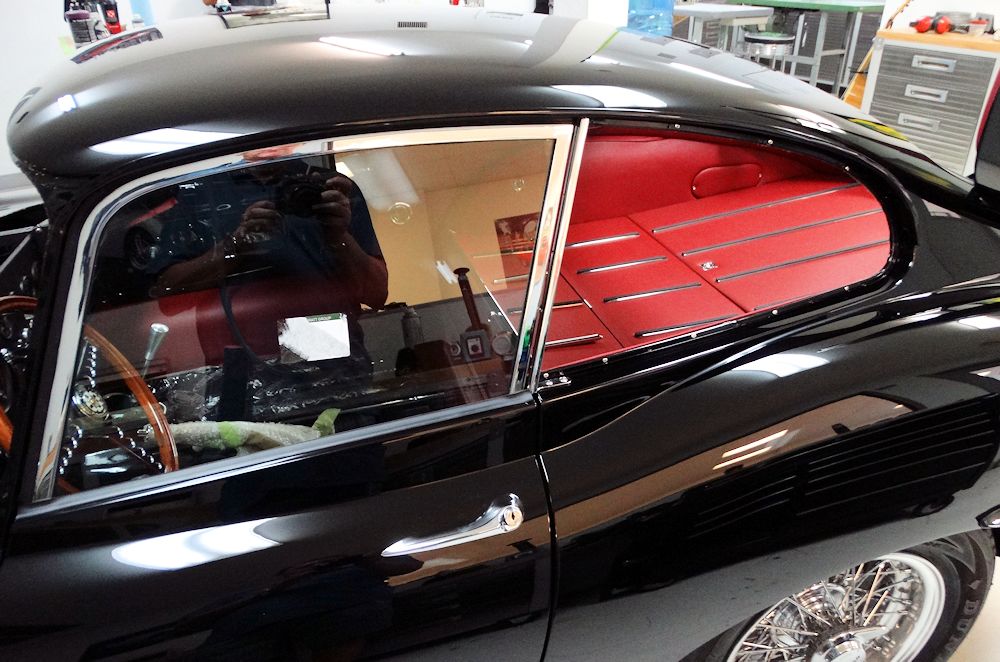
One of our favorite E Types back in for service work and some new Cocomats
 |
 |
 |
 |
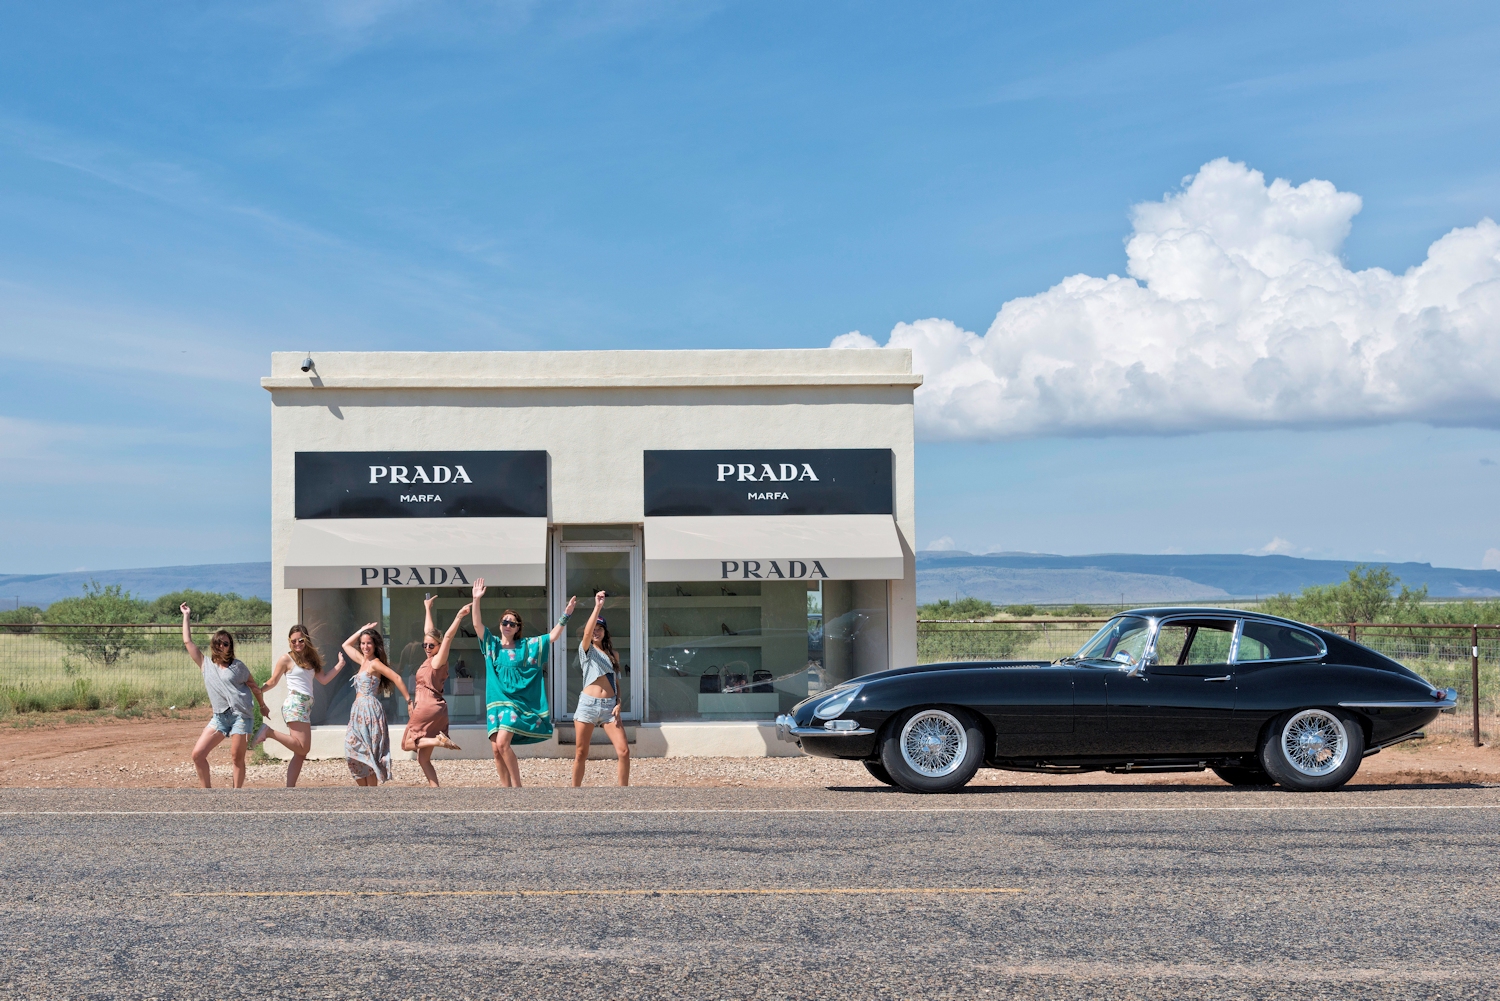
Two days of pure heaven driving the 67 E Type through the Davis Mountains. We ran into six Parisian girls at Prada, Marfa, who wanted their photographs taken with the car. The Jaguar was sublime! That car was made for those curves...and the long vista straights were perfect for an Italian tune-up!
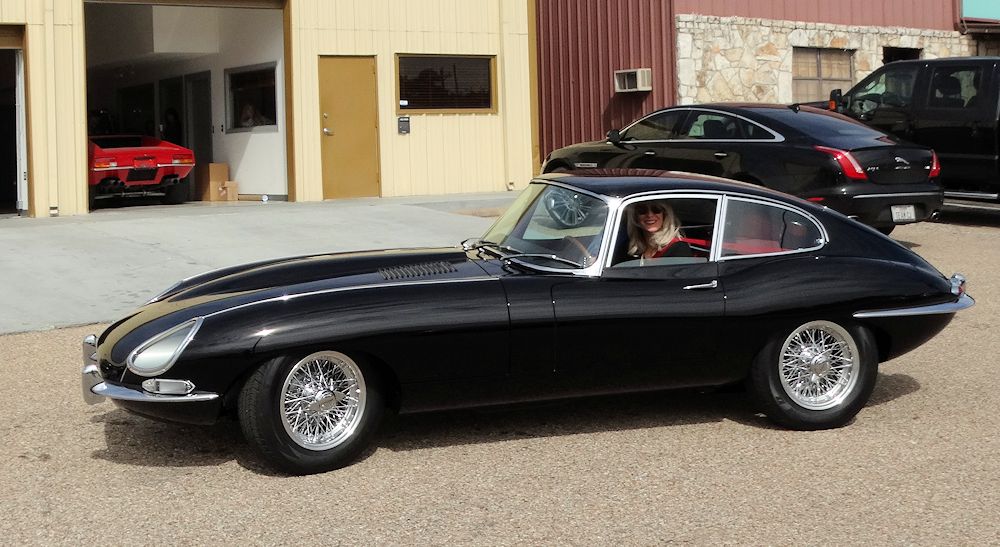
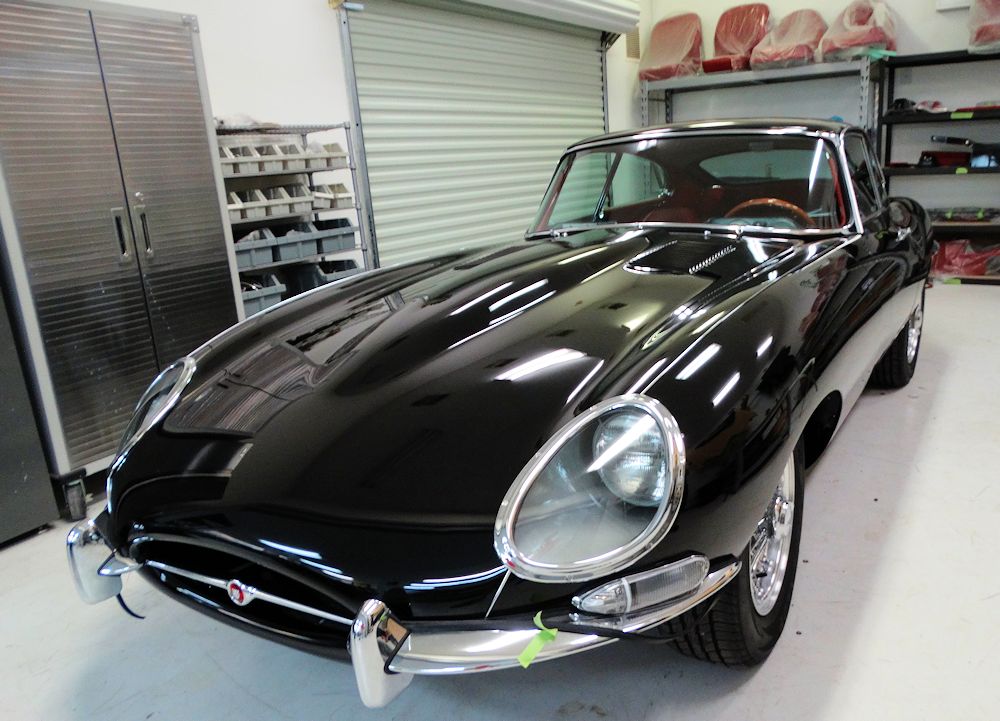
It is always lots of fun when a customer takes delivery in person! After 23 months and 1,900 hours of hard work, the result is a very special E Type.
 |
 |
| Chris Scarborough explaining how everything
works |
|
 |
 |
| Great license plate! |
Time to go home! |
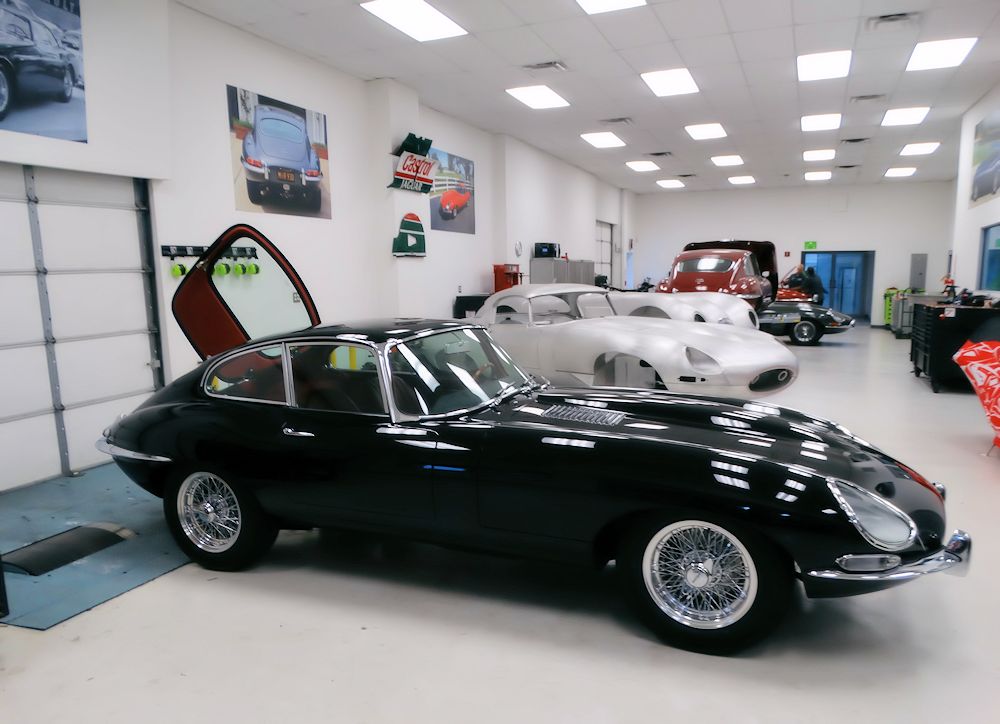
I am pleased to report that our work is done and your car is now ready for the open road!
 |
 |
 |
 |
 |
 |
 |
 |
 |
 |
 |
 |
 |
 |
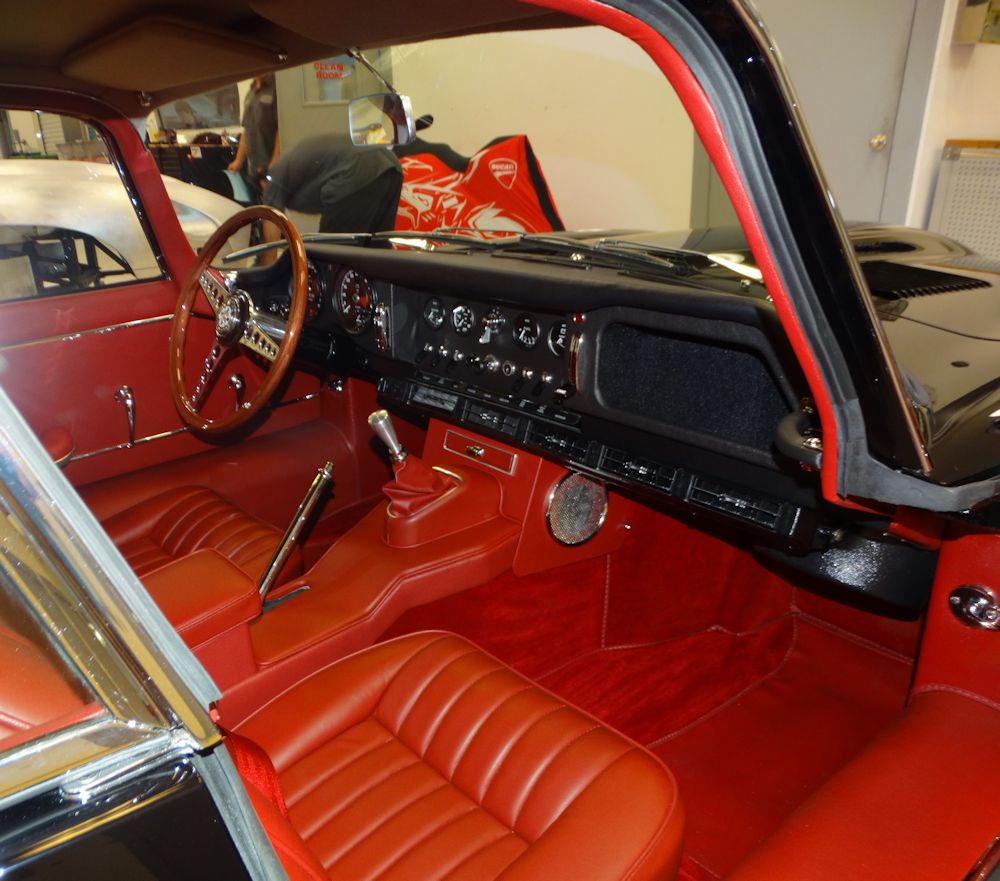
Almost finished with the interior re-trim. All we are waiting for are the custom speakers which are due in any day.
 |
 |
 |
 |
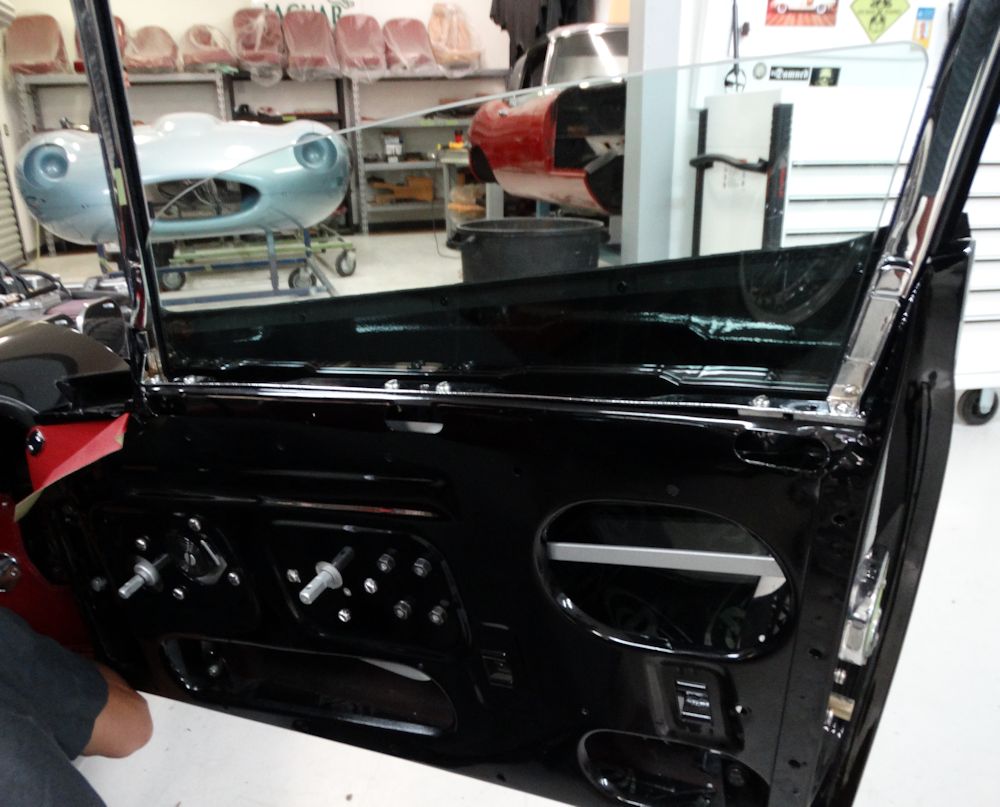
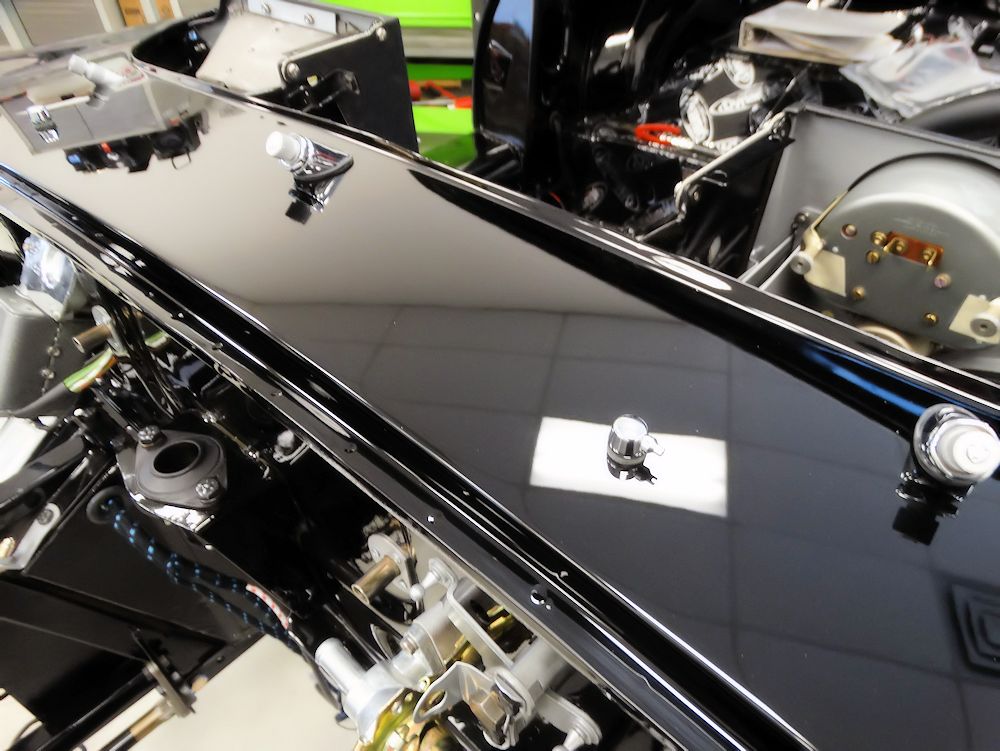
Bonnet, quarter light windows and remaining chrome trim now installed..
 |
 |
 |
 |
We have entered the finishing straight for this project and hope to be delivering the car in the next couple of weeks...
 |
 |
| Borrani wire wheels look stunning |
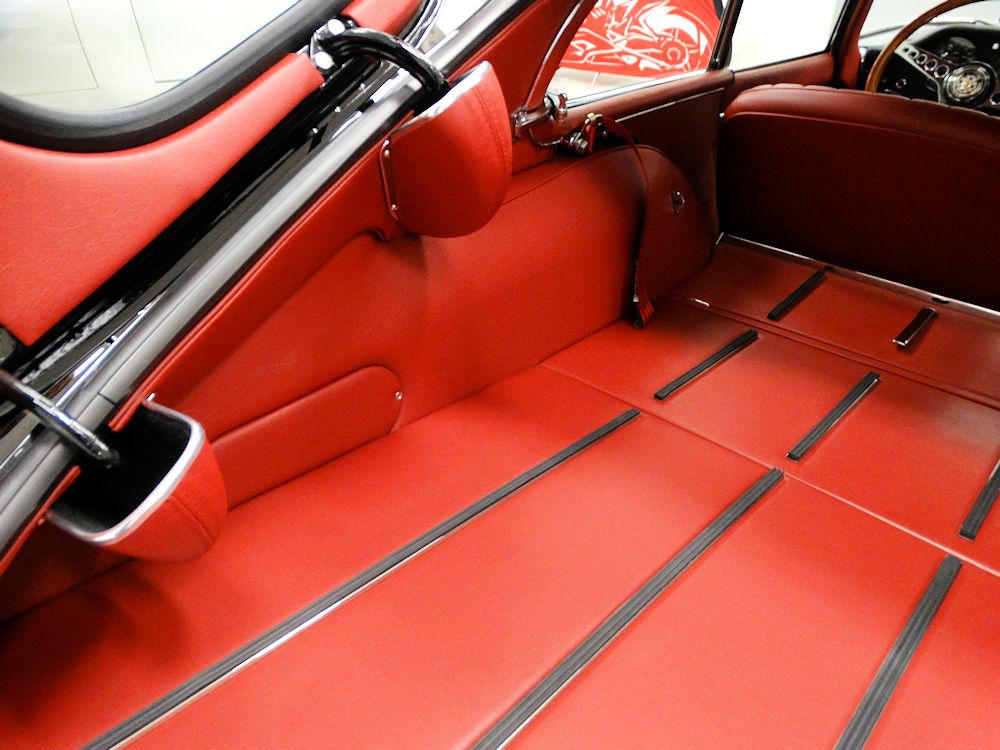
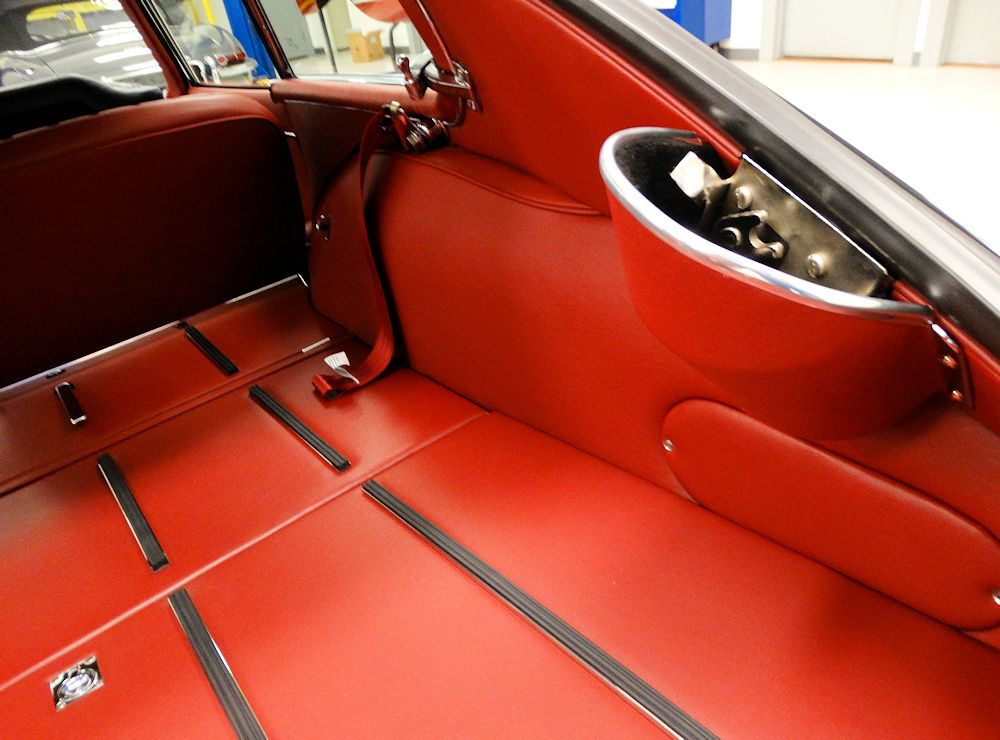
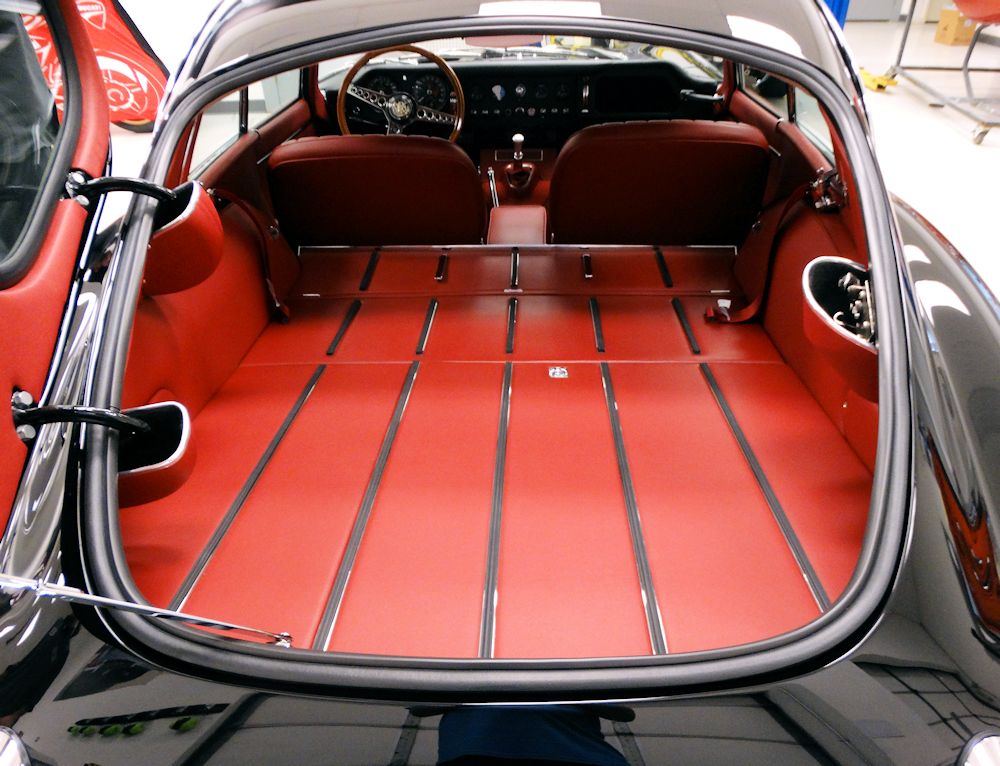
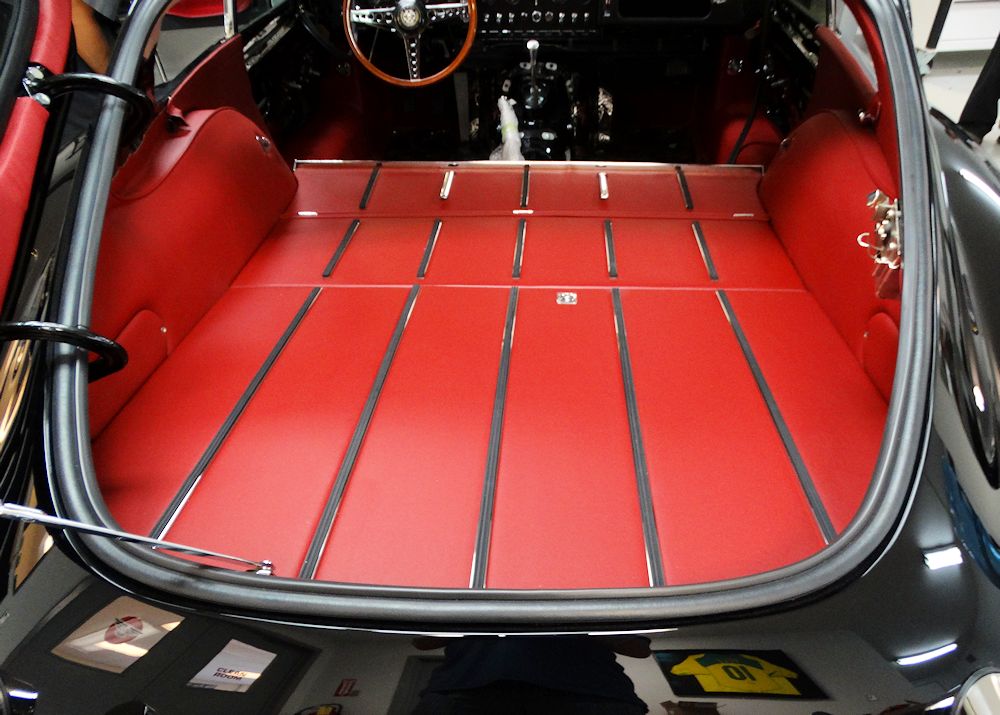
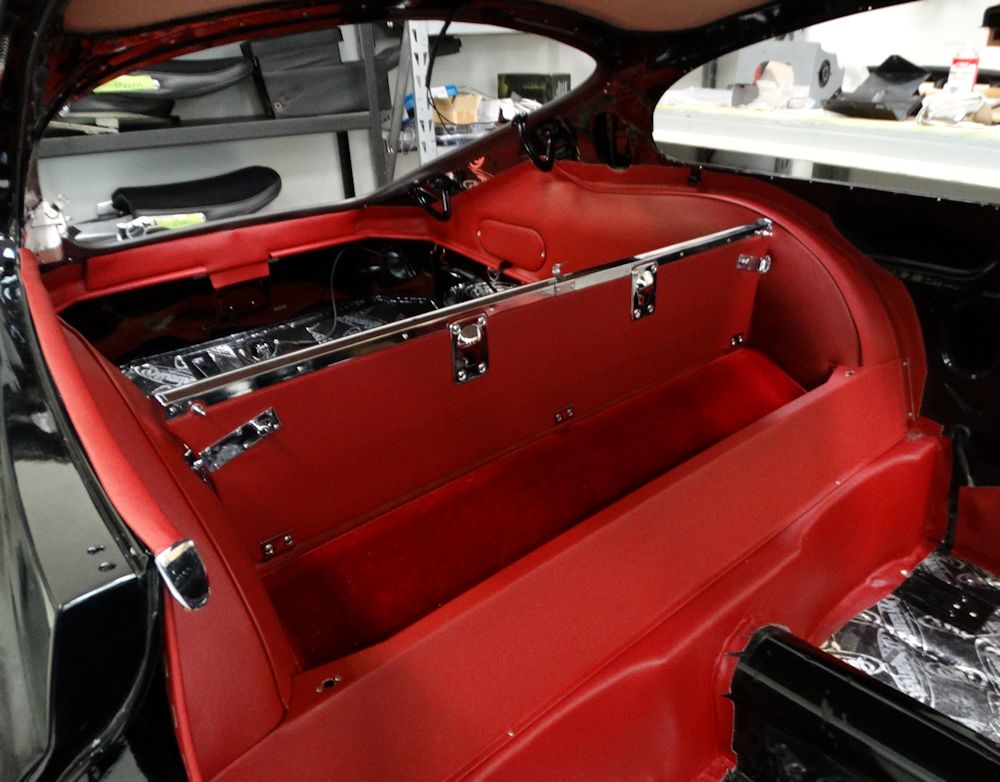
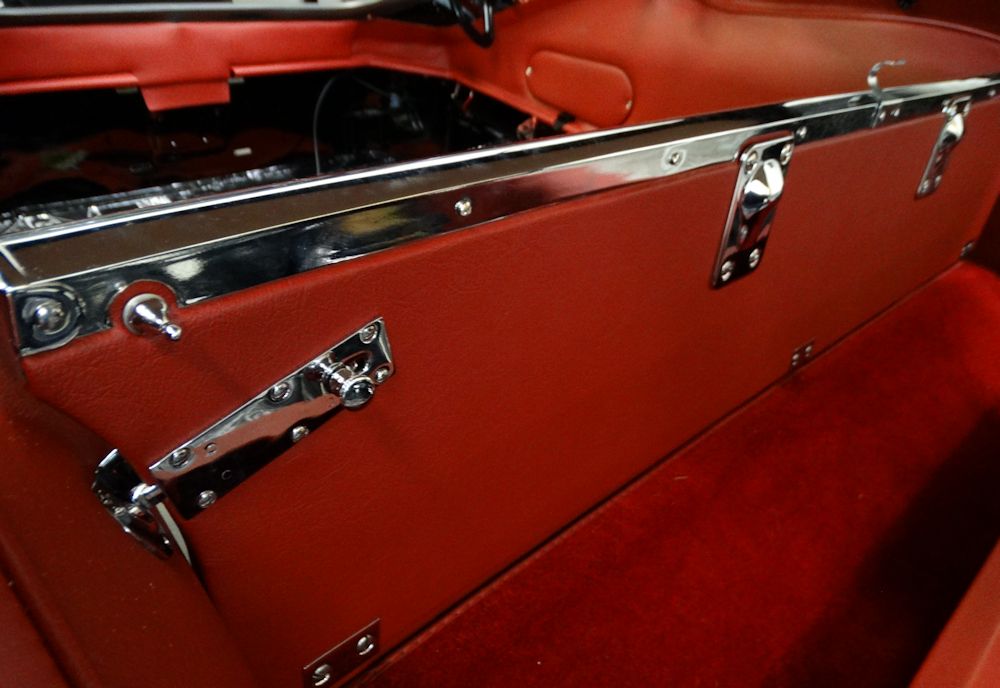
The entire boot compartment is trimmed in
hide |
 |
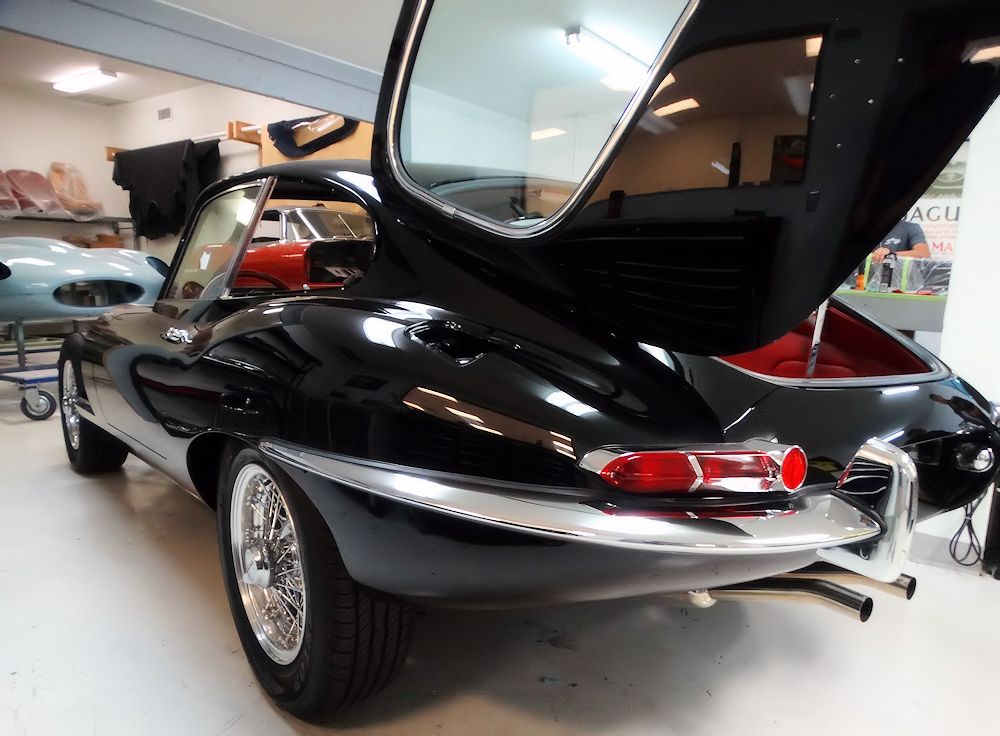 |
| Rear lights and bumpers now installed |
|
 |
 |
| We have used new tinted glass all round |
|
 |
 |
| New rear window and chrome trim now in
place |
Door latch and window winding mechanisms installed |
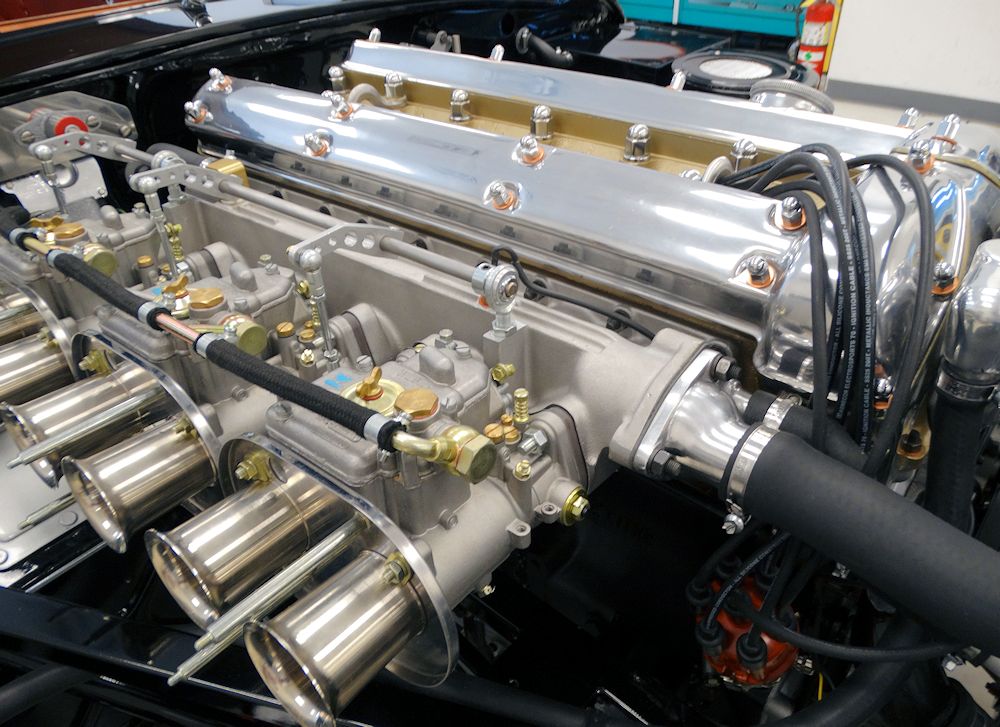
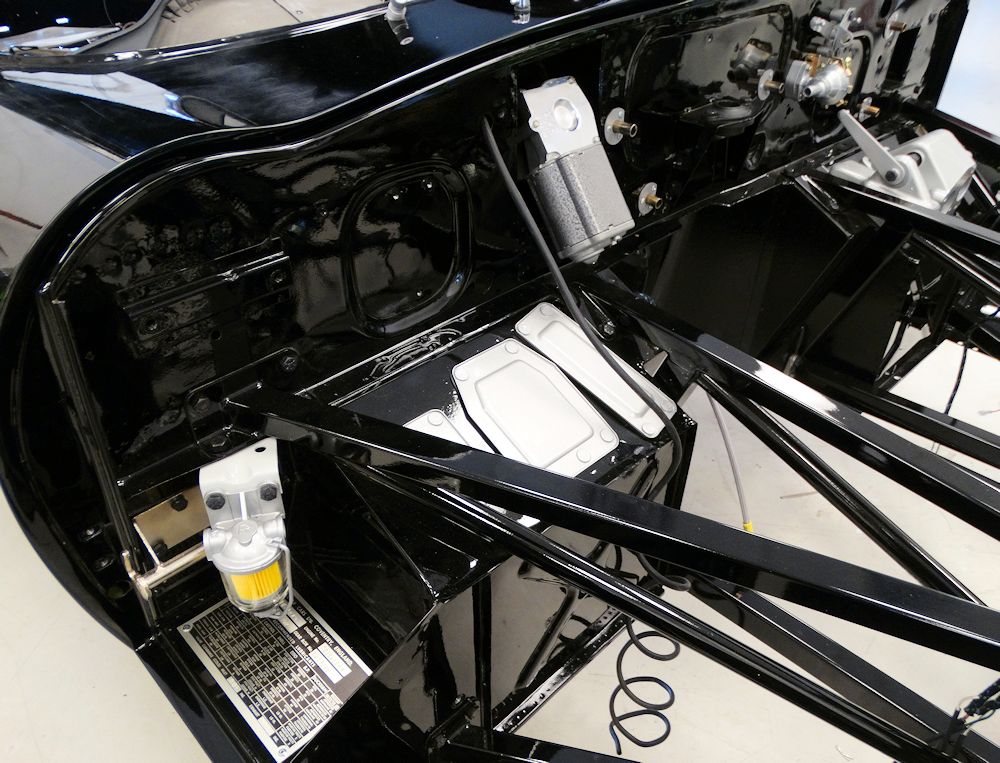
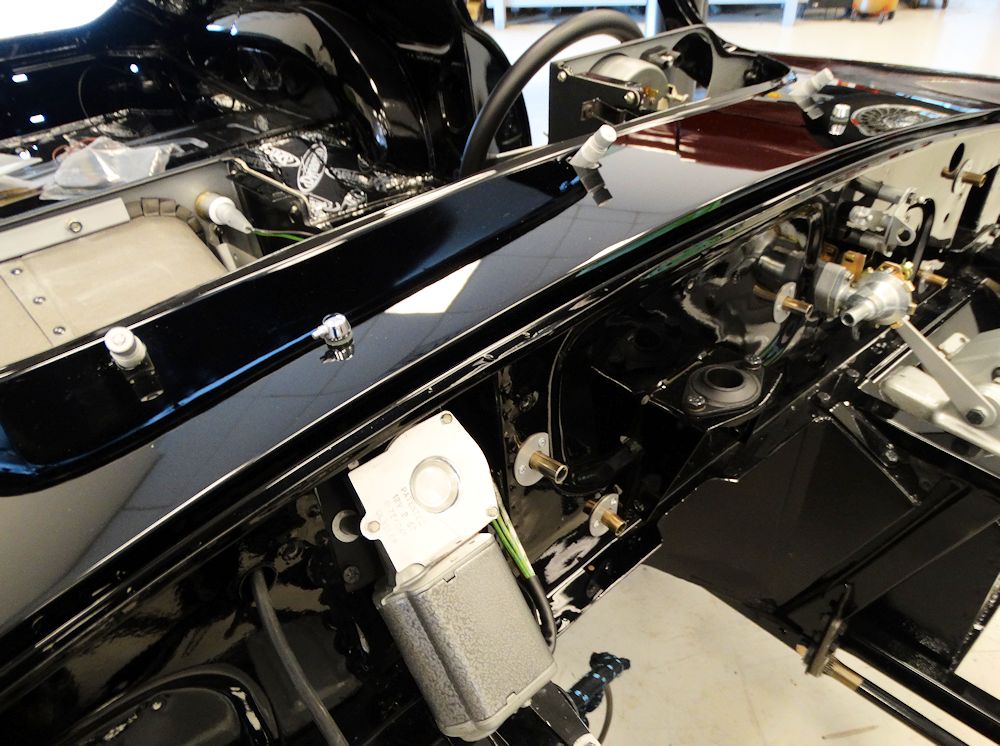
The engine bay is filling up rapidly!
 |
 |
 |
 |
 |
 |
 |
 |
 |
 |
Lots of progress in the CJ trim room...
 |
 |
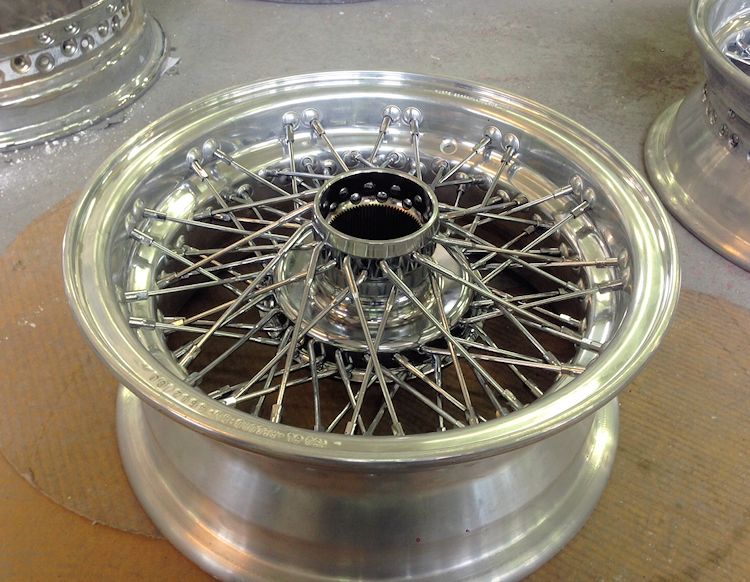
| Your Borranis have now been polished,
stamped and are ready to ship |
|
 |
 |
| Lots of progress in the trim room |
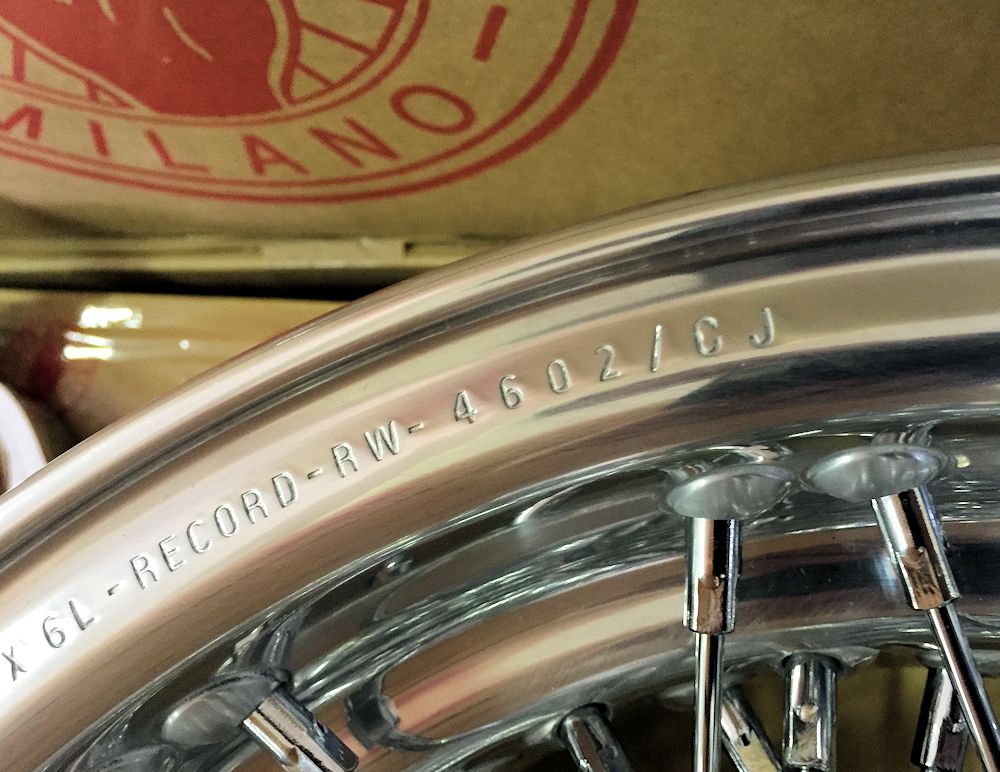
Giorgio Simone (foreground) and Stefano Savoia at the Borrani factory in Milan, constructing your RW 4602/CJ wire wheels.
 |
 |
| Your Borranis in production at the Milan
factory |
The first wheel almost finished - all that
remains is final polishing |
Time for the fun part - going back together!
 |
 |
| Good to see the car back on its wheels |
|
 |
 |
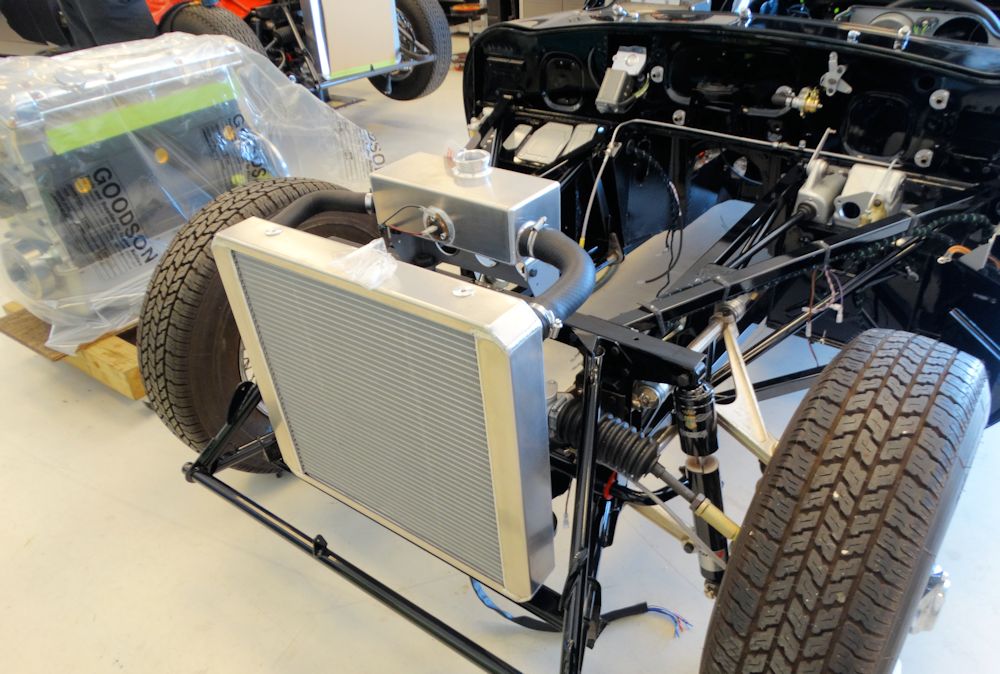
| Front suspension has been fully rebuilt and upgraded in every way possible |
Installing rebuilt wiper motor |
 |
 |
| Cowl has been sanded and buffed in order to install wiper arms and screen washer jets |
|
 |
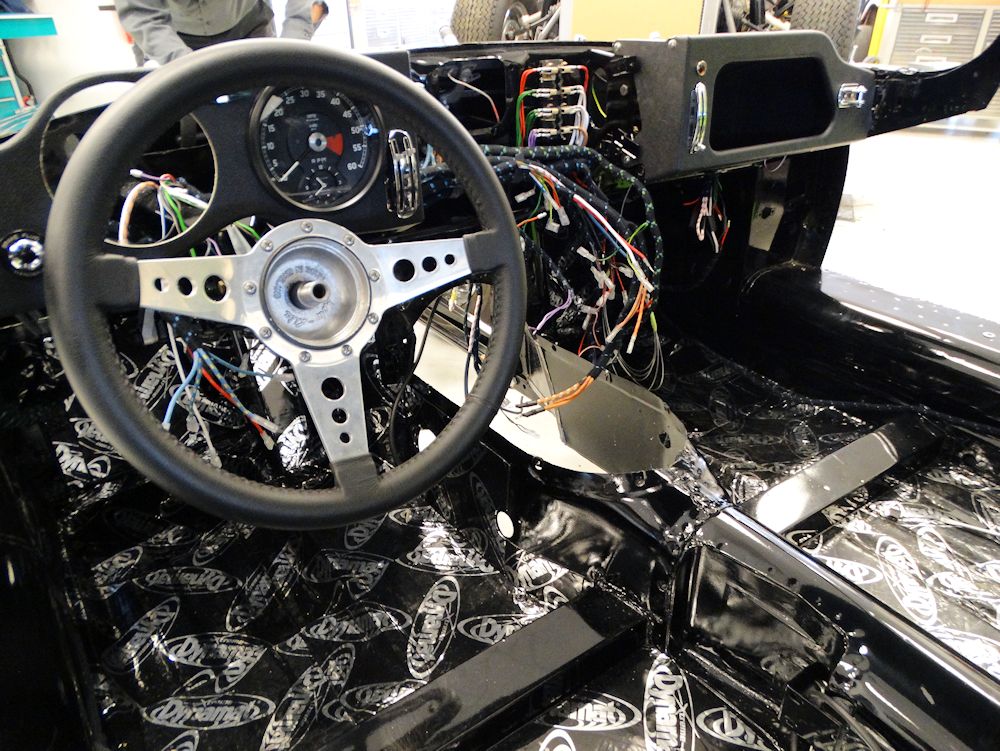 |
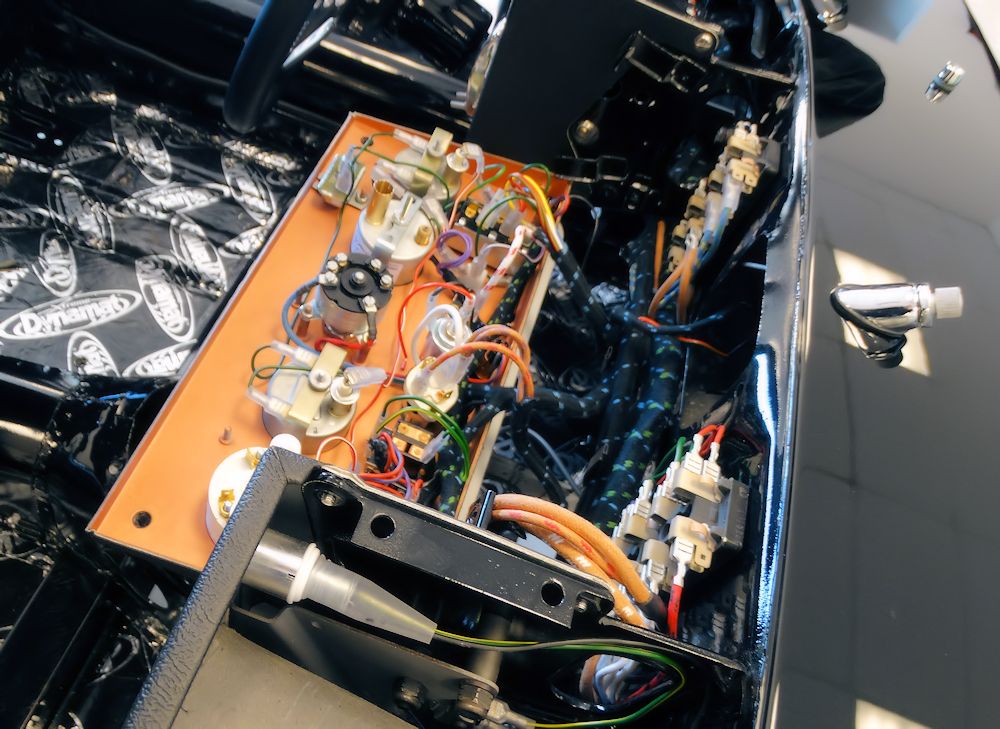
| Chris starting to lay wiring harness in
place |
Cabin has been insulated with Dynamat Xtreme |
 |
 |
| Wiring in rebuilt gauges |
Engine will be installed shortly |
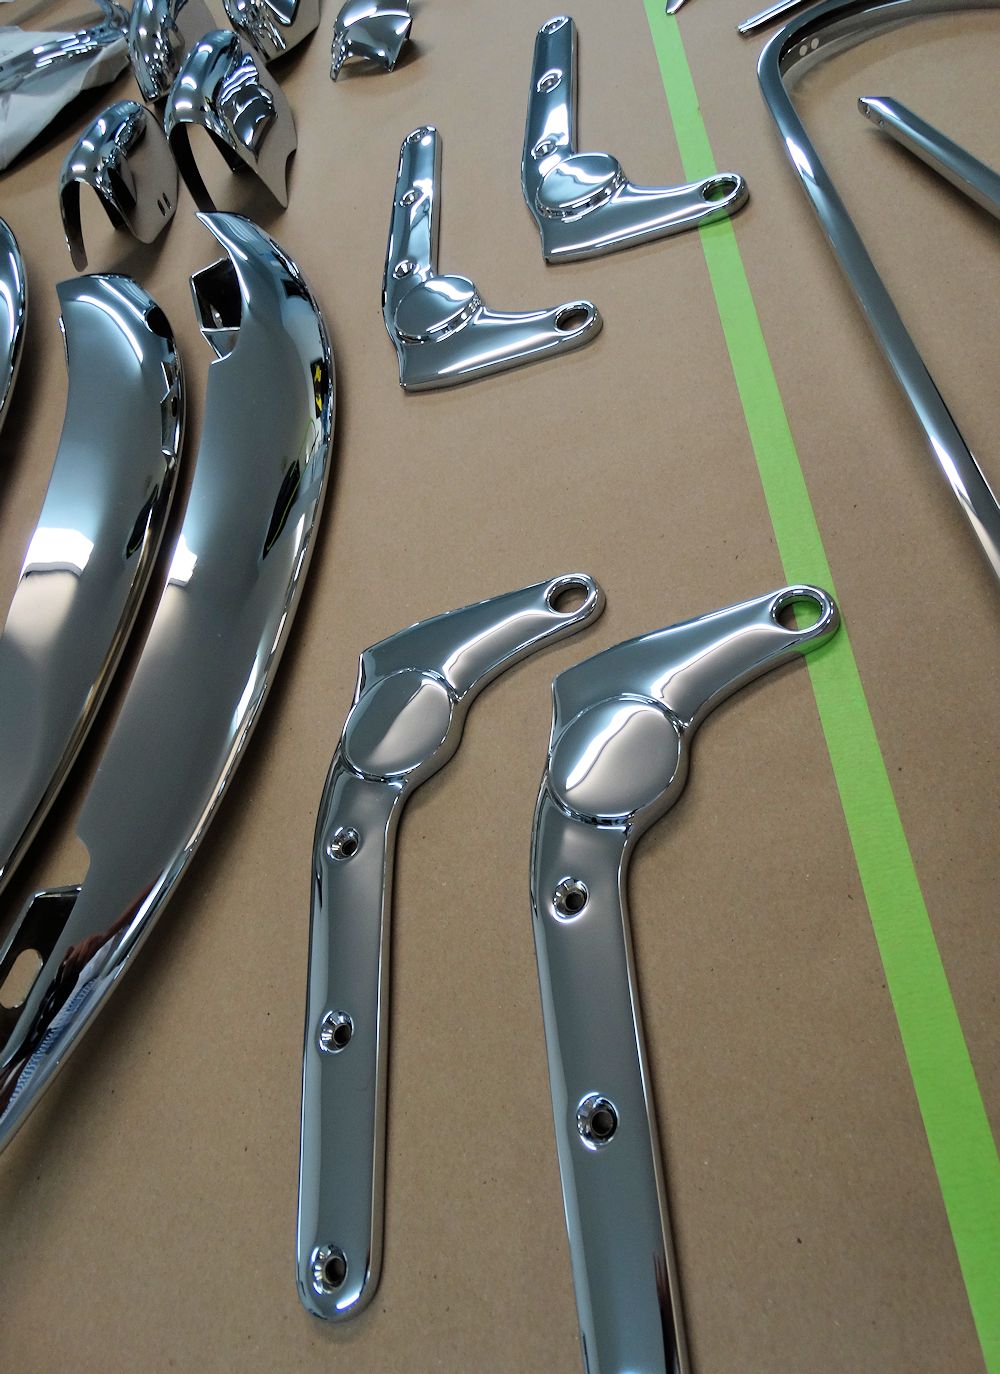
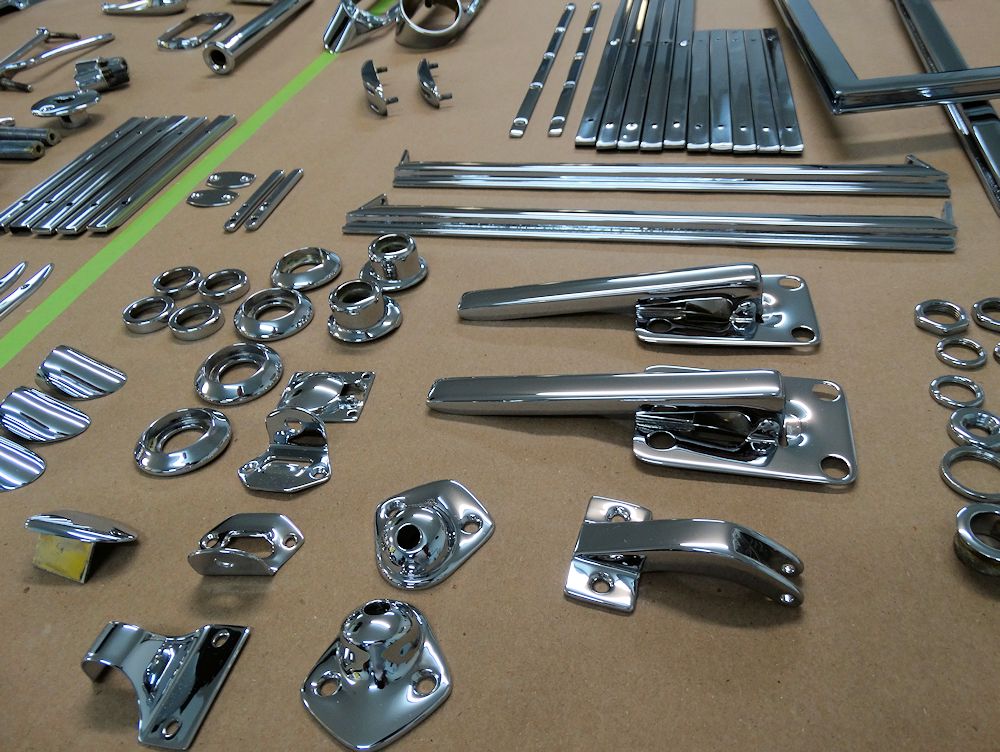
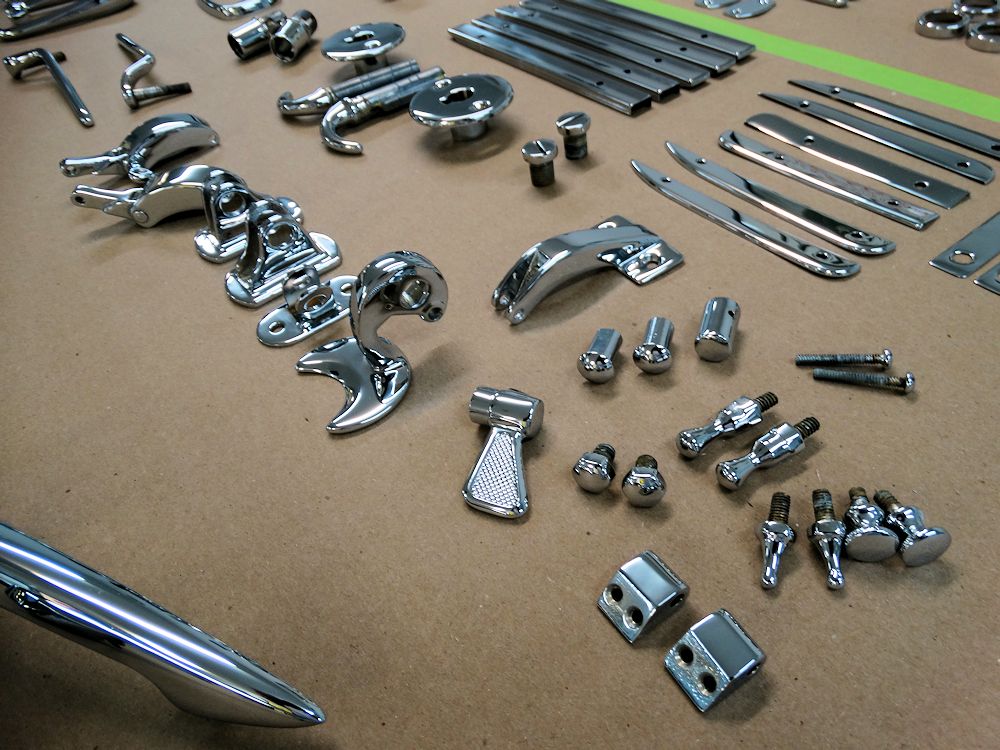
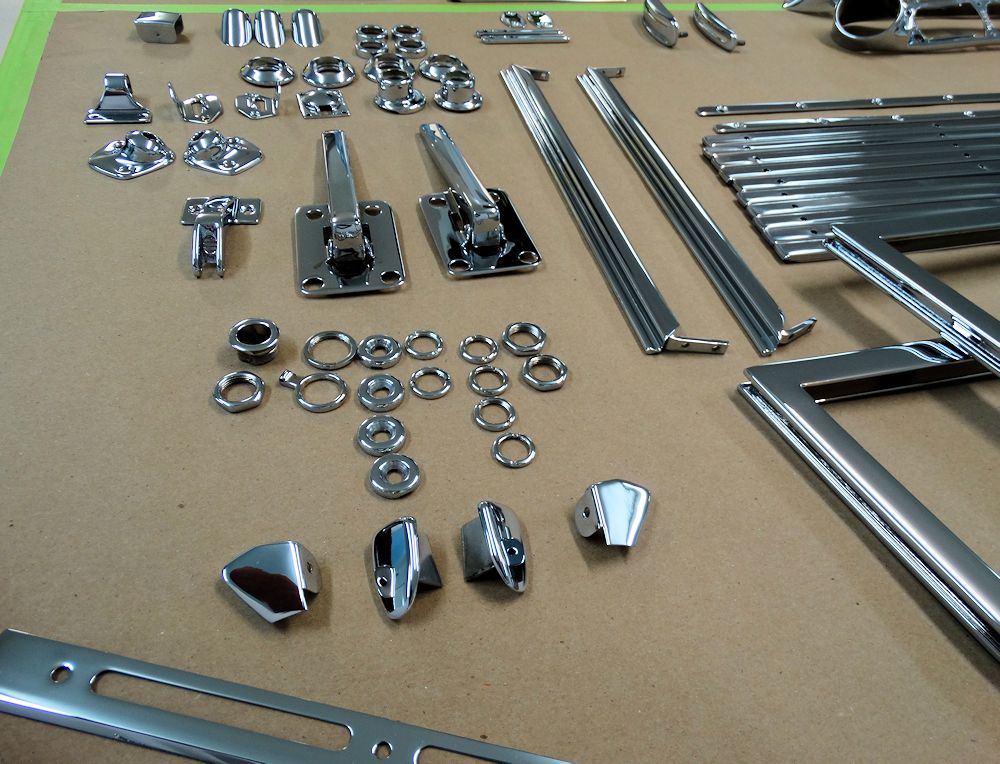
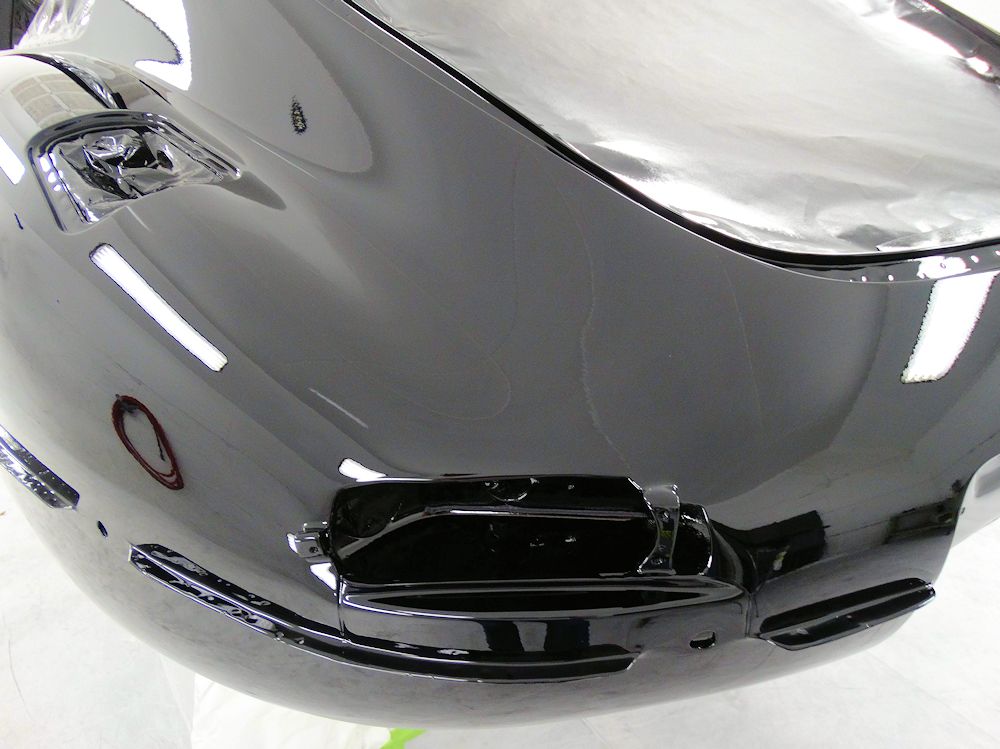
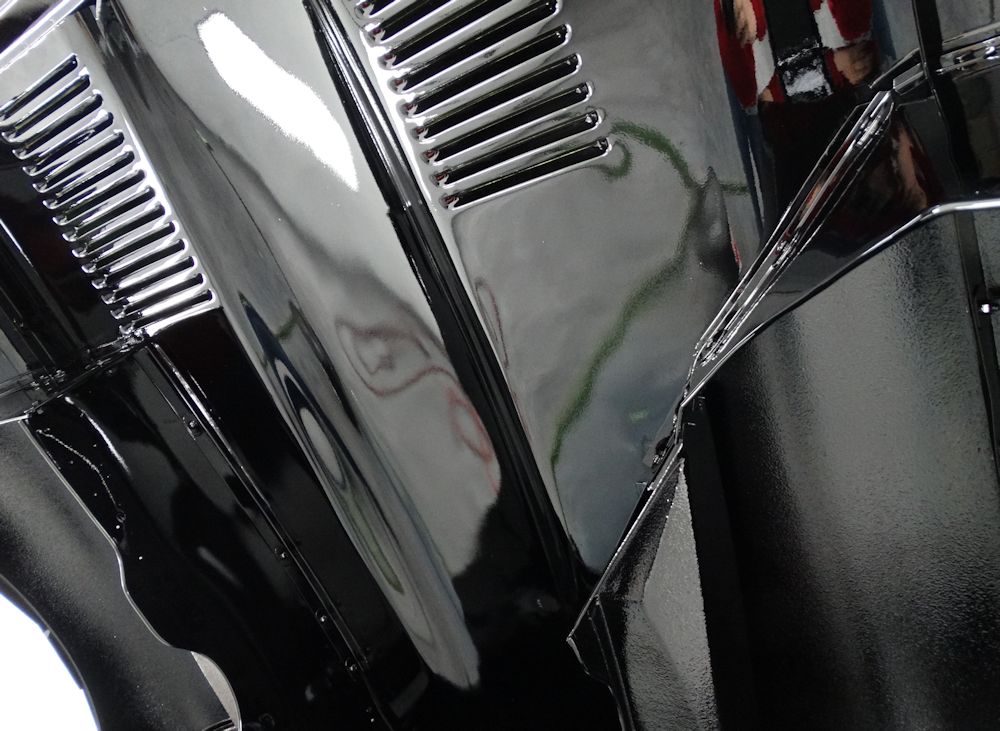
163 pieces of absolutely beautiful, triple plated chrome trim..
 |
 |
 |
 |
 |
 |
 |
 |
 |
 |
 |
 |
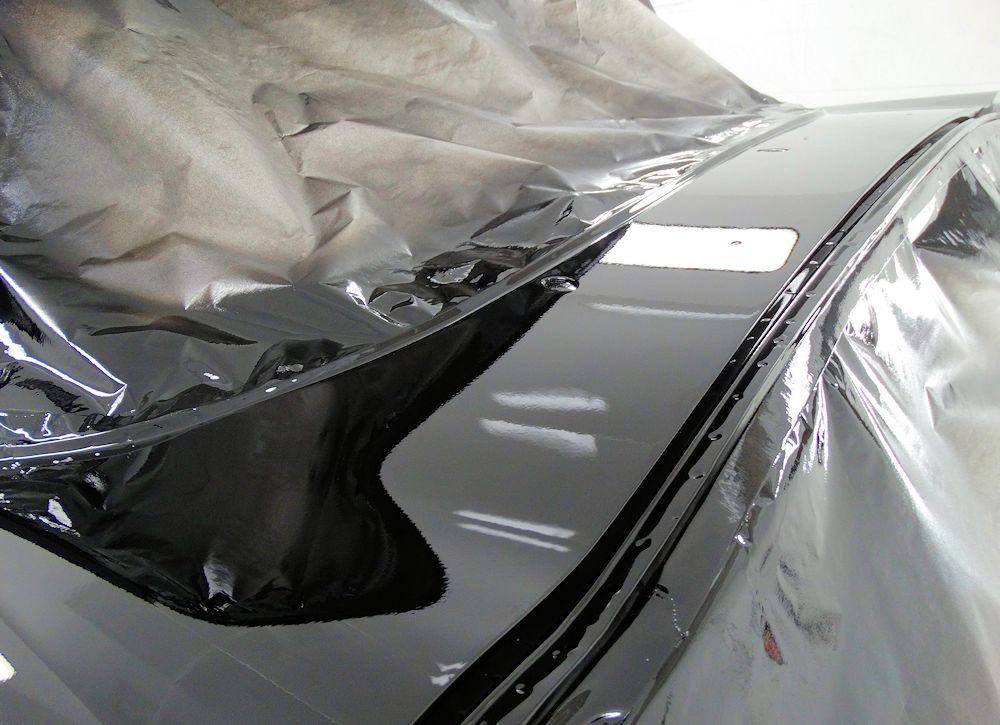
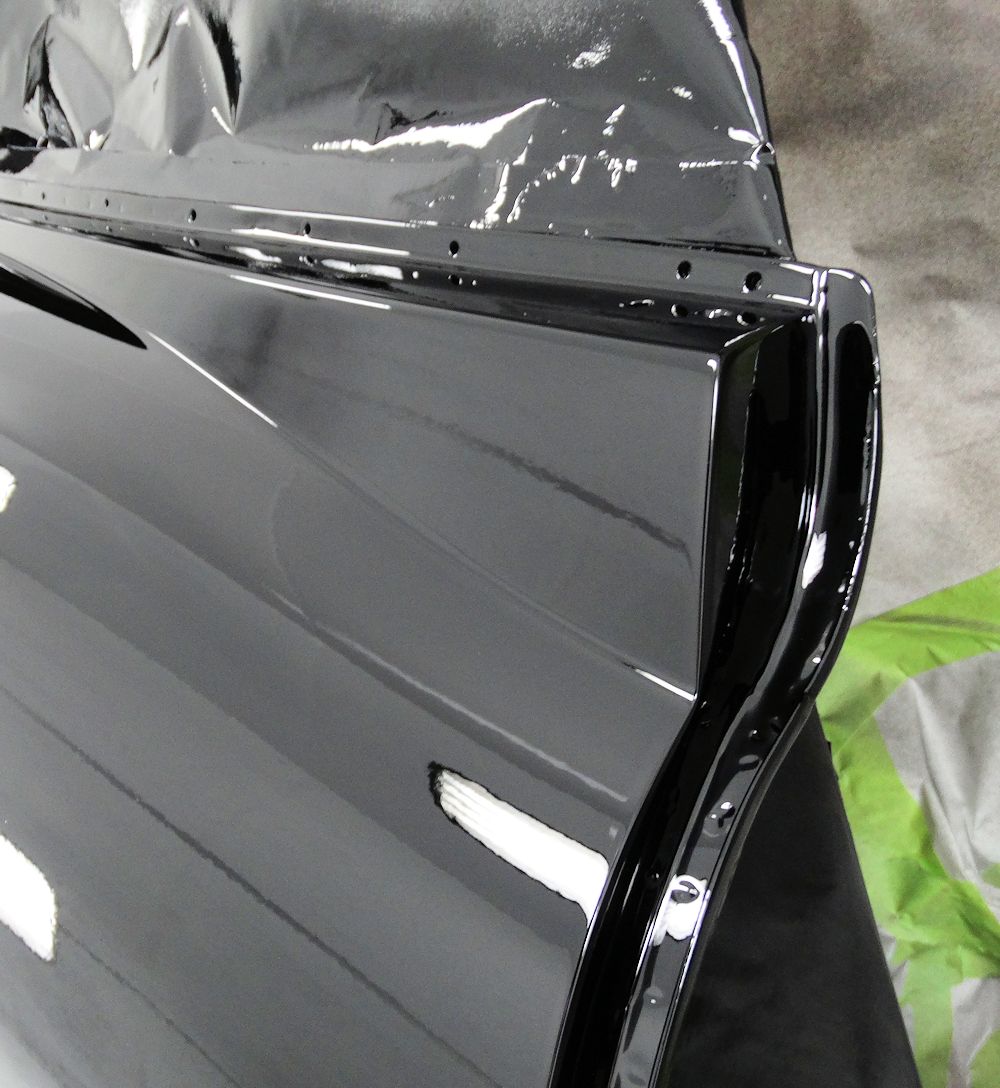
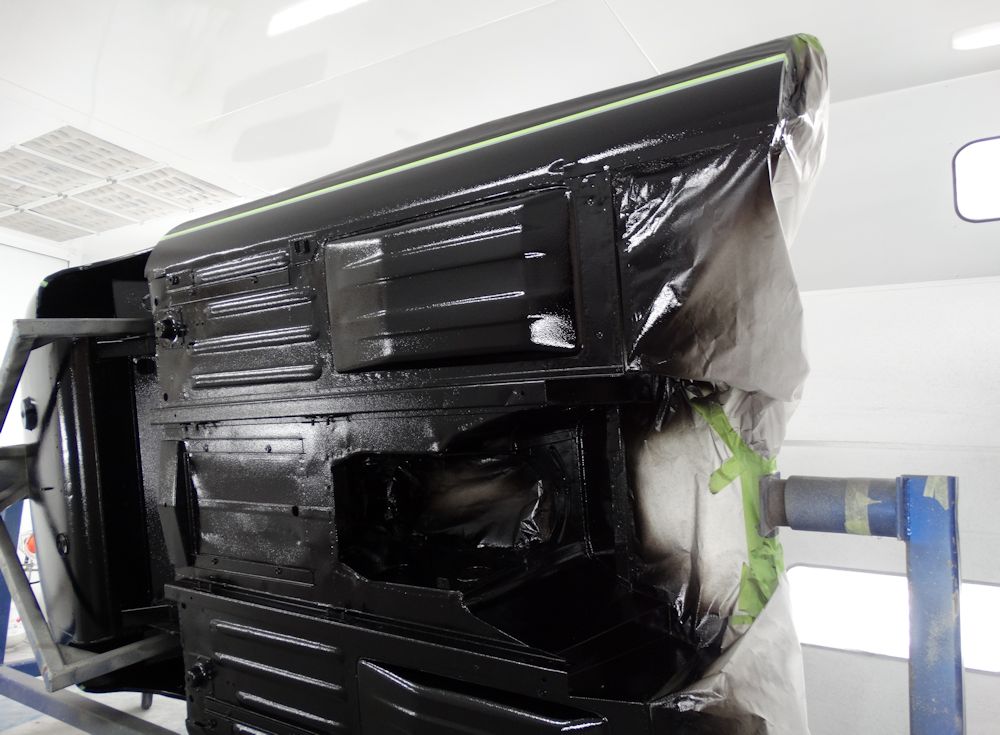
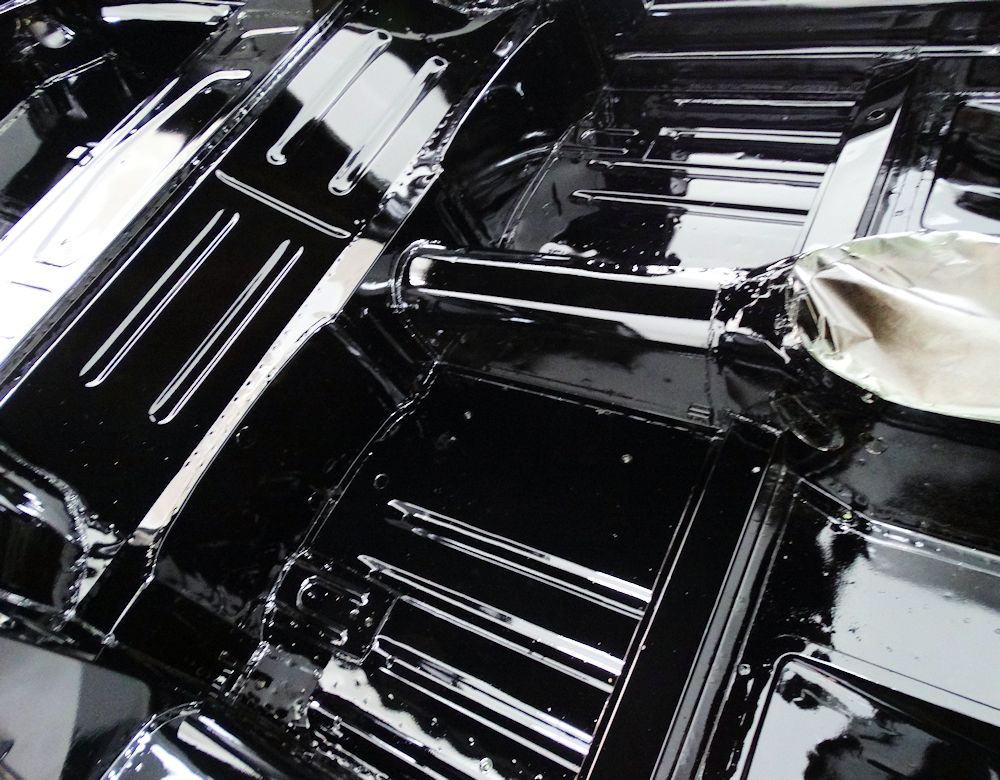
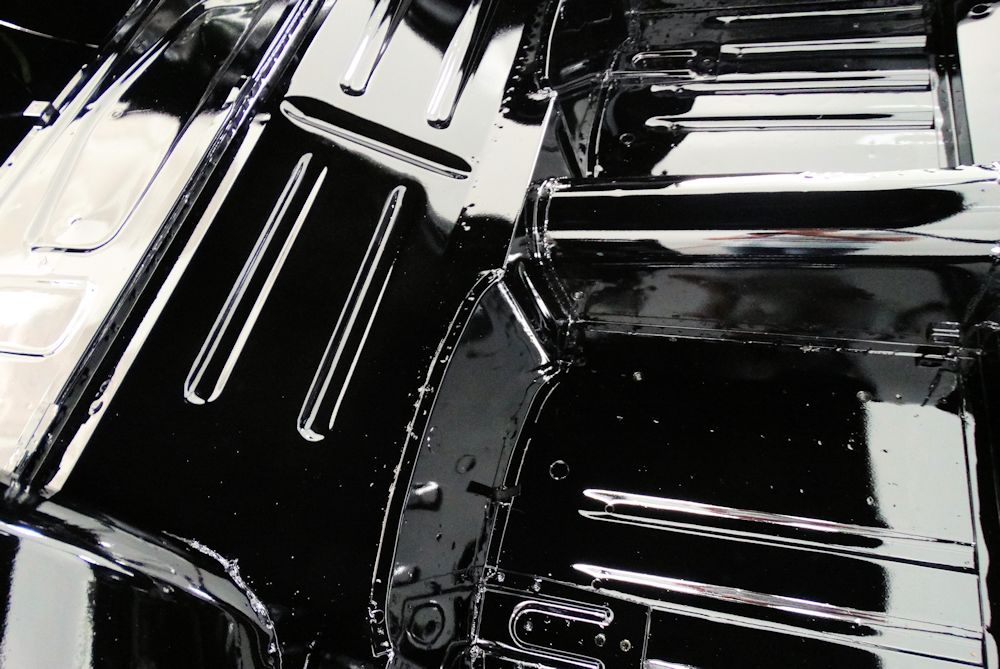
Main bodyshell now painted black..
 |
 |
 |
 |
 |
 |
 |
 |
 |
 |
 |
 |
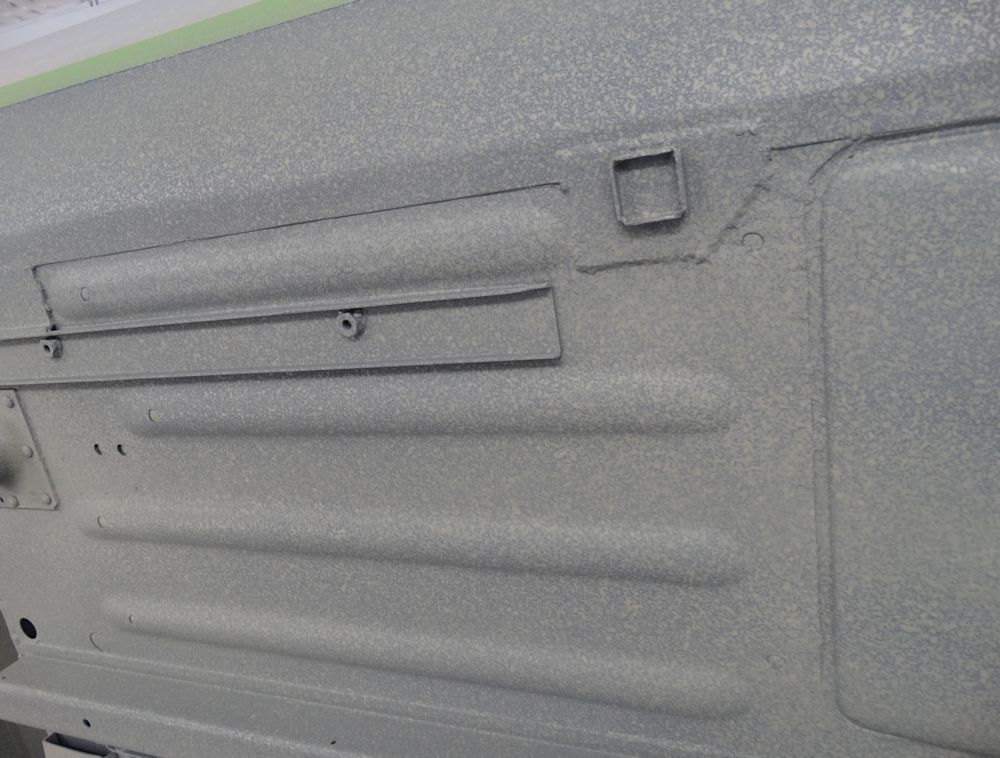
Painting the underside of the new floors...
 |
 |
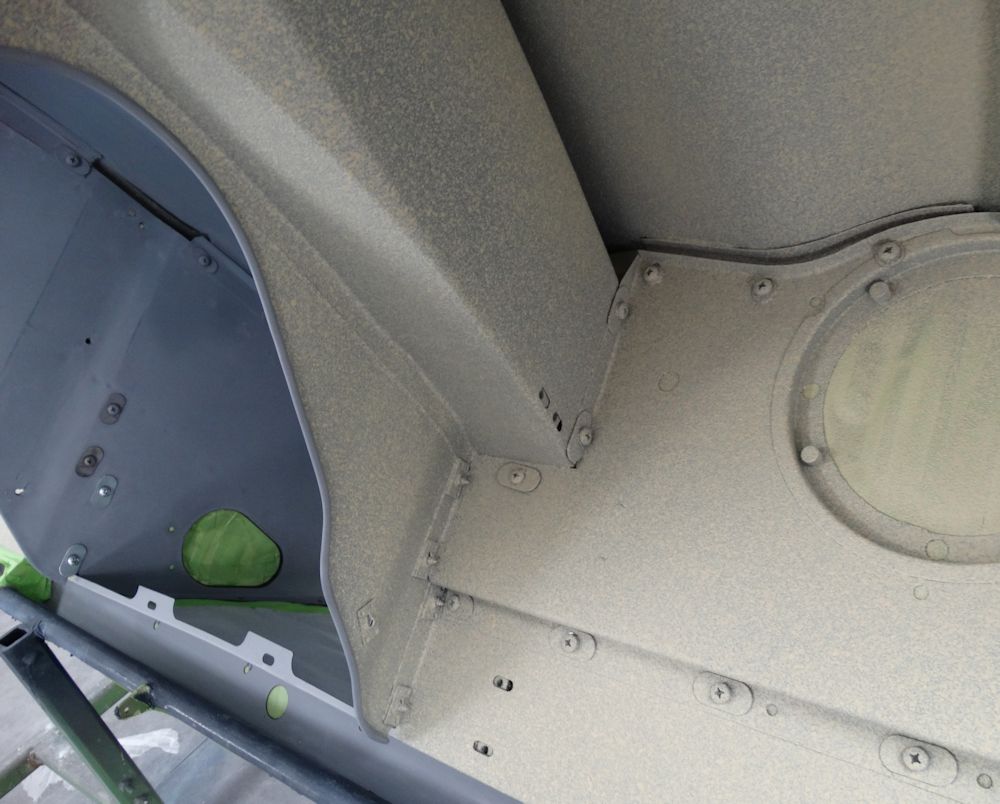
| 3M Rocker Guard is first applied |
|
 |
 |
 |
 |
 |
 |
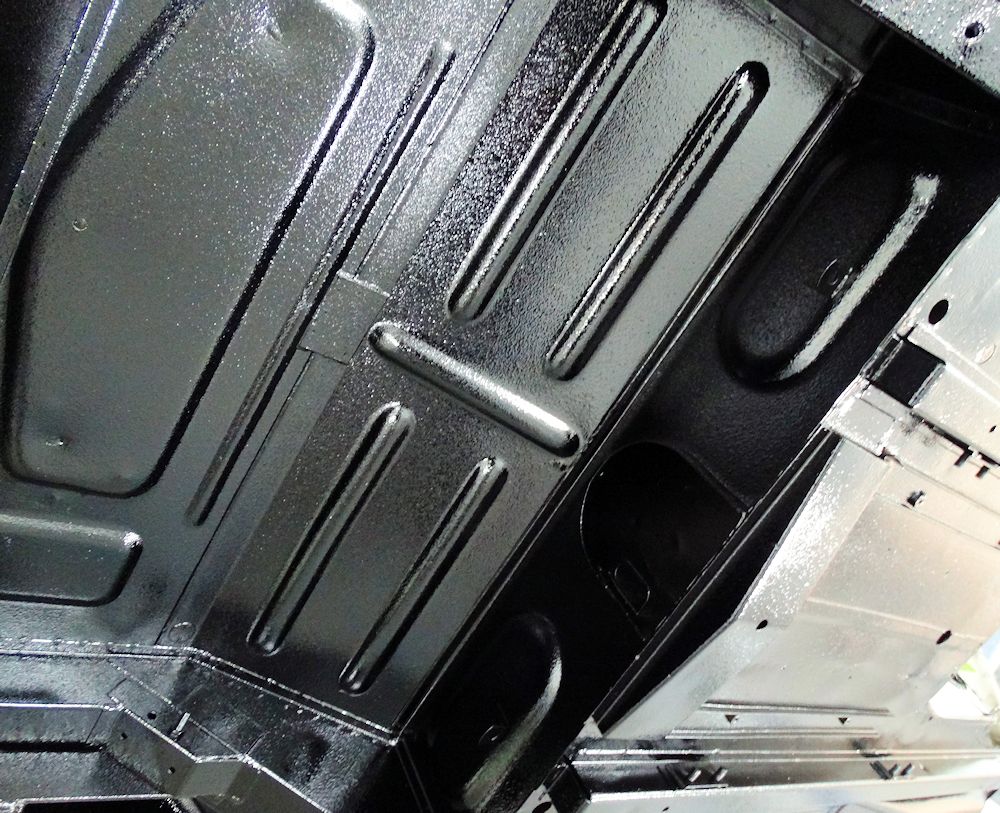
| Applying color to underside of new floors |
|
 |
 |
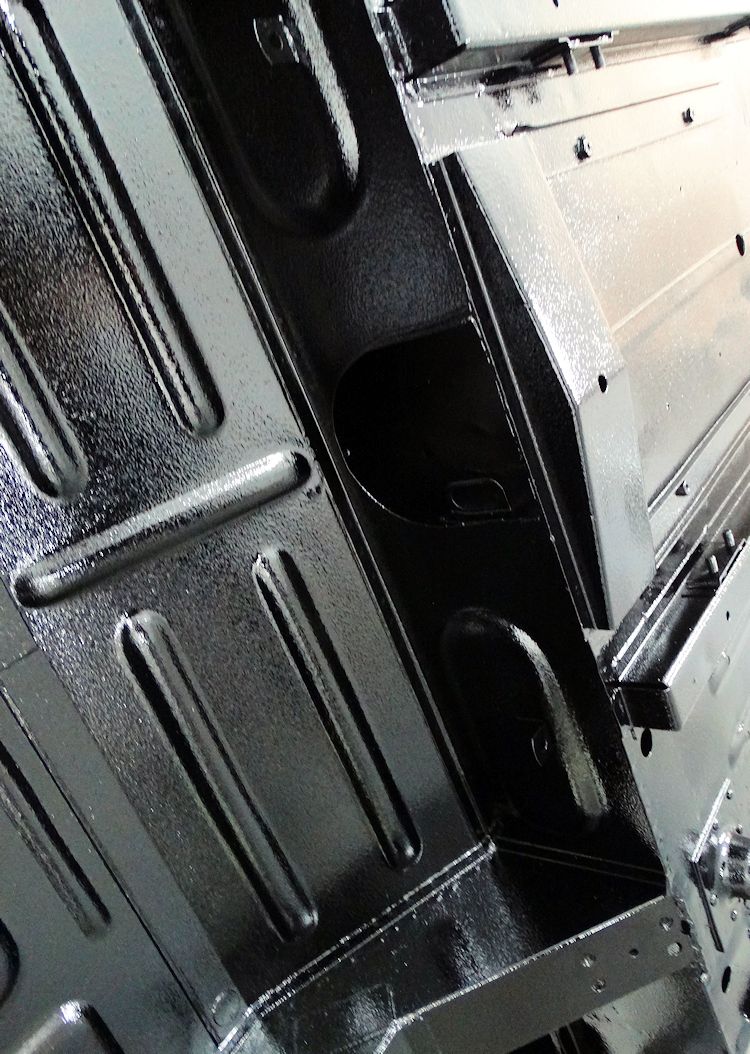
Painting the cabin, boot compartment and firewall..
 |
 |
 |
 |
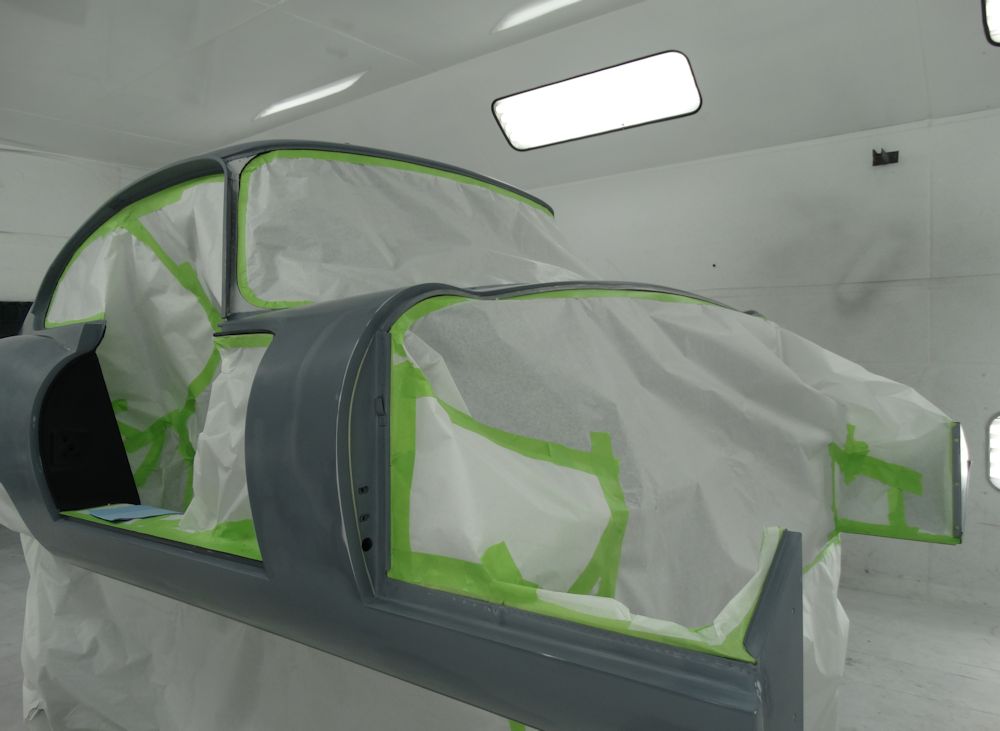
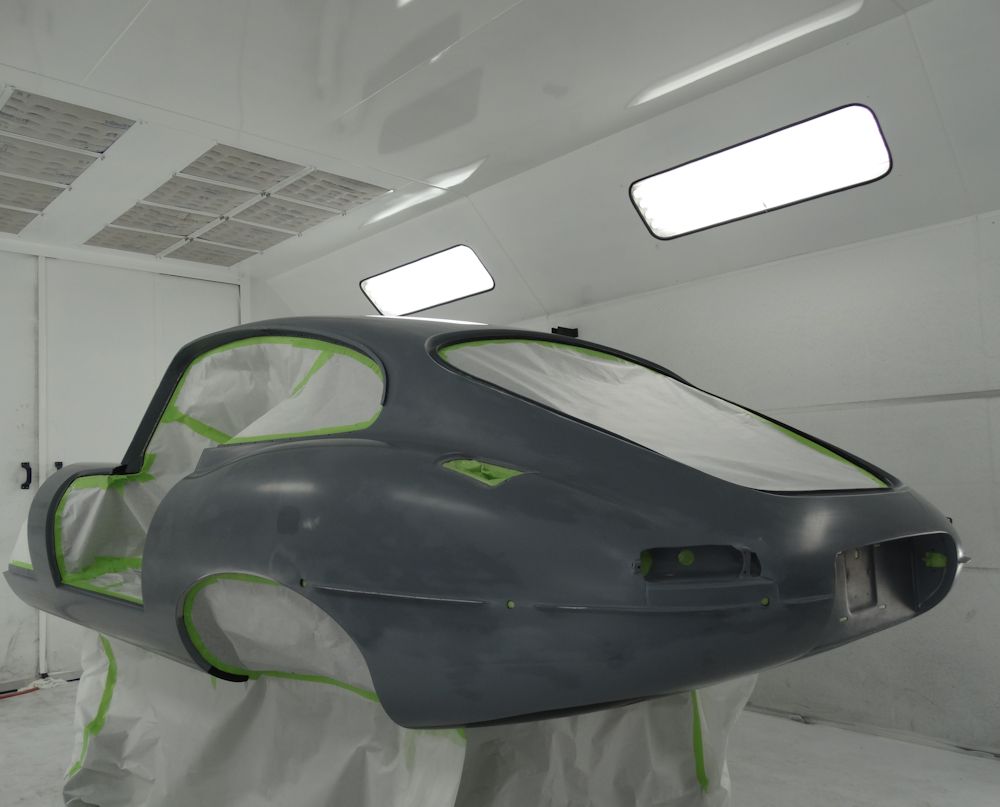
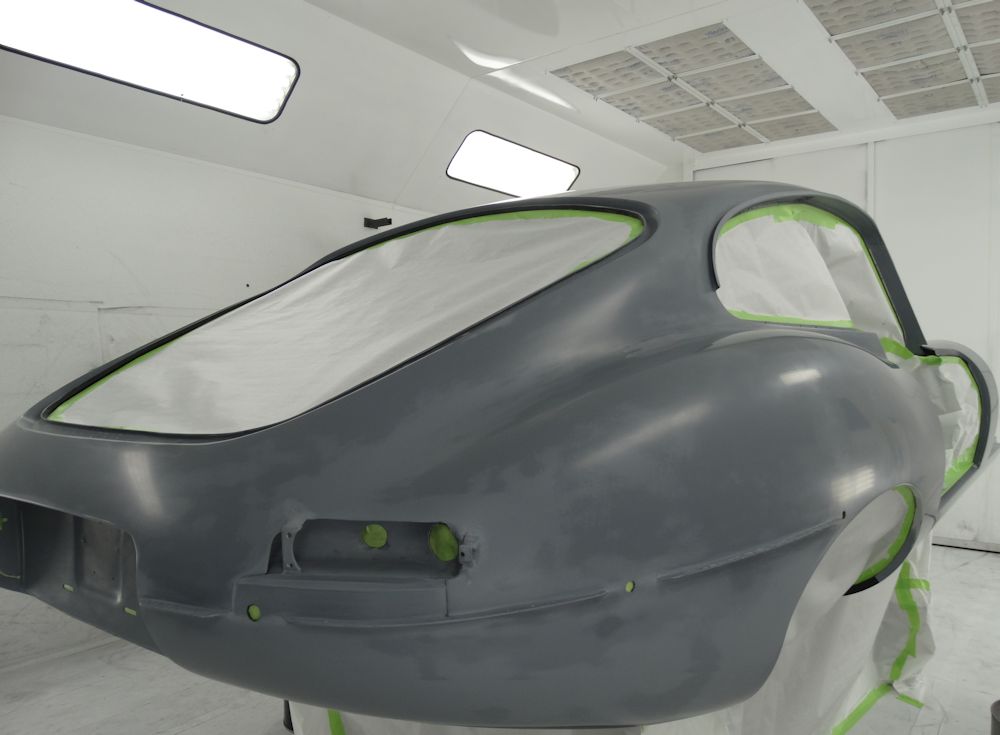
Time to start the painting process!
 |
 |
| Applying rocker guard to front wheel wells prior to painting |
Applying the first of the black paint |
 |
 |
Trial fitting front bumpers and over-riders, modifying new front headlamp scoops for better fit...
 |
 |
| Relocating mounting bracket on new bumper
blade |
|
 |
 |
| New headlamp scoops don't fit very well |
|
 |
 |
| Both scoops will be modified |
|
 |
 |
 |
 |
 |
 |
 |
 |
 |
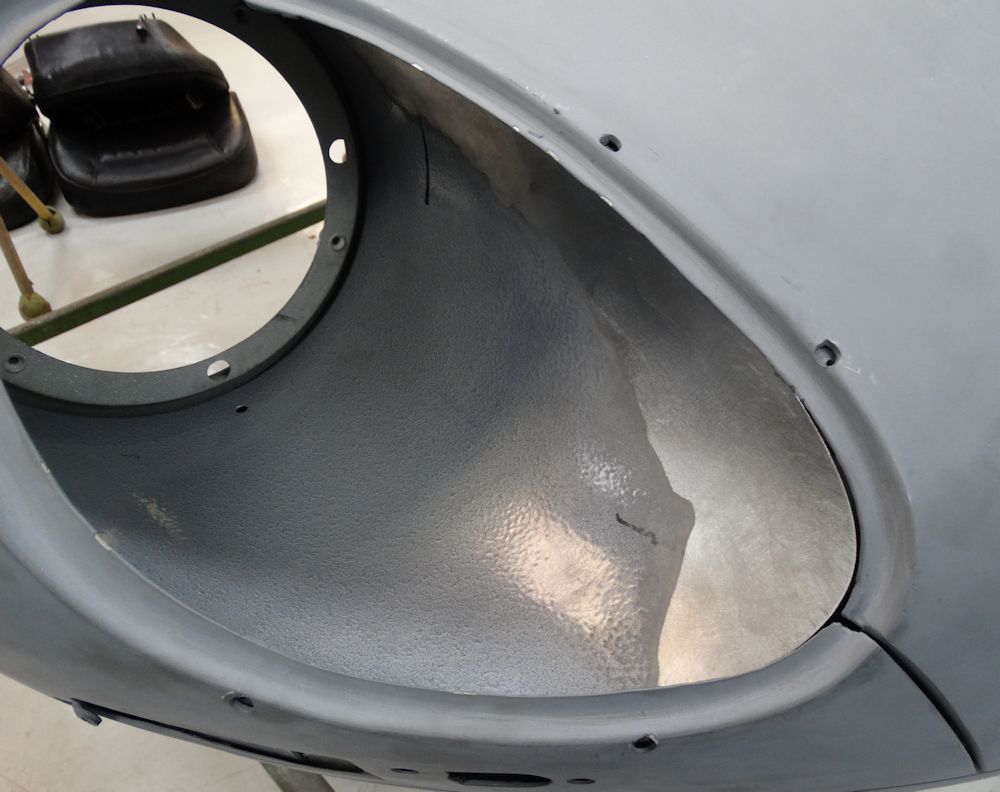 |
| Modified scoops now fit as they should |
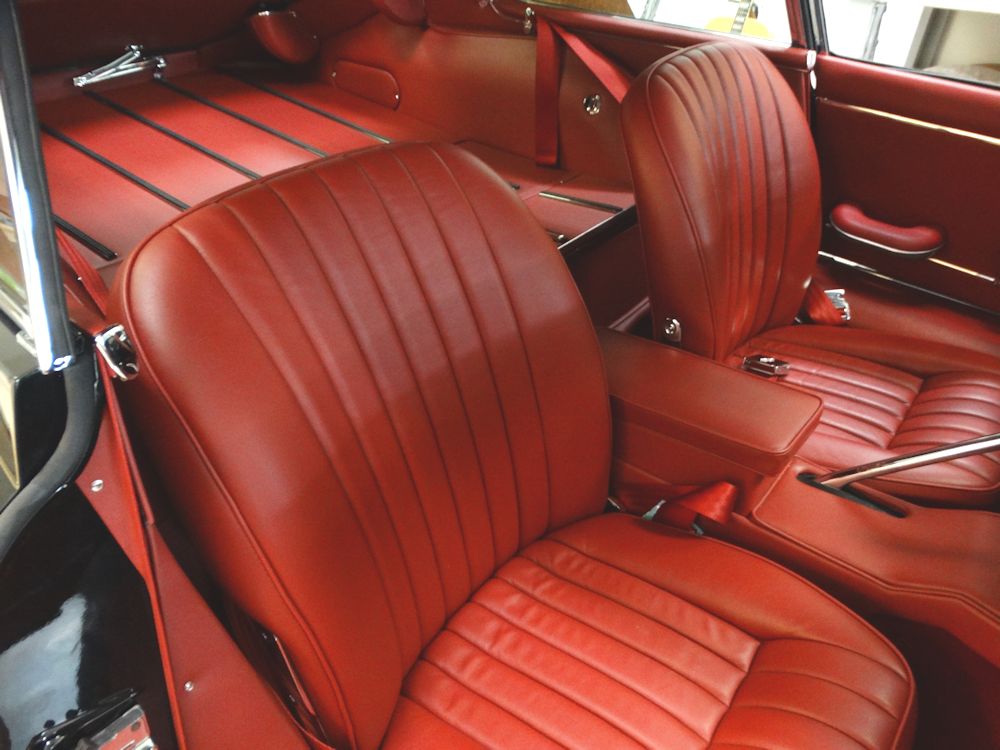
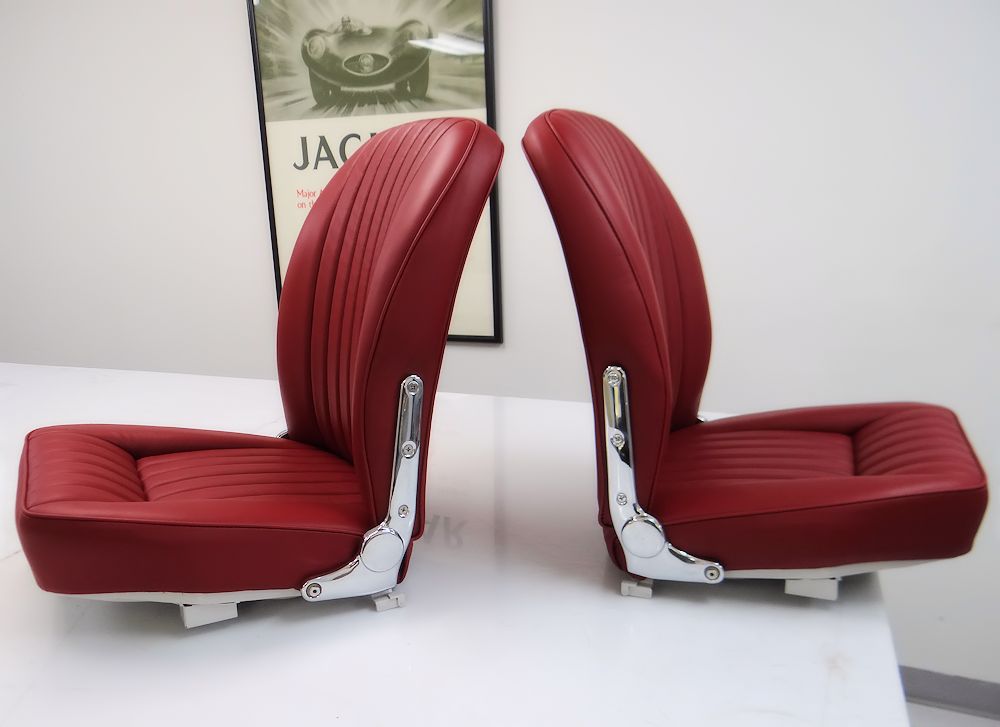
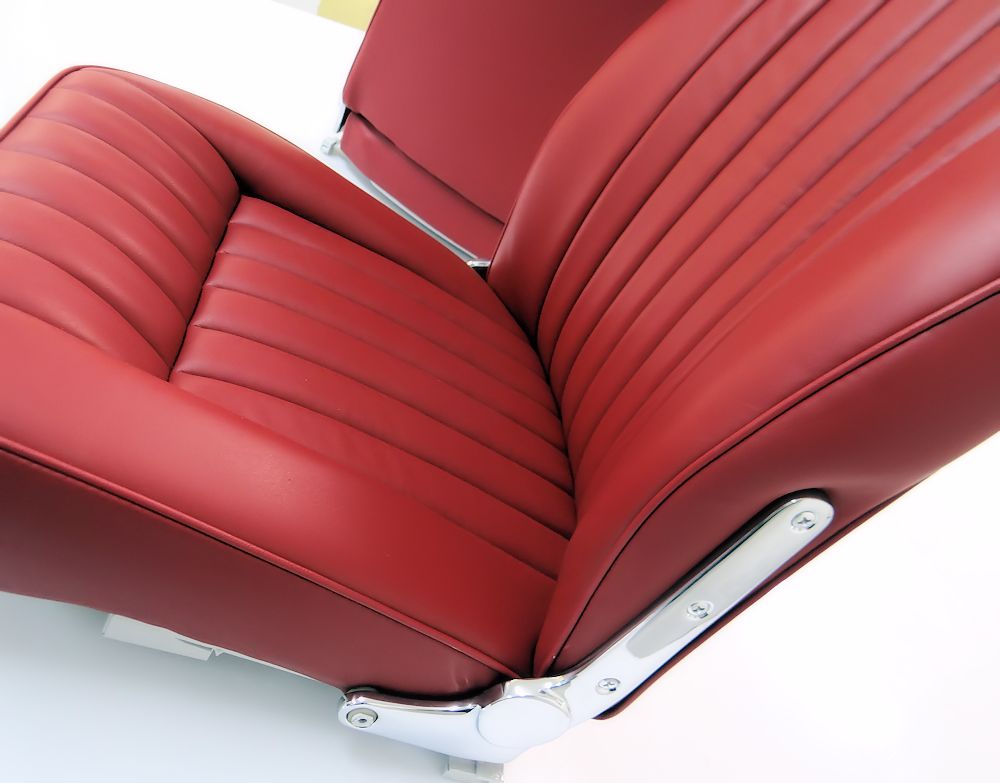
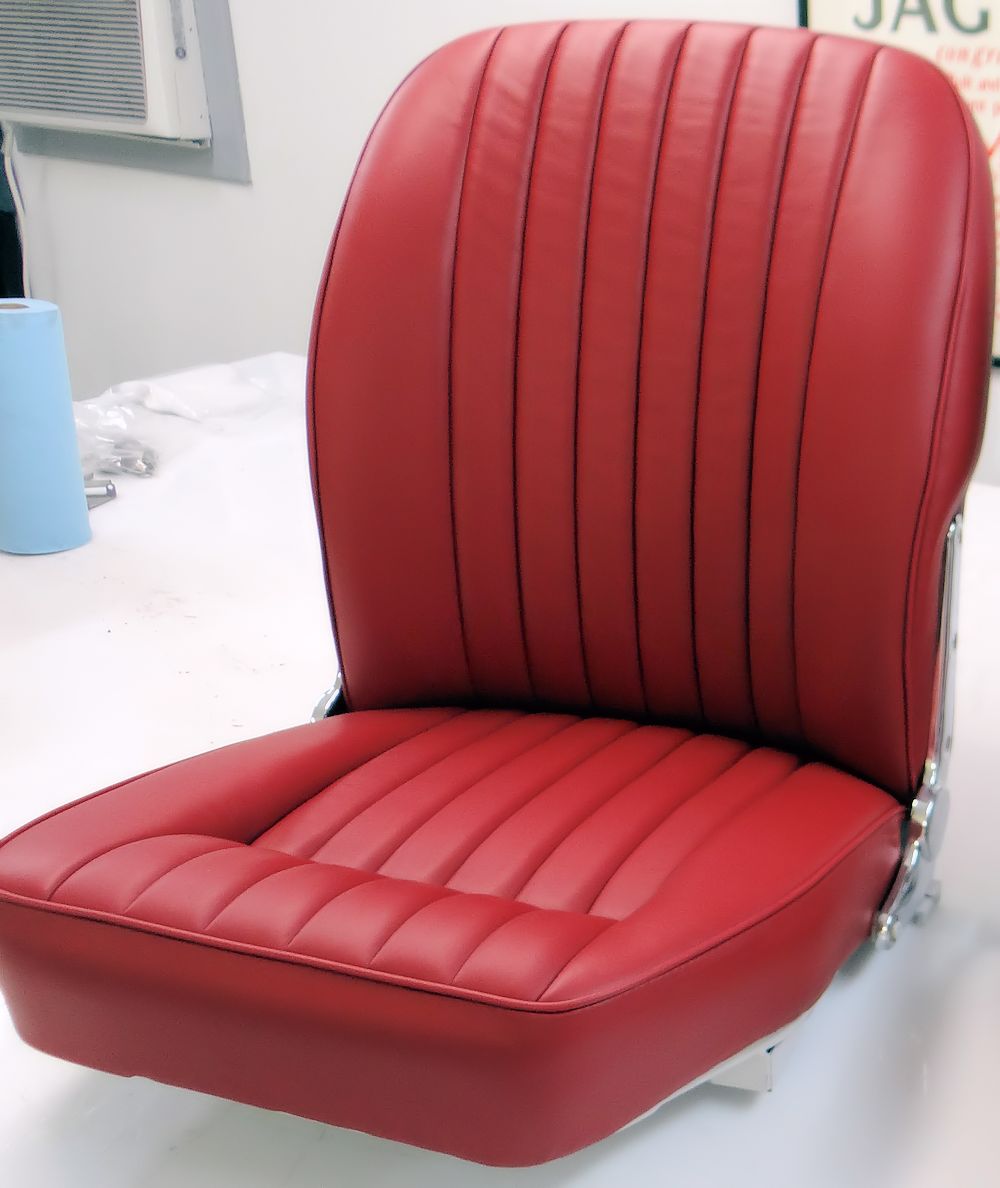
Carlos has now finished restoring and trimming your seats, which are now absolutely beautiful..
 |
 |
 |
 |
Installing Suffolk & Turley hide covers on your restored seat frames...
 |
 |
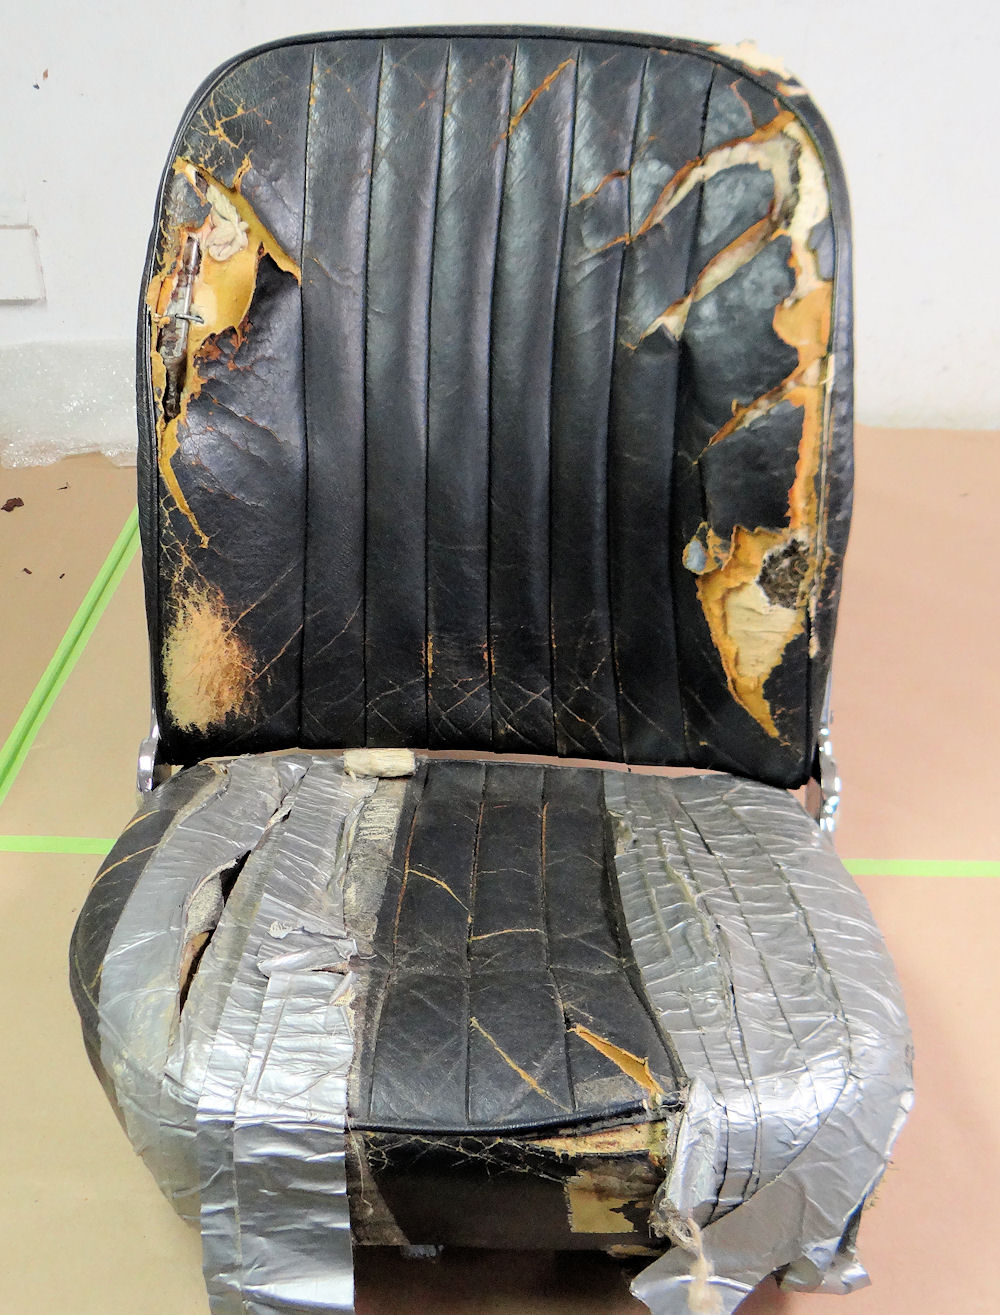
| Every last bit of life had been squeezed
out of the original factory hides! |
Seat frames have been completely restored |
 |
 |
| Installing the new seat base hide cover |
|
 |
 |
| Building and 'carving' the foam padding to
replicate original factory shape of seat back |
|
 |
 |
| Rear
edge of seat base is neatly folded and stapled |
Both
seats now trimmed and ready for assembly |
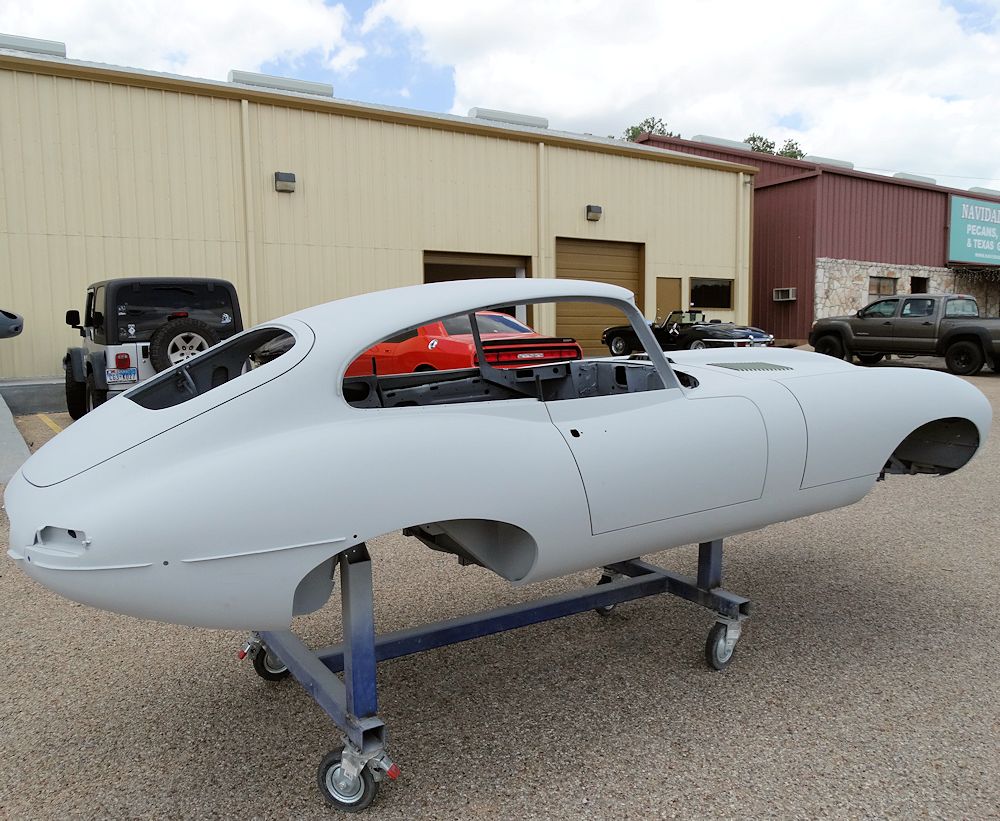
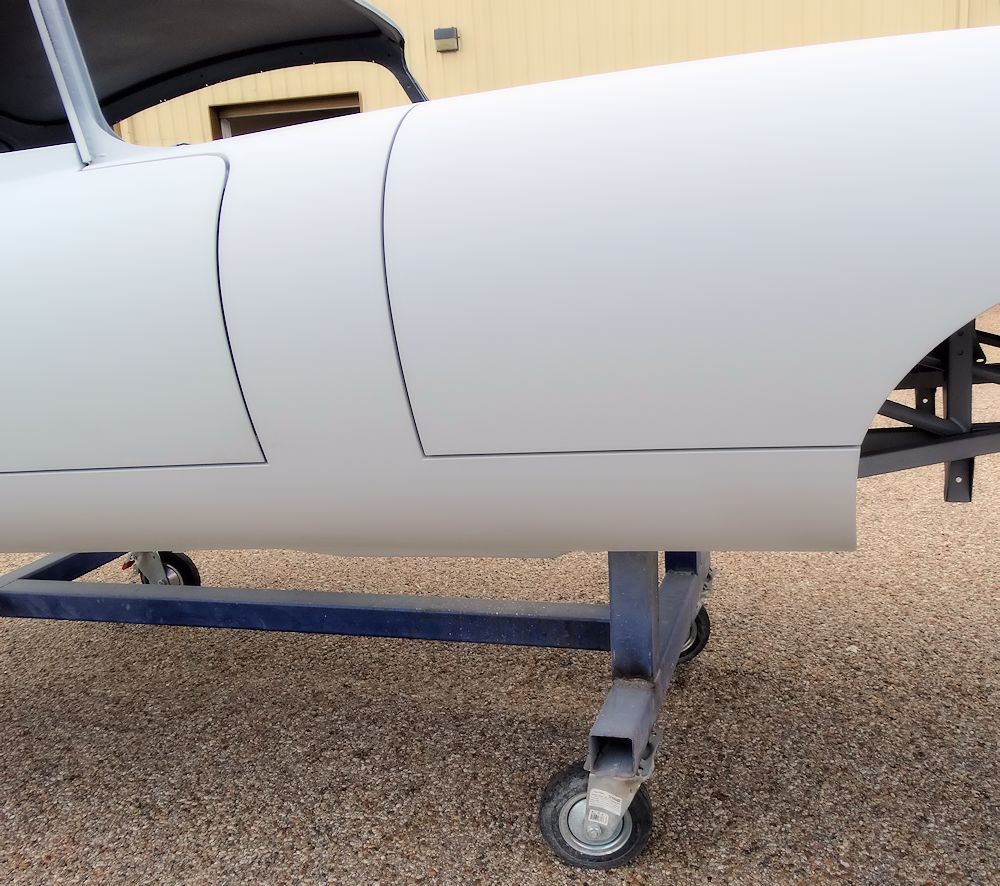
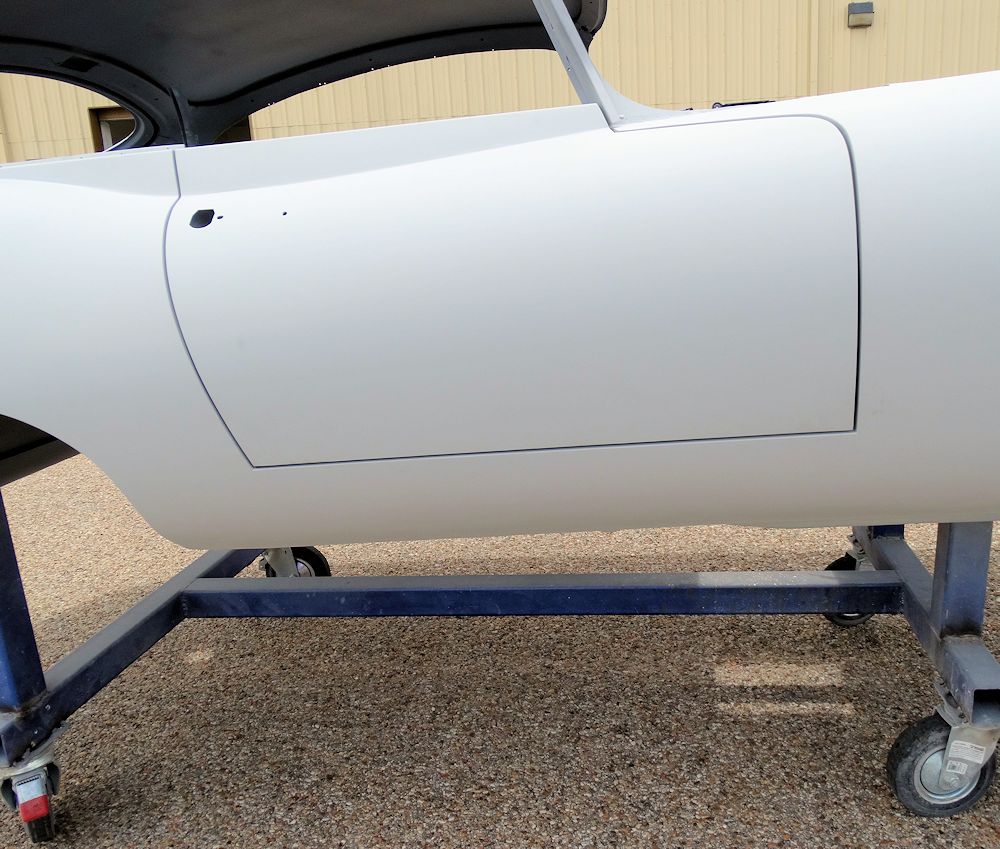
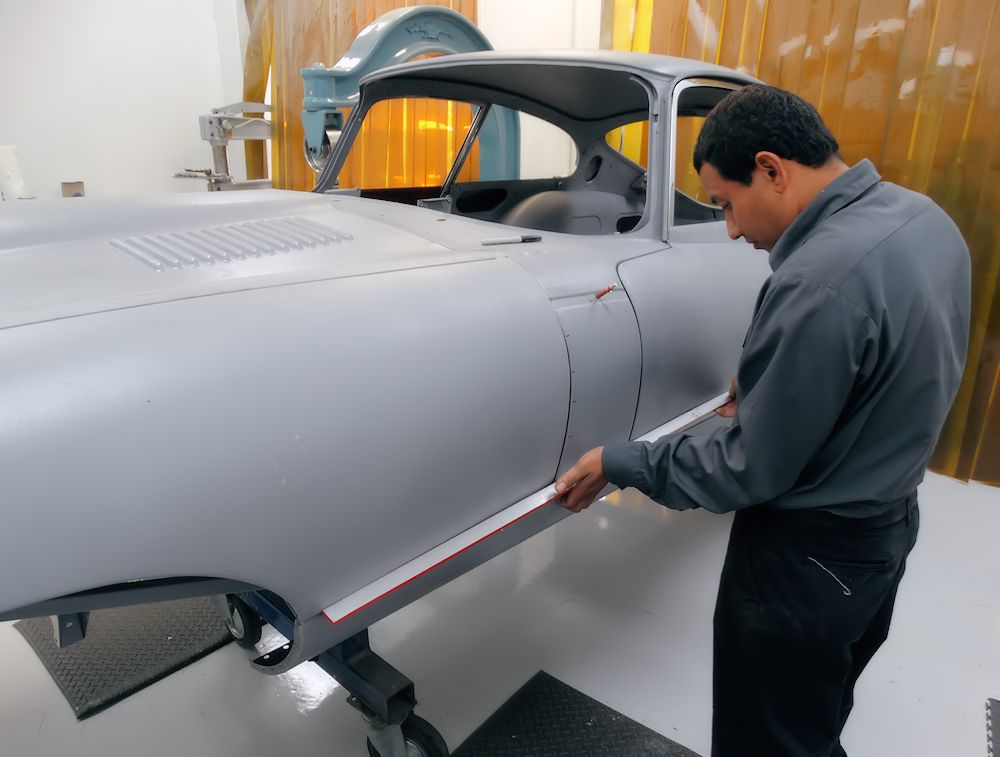
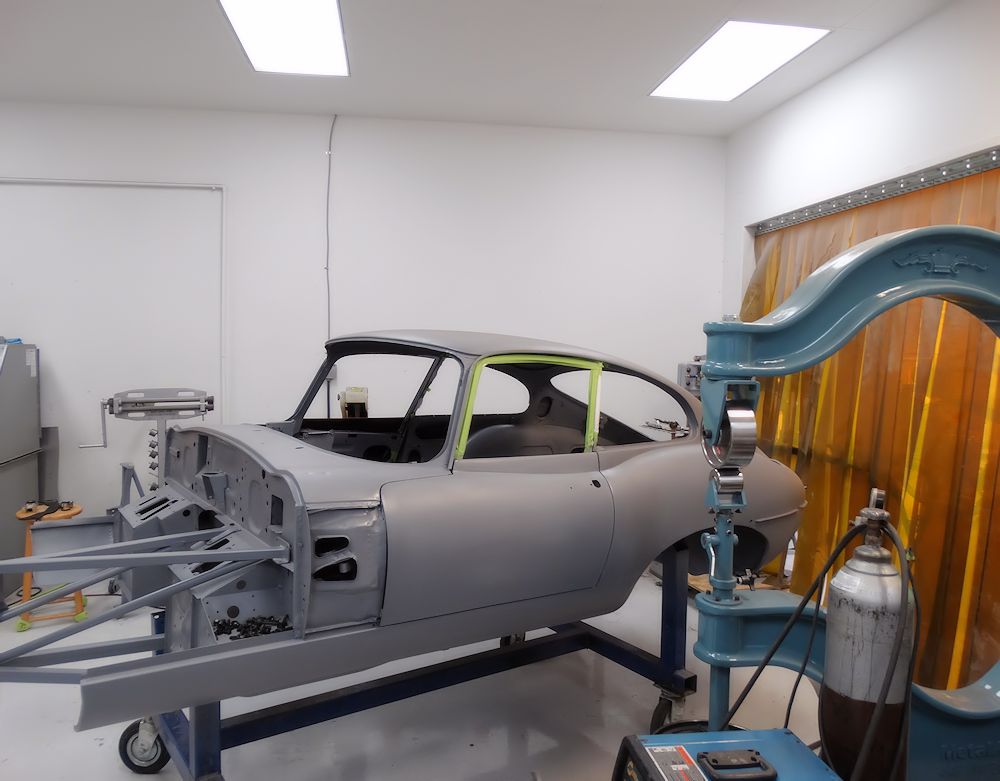
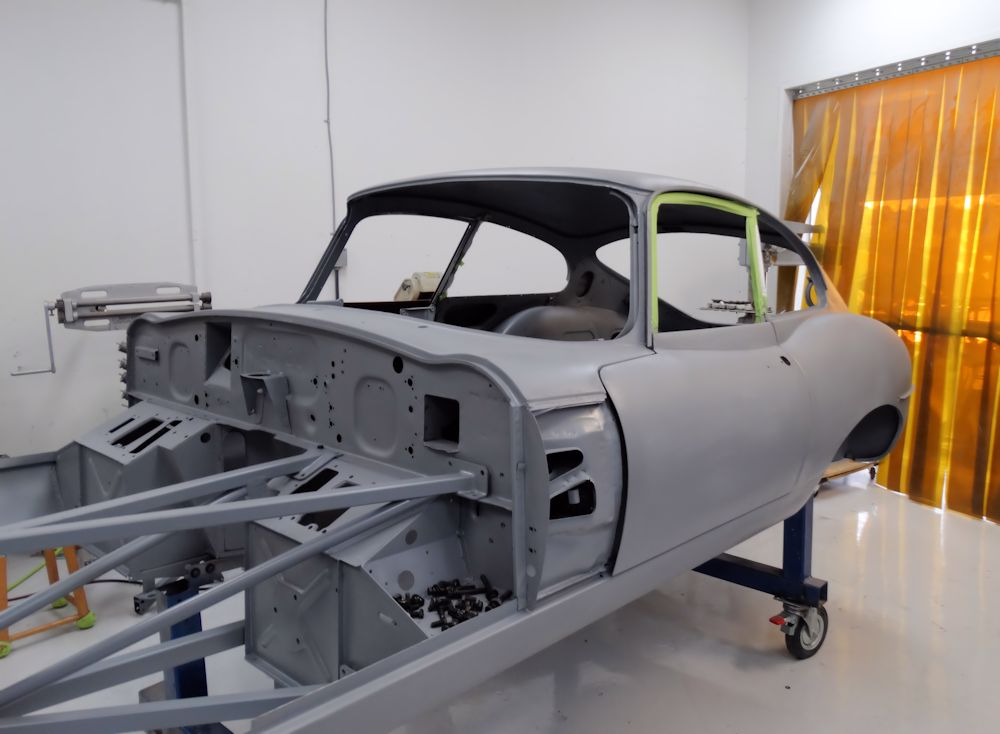
We have now completed the bodywork and panel fit, and your car has been placed in high build primer. As you can see from the photos below, the panel gaps are spectacular throughout.
 |
 |
 |
 |
 |
 |
 |
 |
We have now taken delivery of your Suffolk & Turley interior kit, complete with an extra hide to trim out the rear luggage department..
 |
 |
 |
 |
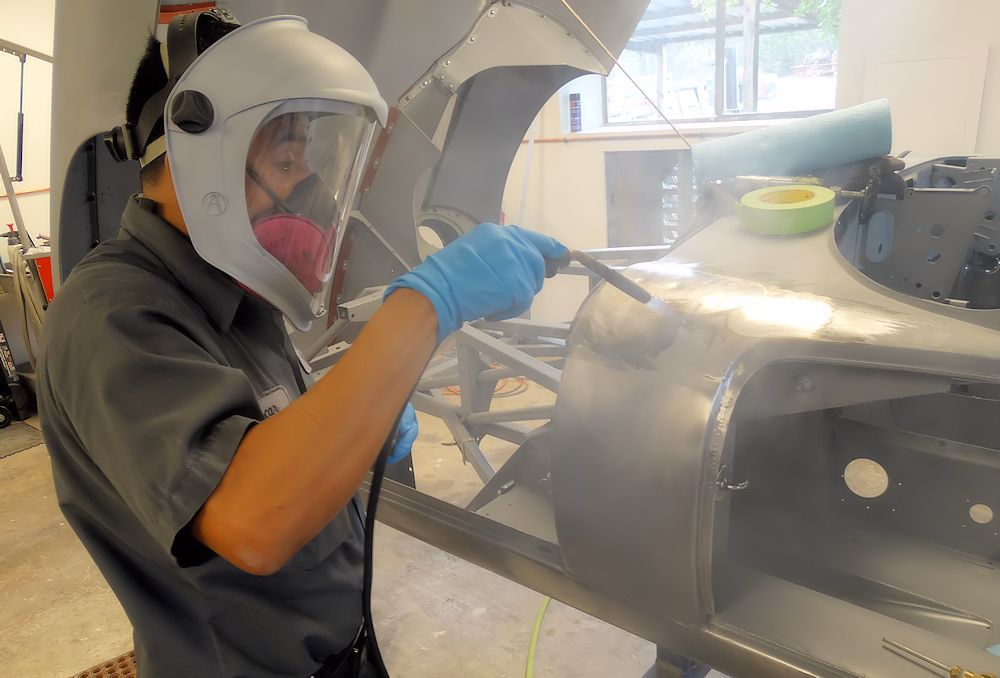
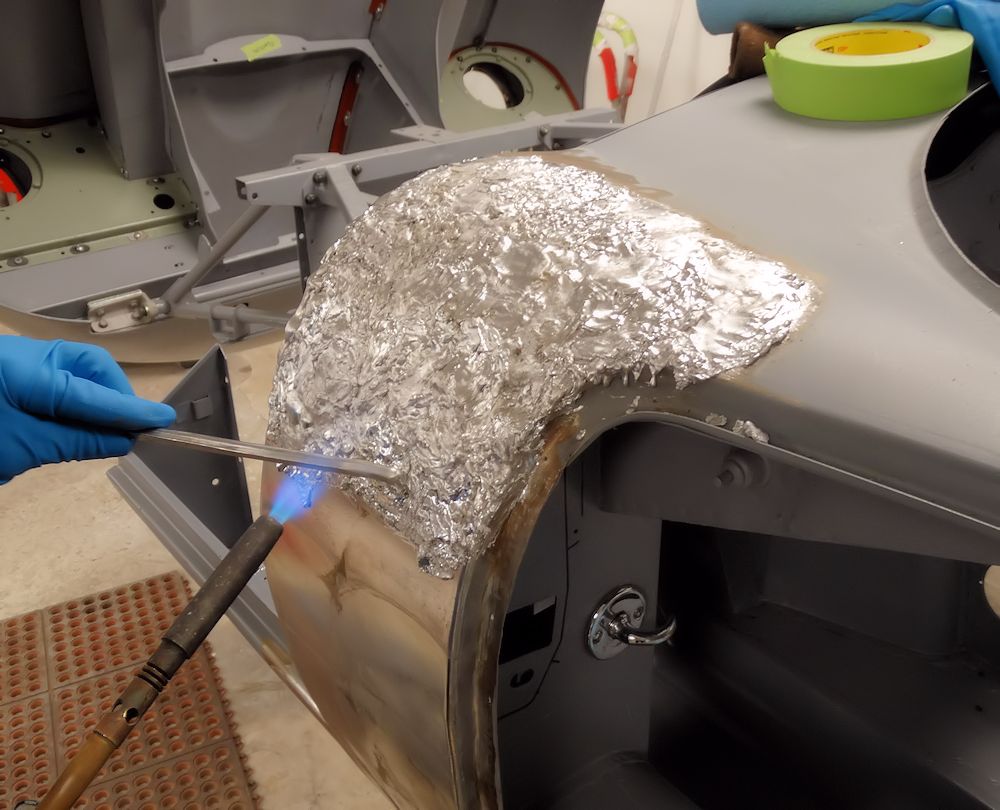
Lead loading underway...
 |
 |
 |
 |
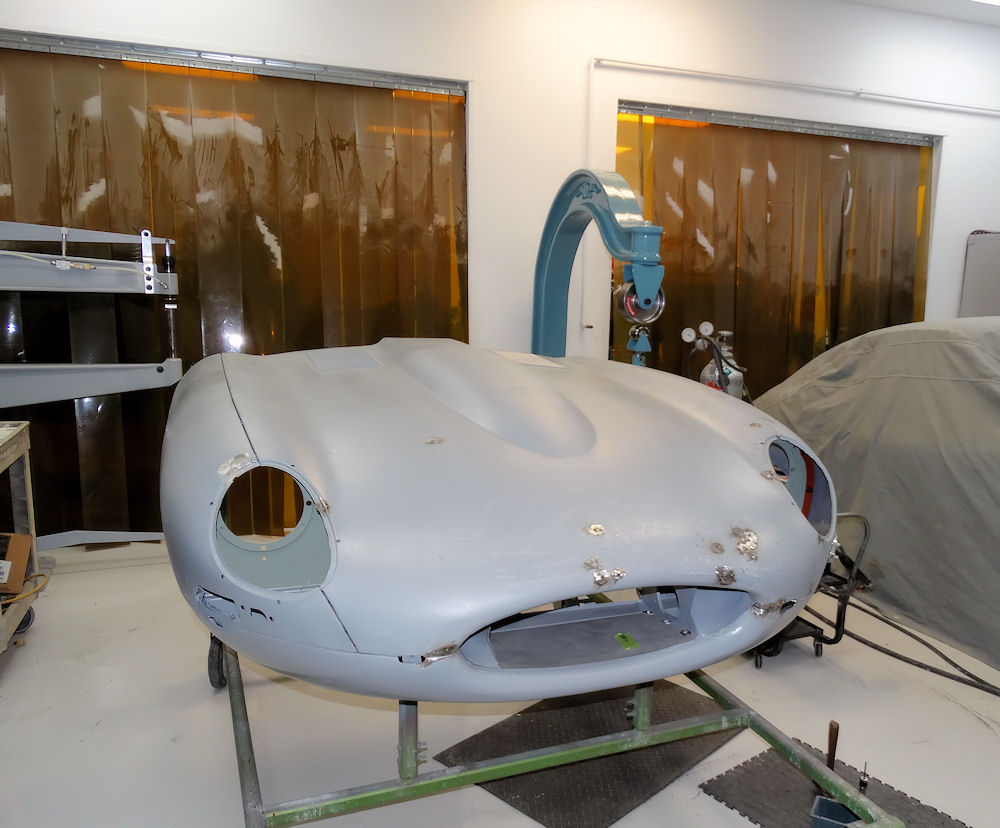
Trial fitting the bonnet, fabricating new bonnet latching bulkhead..
 |
 |
| Trial fitting bonnet |
Side and bonnet latching bulkhead was in
bad shape |
 |
 |
| Oscar fabricated a new bonnet latch panel
from scratch |
Checking alignment of new side cowl panel
in relation to front wing and door skin |
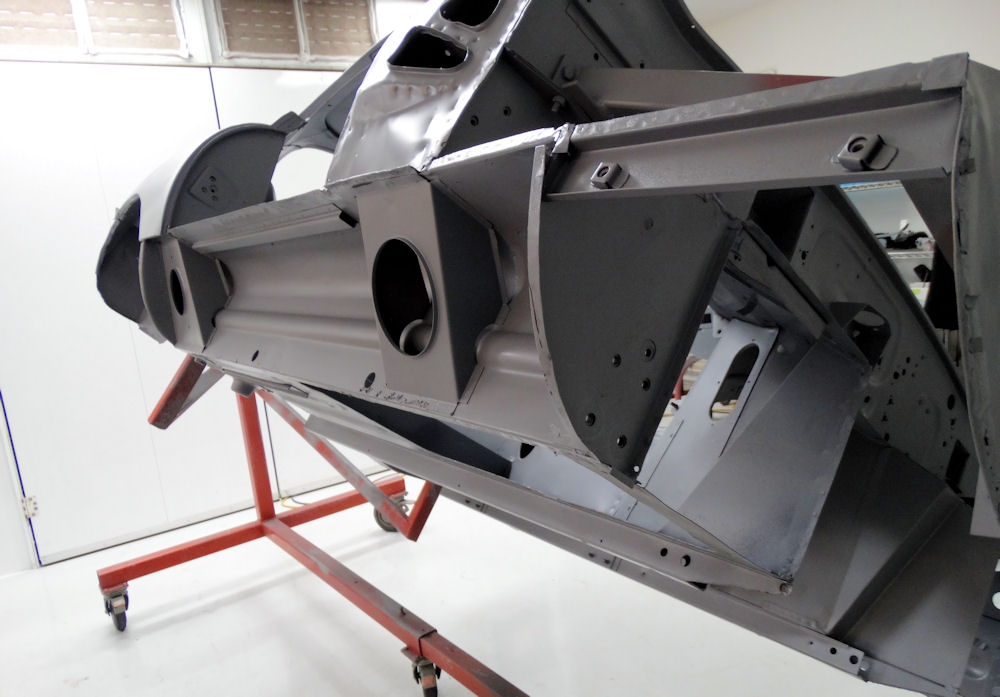
Installing re-skinned doors, trial fitting door window frames, installing new engine side frames..
 |
 |
| Installing doors and engine frames |
|
 |
 |
| Trial fitting door window frames |
|
 |
 |
| Installing new engine frames |
Bonnet will be fitted in the next few days |
Align honing the camshaft saddles, machining new tappet guides..
 |
 |
|
|
|
| |
|
 |
 |
|
|
|
| |
|
 |
|
|
|
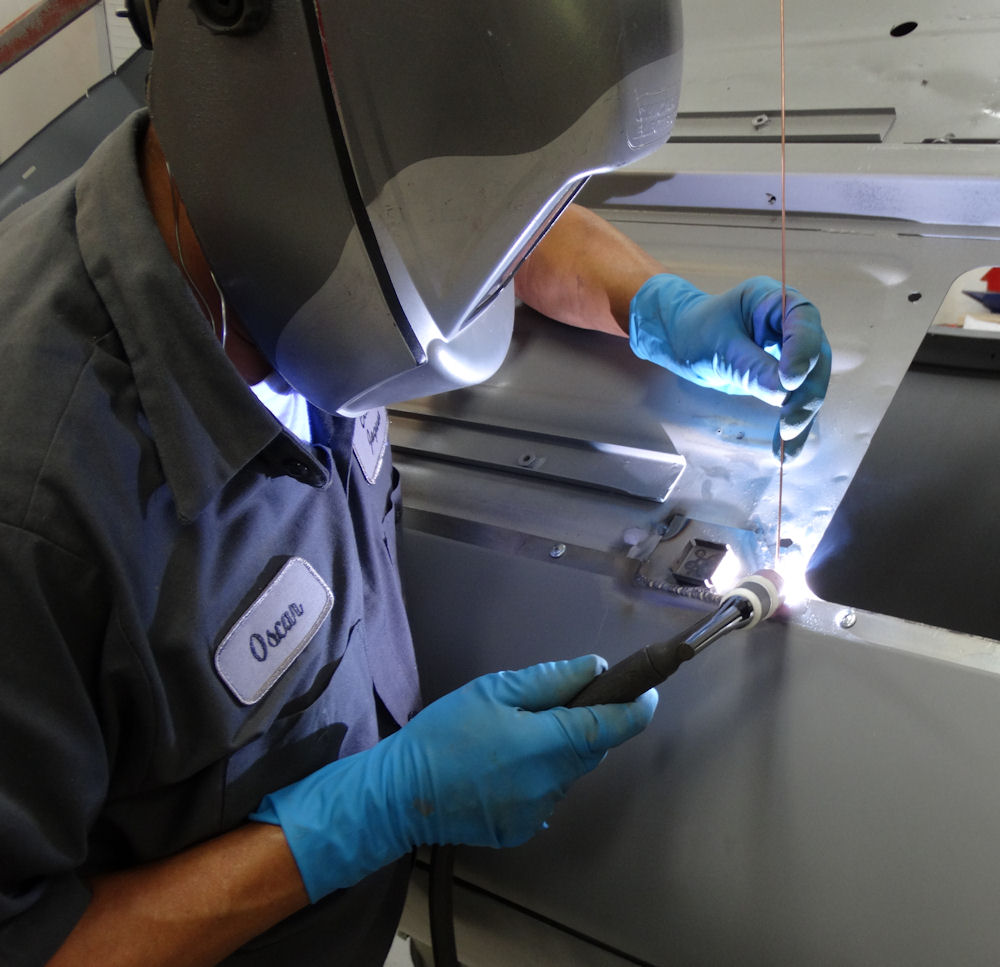
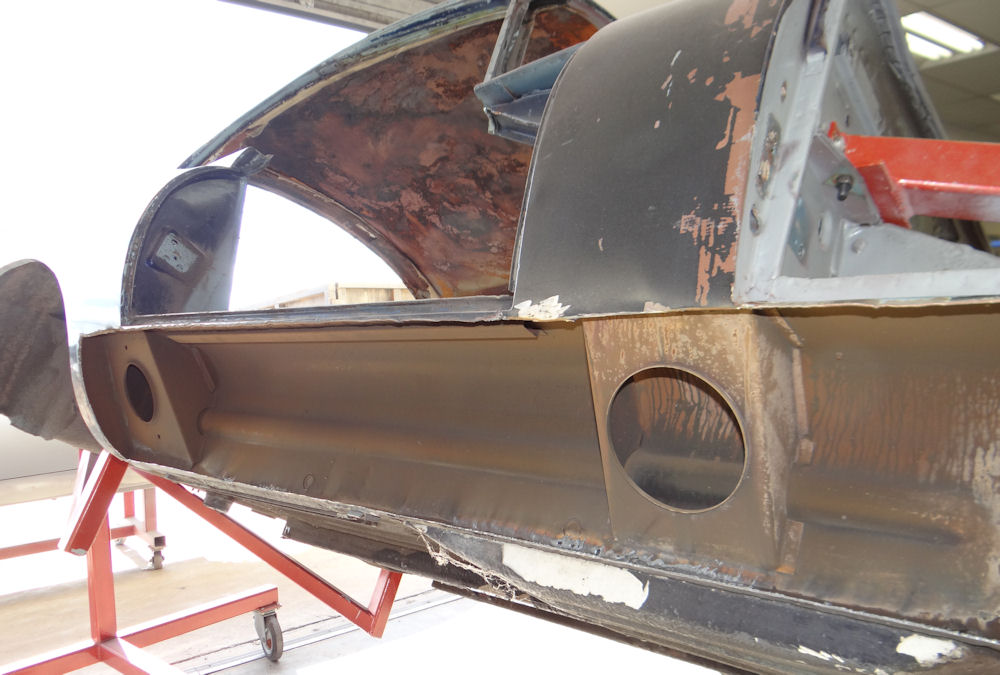
The following photos show Oscar rust proofing the inner sills and starting to weld the new outer sills in place.
 |
 |
|
|
|
|
|
|
 |
 |
|
|
|
Progress in the engine machine shop and the Coachworks this week...
 |
 |
|
|
|
|
|
|
 |
 |
|
|
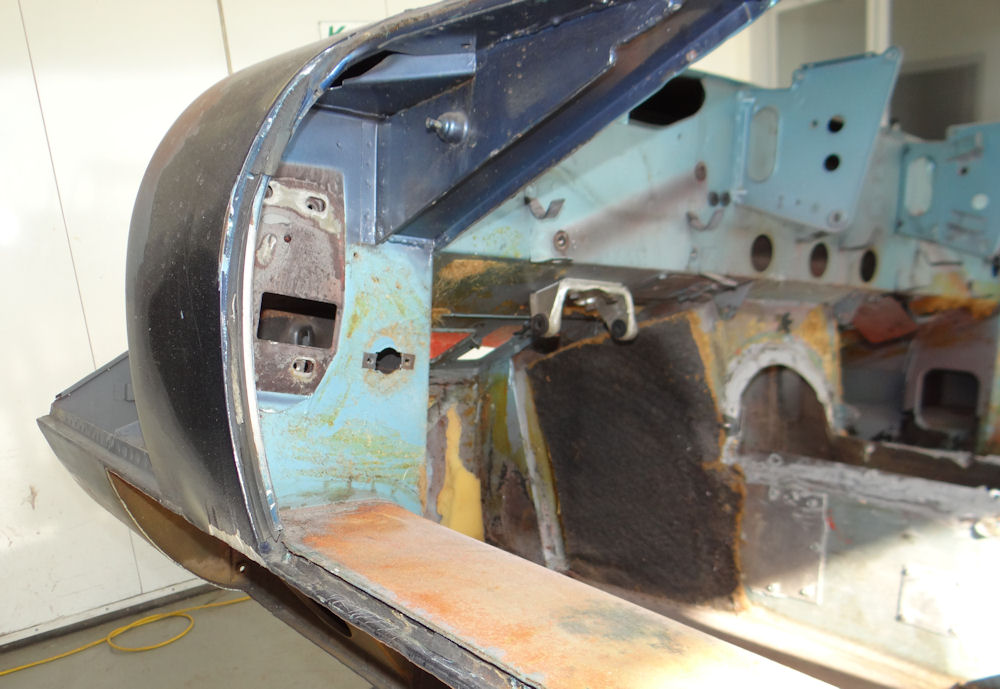
Your monocoque has been media blasted back to bare metal, and thankfully there were no nasty surprises. The main cabin floors and inner sills are sound and will be retained, the boot floor assembly was rusty and will be replaced. All in all, much better than we often see after a visit to the blaster.The body and all associated panels have been carefully acid washed and primed with Glasurit epoxy. Oscar has already begun the process of restoring the bodyshell back to brand new condition.
 |
 |
 |
 |
 |
|
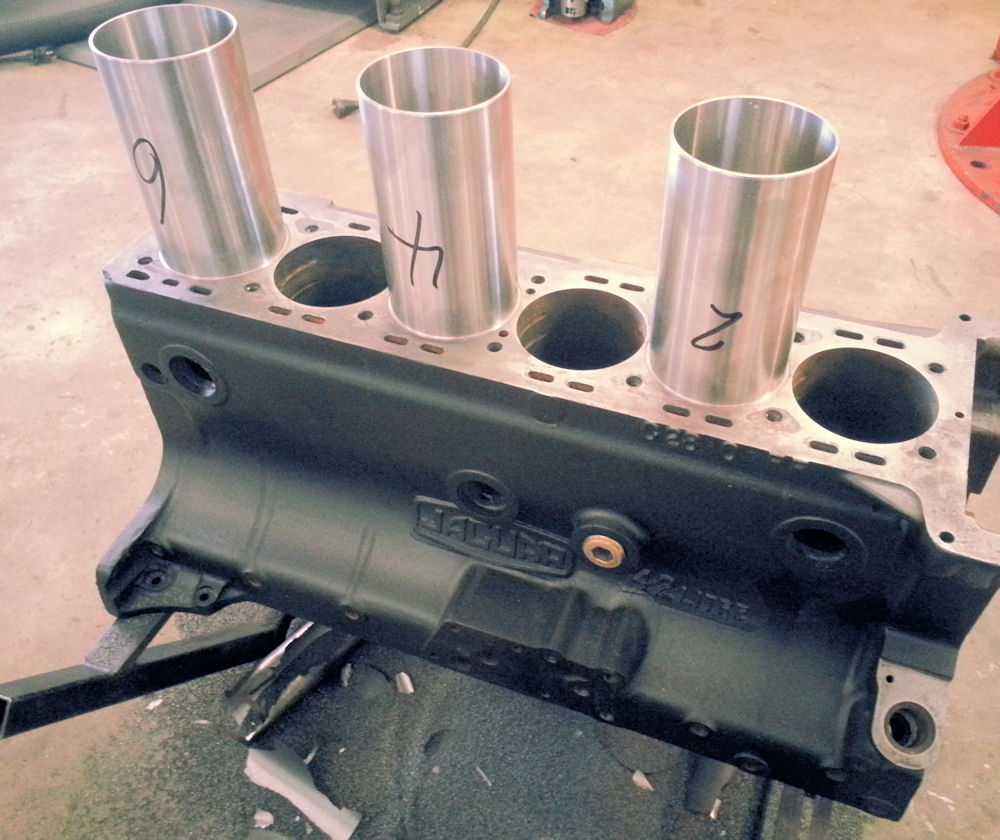
Preparing to assemble the short block..
 |
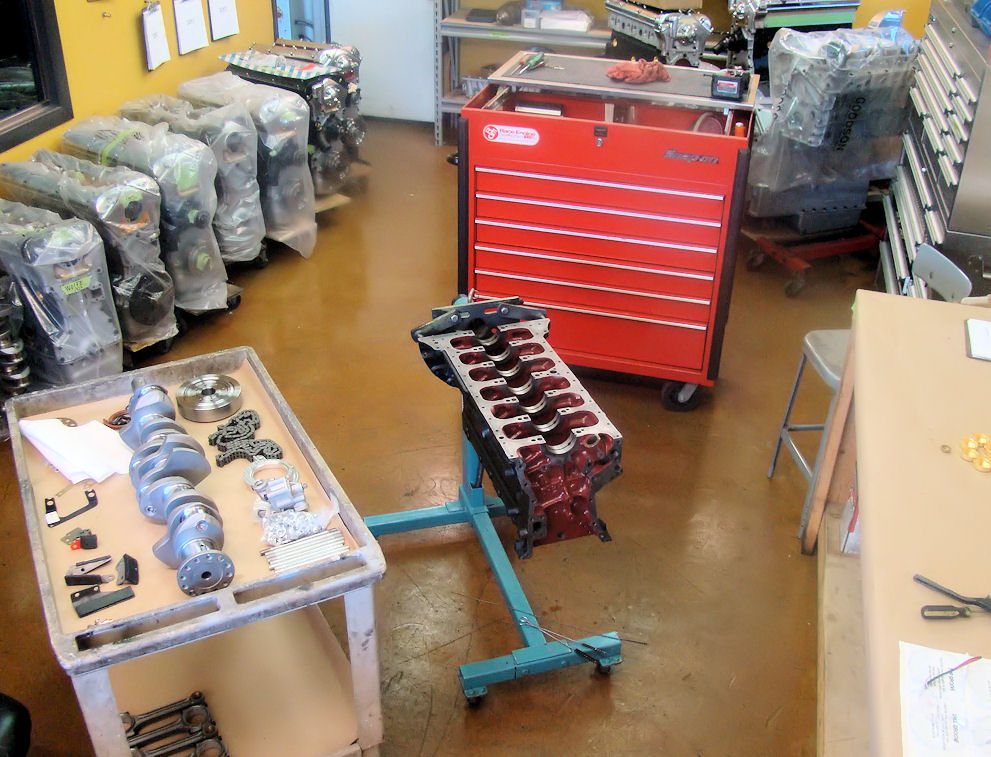 |
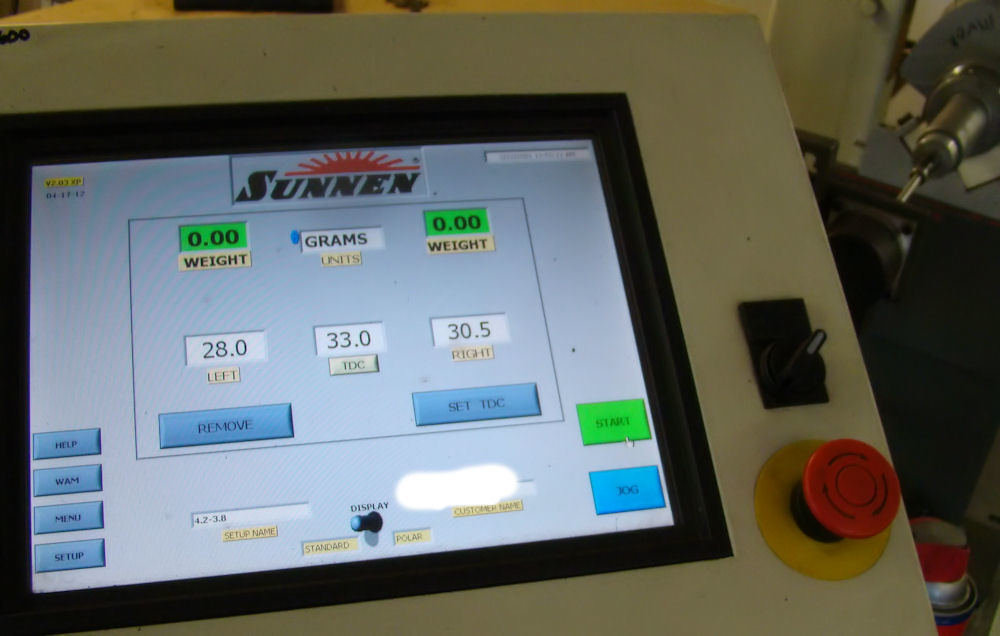
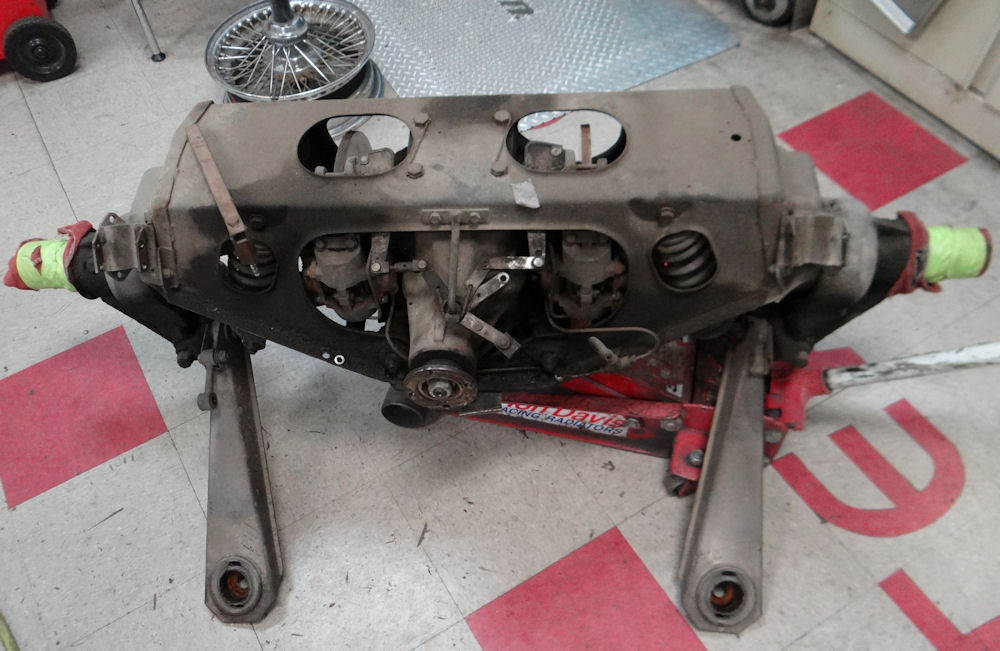
Balancing your crankshaft in the CJ machine shop, huge stopping power from Team CJ vented Wilwood brake kit..
 |
 |
|
|
|
 |
 |
|
|
|
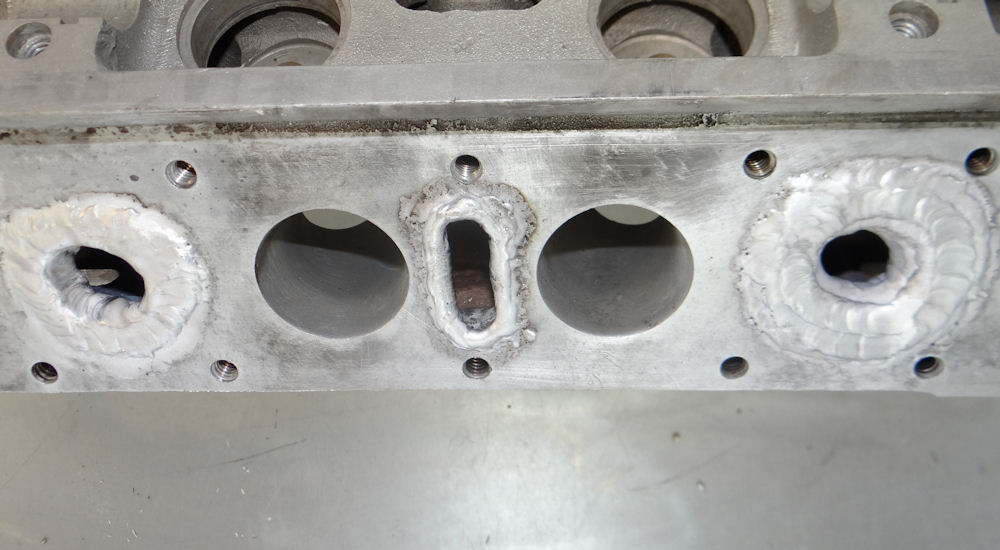
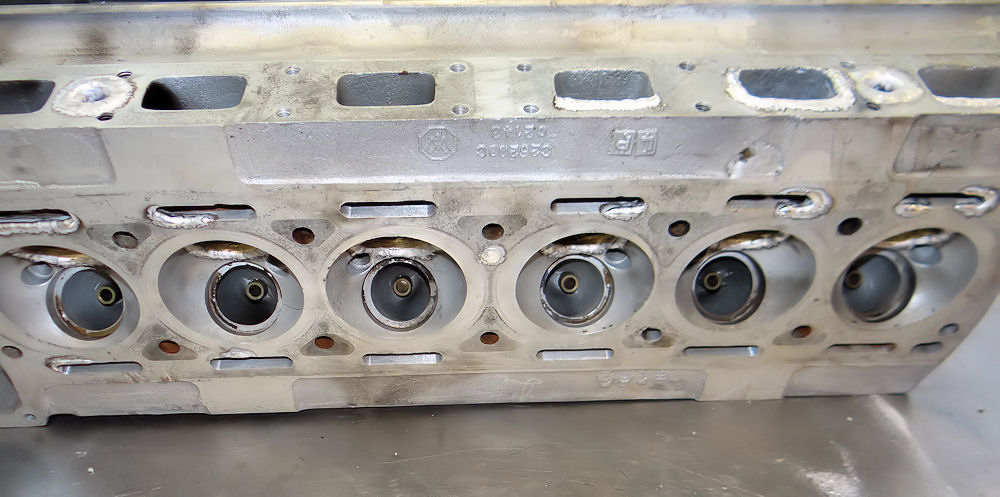
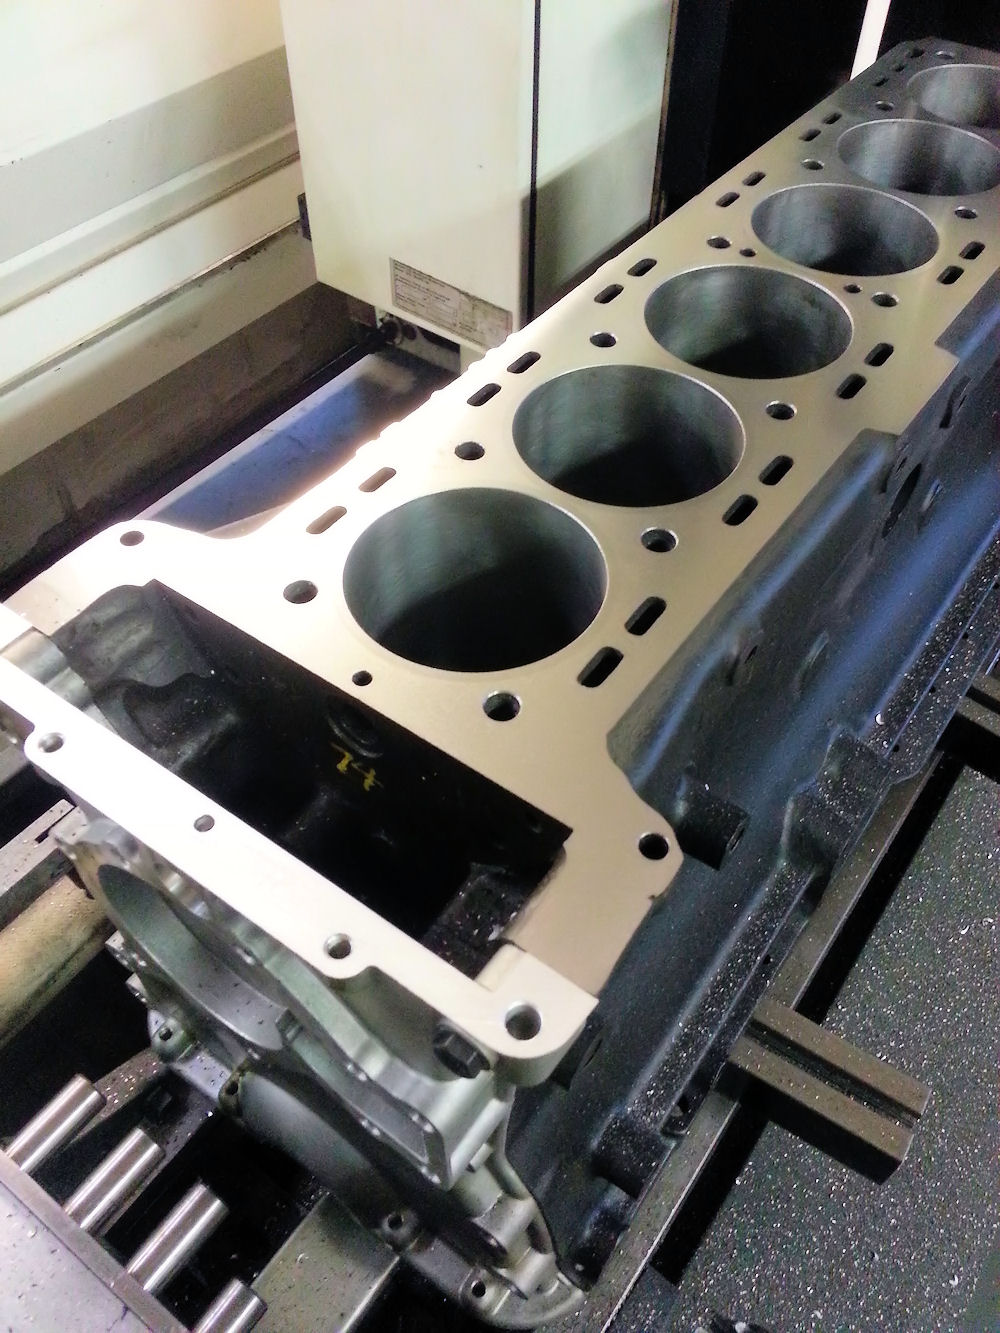
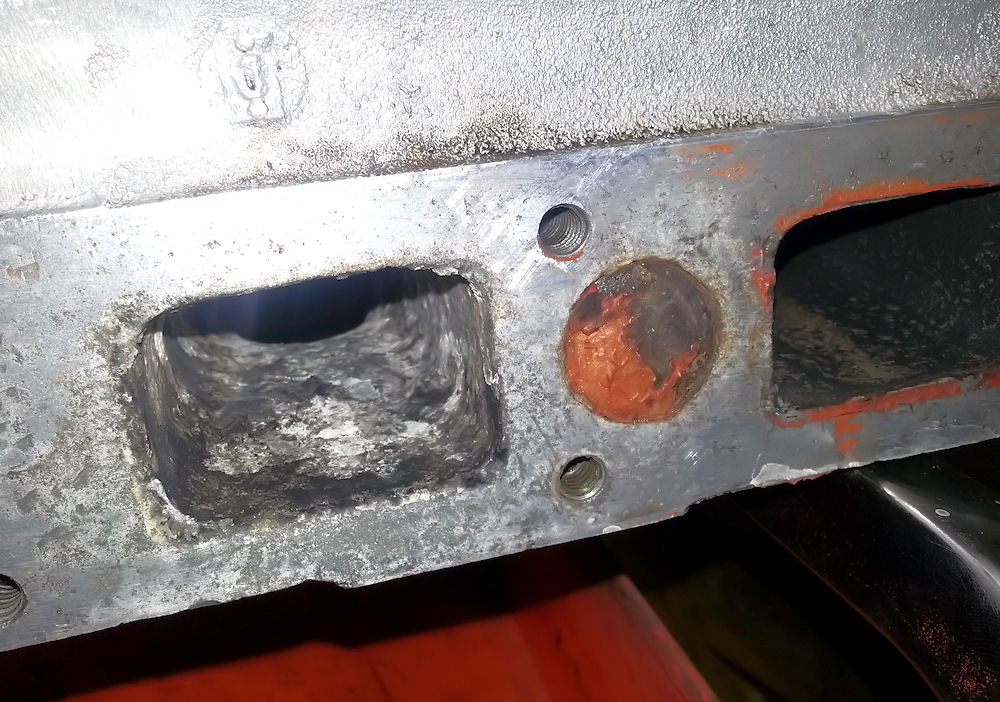
Your cylinder head has been spending some quality time with Jake in the Coachworks, because it needs extensive weld repairs to deal with crack and corrosion issues. We have that work well in hand, so things will start to look much better very soon. The last photo in the sequence below shows your block looking pristine and 'as new', having been freshly surfaced.
 |
 |
|
|
|
 |
 |
|
|
|
 |
 |
 |
 |
|
|
|
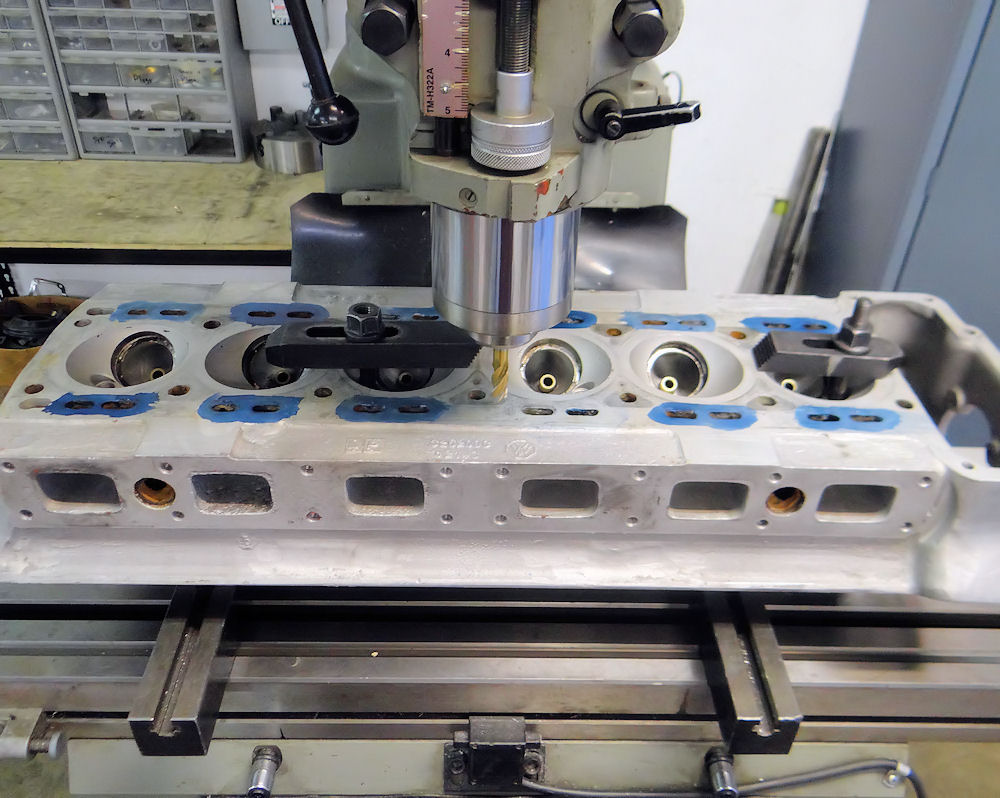
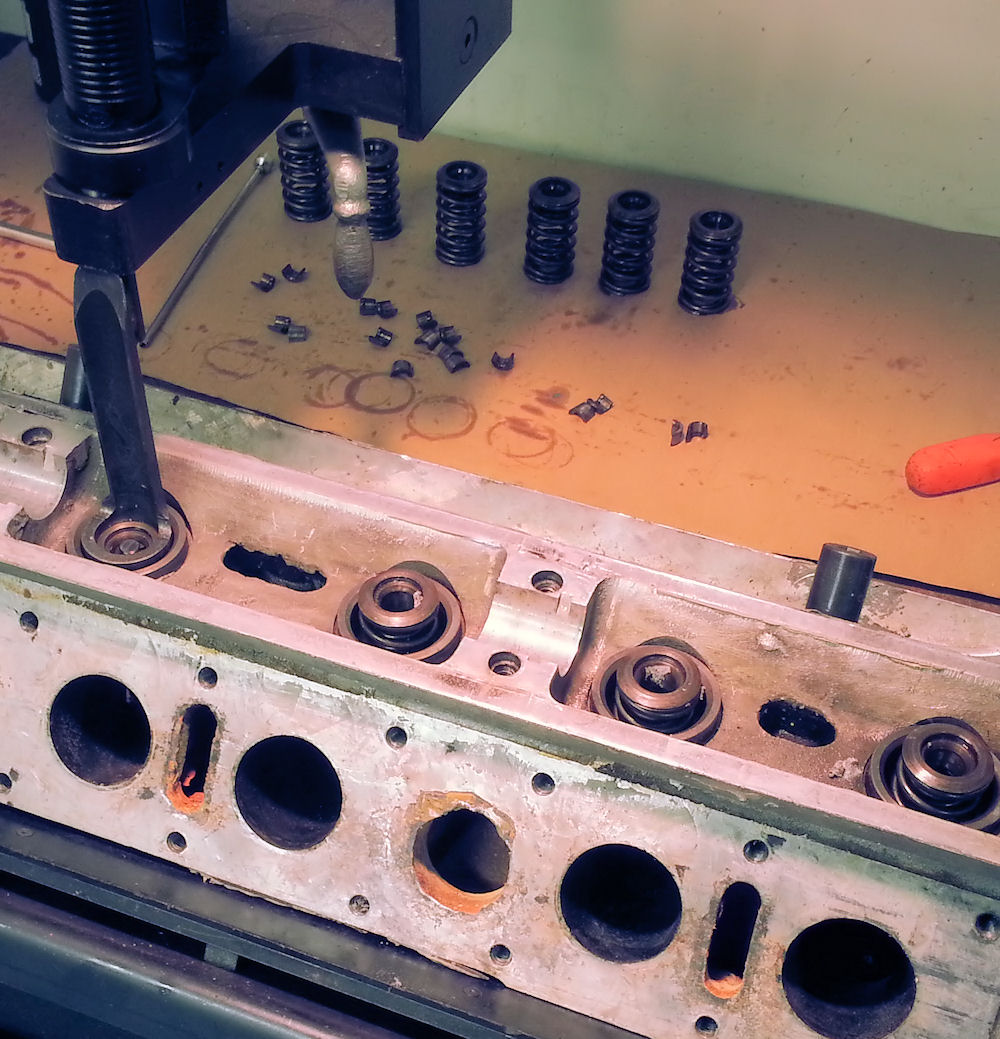
We have now begun your Stage One cylinder head rebuild...
 |
 |
|
|
|
|
|
|
 |
 |
|
deal with during the rebuild |
|
Body placed on a rotisserie ready for blasting back to bare metal...
 |
 |
|
|
|
|
|
|
 |
 |
|
|
|
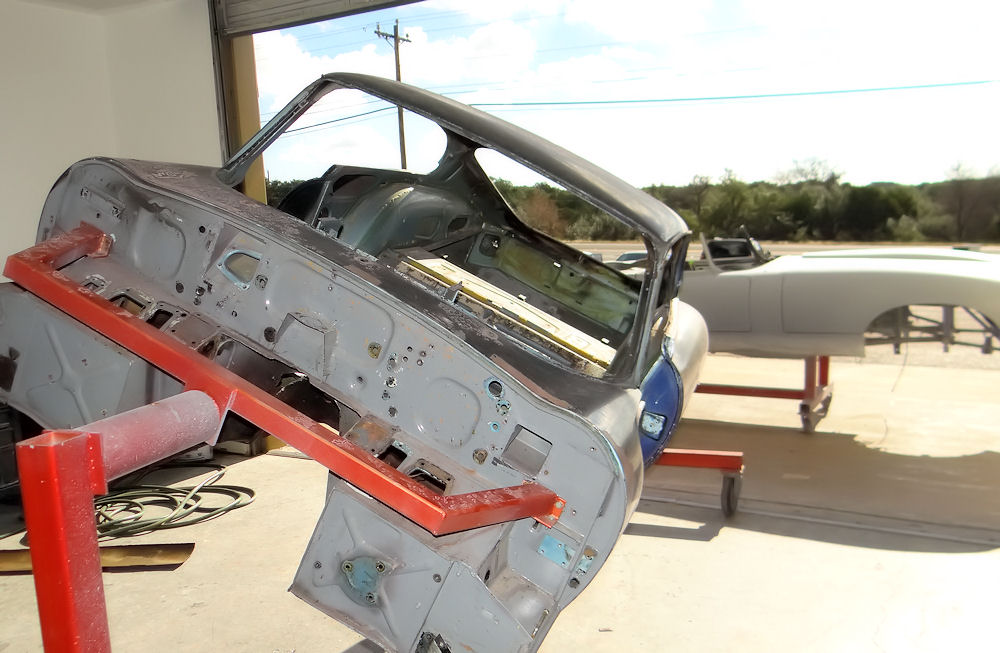
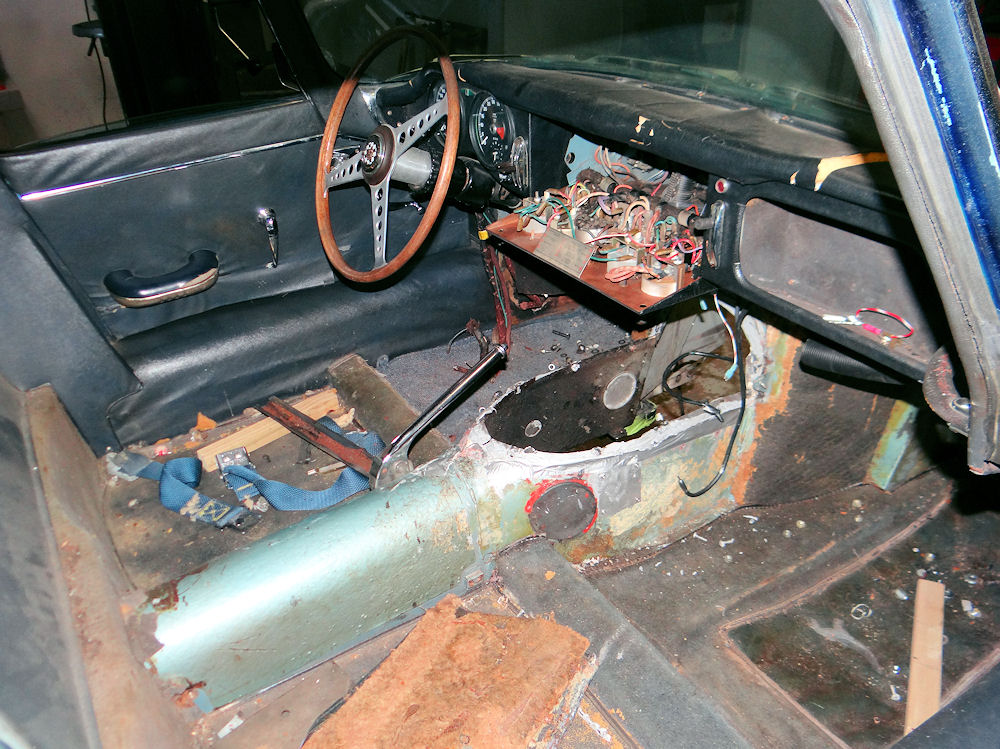
Car now completely disassembled, mechanical rebuild underway..
 |
 |
|
|
under the knife |
|
|
|
 |
 |
|
interior is stripped away |
in the CJ machine shop |
|
|
|
|
|
 |
|
|
|
|
|
|
 |
 |
|
|
|
I am pleased to report that we now have this exciting new project underway. I hope you enjoy following the progress in these pages!
 |
 |
|
|
|
|
|
|
 |
 |