Total restoration with upgrades
| 1967
E Type roadster (MH)
Total restoration with upgrades |
|
|
Your car is now finished and ready for delivery. I hope you enjoy driving it as much as we have enjoyed building it for you!

 |
 |
 |
 |
 |
 |
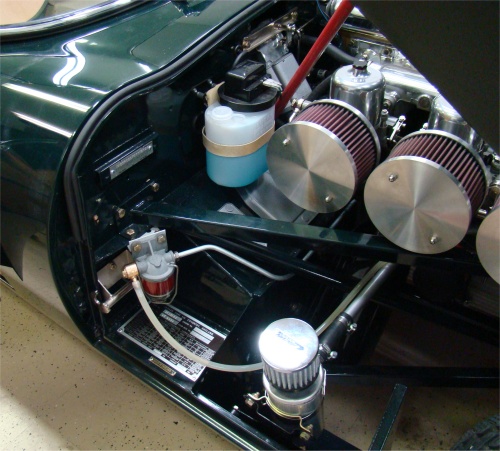
We are now in the middle of road testing and shaking down your car - and so far so good. The Becker Mexico (Hokey Cokey 500 model, complete with Blue Tooth, iPod, Mp3 and Sat Nav) arrived safely from the UK and is now wired in, although not presently installed.All being well, I expect to ship your car by the end of next week!
 |
 |
 |
|
|
look with state of the art capability |
|
 |
 |
|
|
|
|
Almost time to send your car back to Brazil! The Becker Mexico radio should be here early next week...
 |
 |
 |
|
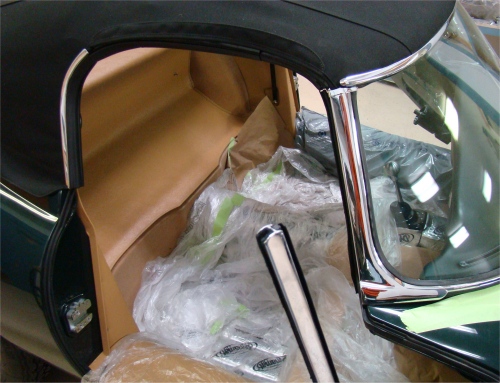
Turley interior |
folds around door panels |
|
 |
 |
 |
|
|
request |
|
 |
 |
 |
|
|
||
 |
 |
 |
|
|
||
 |
 |
|
|
|
the seats and center console... |
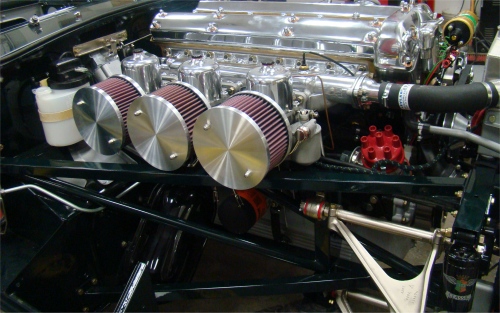
Your engine is now running and we are currently in the process of wiring the dash and gauges. We are using an upgraded volt meter and a mechanical oil pressure gauge, both made by Smiths. Your custom Suffolk & Turley interior kit arrived last week. The maiden voyage is only a week or two away! Merry Christmas!
 |
 |
 |
 |
 |
 |
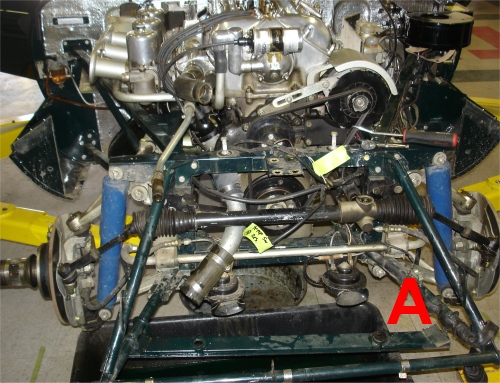
I am pleased to report that your car is now back on its wheels and already has the engine and CJ5 five speed installed. It won't be long now before we are test firing the engine.
 |
 |
 |
|
|
|
removed |
 |
 |
 |
|
|
|
|
 |
 |
 |
|
next |
||
 |
 |
 |
|
|
||
 |
 |
 |
|
|
|
|
 |
 |
 |
|
|
||
 |
 |
 |
|
|
mounting holes |
|
 |
 |
|
The paintwork has been sanded and buffed and we have now started installing Dynamat in the boot compartment and cabin.
 |
 |
 |
|
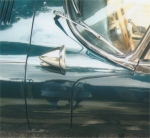
finished paintwork |
|
|
I am pleased to report that your Stage One engine rebuild has now been completed and the main bodyshell painted.
 |
 |
 |
 |
 |
 |
 |
 |
 |
 |
 |
 |
|
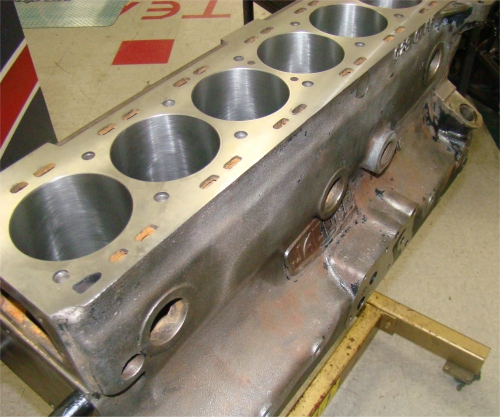
the sleeves were replaced |
|
and re-checked |
 |
 |
 |
|
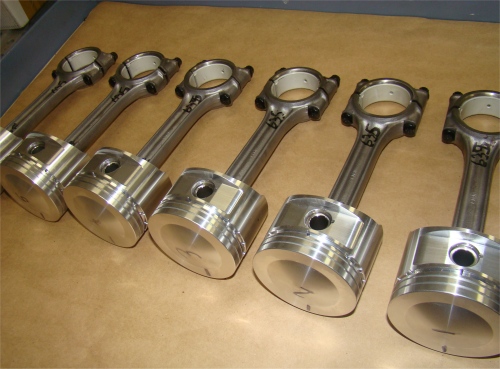
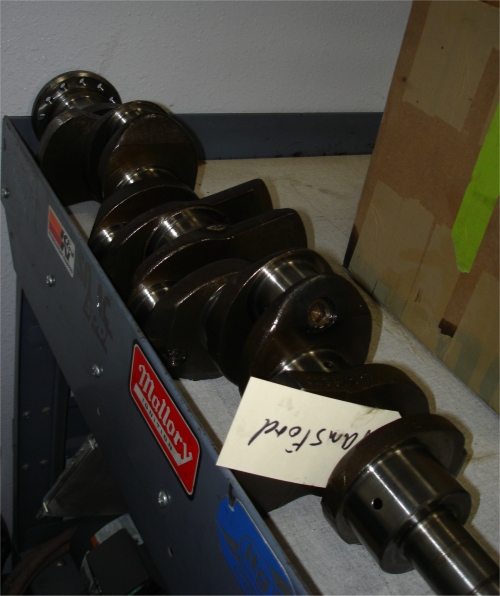
meticulously balanced rods |
||
 |
 |
 |
|
components |
|
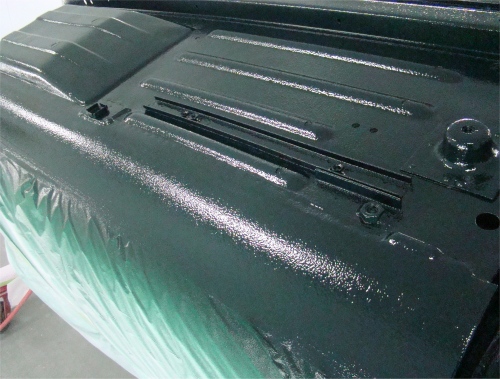
Painting inside the cabin and the boot compartment...
 |
 |
 |
|
|
||
 |
 |
|
|
is under the flash of he camera |
BRGs we have used |
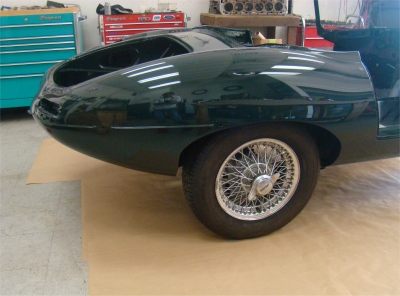
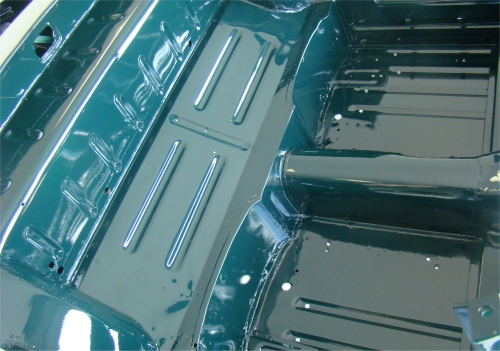
After weeks of painstaking blocking and sanding, and I am pleased to report that the first coats of British Racing Green have now been applied. As always, the underside is the first thing to be painted, closely followed by the interior, then finally the outer panels.
 |
 |
 |
|
|
sealed |
|
 |
 |
 |
|
then applied |
||
 |
 |
 |
|
British Racing Green! |
||
 |
 |
|
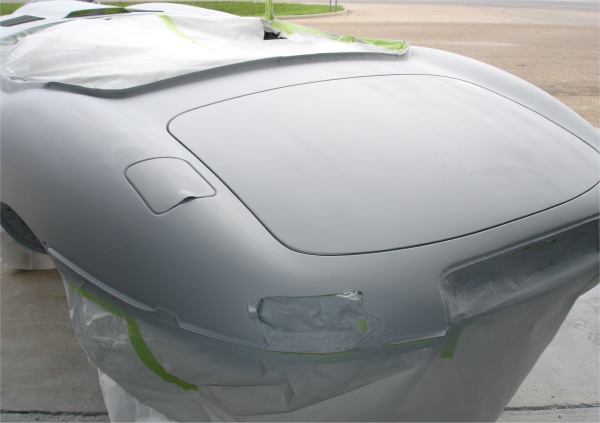
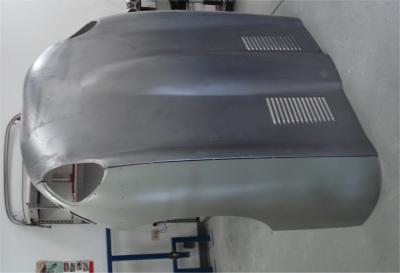
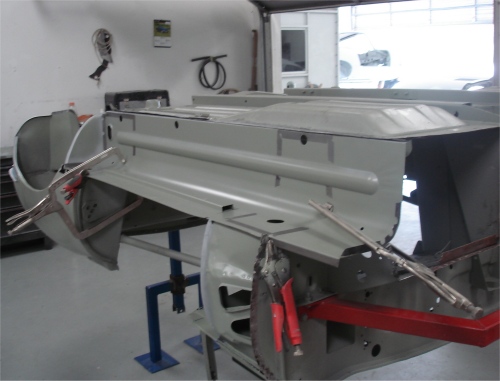
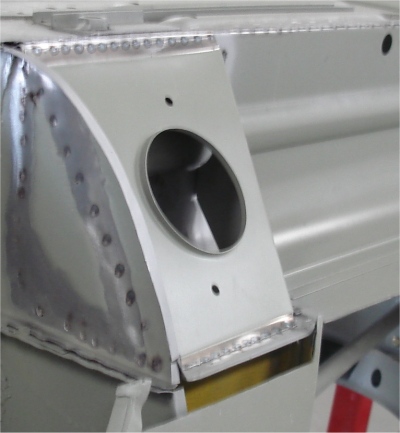
I am pleased to report that all of the bodywork has now been completed and your car has been primed with Slick Sand. The panel fit throughout is truly exceptional, including the rebuilt bonnet.
 |
 |
 |
|
|
||
 |
 |
 |
|
|
|
|
 |
 |
 |
After weeks and weeks of delay, we finally received the new bonnet center section. The transatlantic journey was not kind to the new sheet metal and Darrell had a number of dents and creases to straighten out before he could begin the trial fitting process.
 |
 |
 |
|
on itself during shipping |
|
|
 |
 |
 |
|
|
|
|
 |
 |
 |
|
|
Lots of great progress since our last update!
 |
 |
 |
|
|
Body Wax |
panels |
 |
 |
 |
|
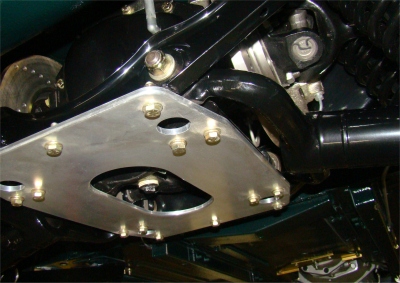
with subframe mounts |
place |
|
 |
 |
 |
|
|
|
|
 |
 |
 |
|
|
|
|
 |
 |
 |
|
new boot lid |
||
 |
 |
 |
|
|
|
|
 |
 |
 |
|
|
rear wheel well |
|
 |
 |
 |
|
|
||
 |
 |
 |
|
|
|
|
 |
 |
 |
|
other side of the car |
|
|
 |
 |
 |
|
|
|
|
 |
 |
|
|
goes on new boot lid |
 |
 |
 |
|
|
|
|
|
|
|
|
 |
 |
 |
|
|
|
|
|
|
|
|
 |
 |
 |
|
|
|
new rear clip is welded into place |
|
|
|
|
 |
 |
 |
|
rotisserie |
|
|
|
|
|
|
 |
 |
 |
|
|
|
|
 |
||
|
|
Lots of progress since our last update!
 |
 |
 |
|
need a lot of attention |
|
|
|
|
|
|
 |
 |
 |
|
could do anything else |
|
boot floor assembly |
|
|
|
|
 |
 |
|
|
were also stripped and sealed |
to applying etching primer |
|
|
|
|
|
 |
 |
 |
|
|
|
BASF etching primer |
|
|
|
|
 |
 |
 |
|
|
|
|
|
|
|
|
 |
 |
 |
|
|
then sealed |
|
|
|
|
|
 |
 |
 |
|
sections |
|
|
|
|
|
|
 |
 |
 |
|
|
|
|
|
|
|
|
 |
 |
 |
|
|
|
|
|
|
|
|
 |
 |
 |
|
cleaner now! |
|
|
|
|
|
|
 |
 |
 |
|
sheet metal into place! |
|
|
Time to get the body restoration underway.
 |
 |
 |
 |
 |
 |
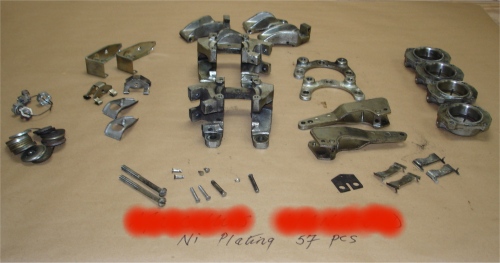
Your IRS components have now been powder coated and various other items that will be needed for the IRS rebuild have been submitted for Nickel plating.
 |
 |
 |
Your engine has now been completely disassembled and the machine work will begin shortly.
 |
 |
 |
 |
 |
 |
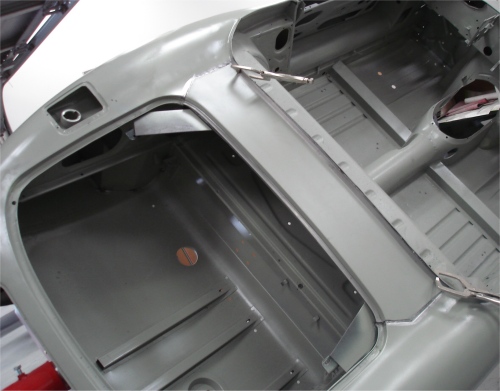
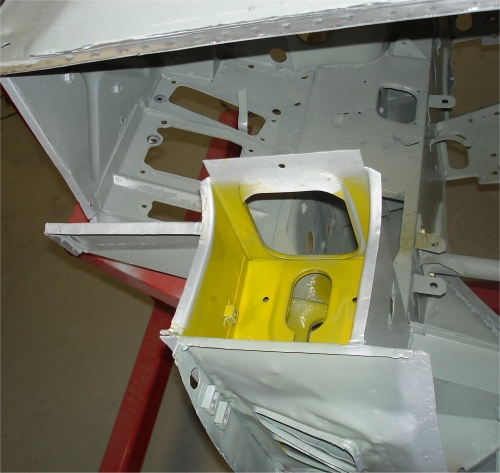
The following photos show Carlos sealing the body and your engine frames with BASF etching primer. On closer inspection of the engine frames, they have a few dents and bruises - although no obvious corrosion issues. The doors are both in excellent shape.
 |
 |
 |
|
|
|
|
|
|
|
|
 |
 |
 |
|
|
|
|
|
|
|
|
 |
 |
 |
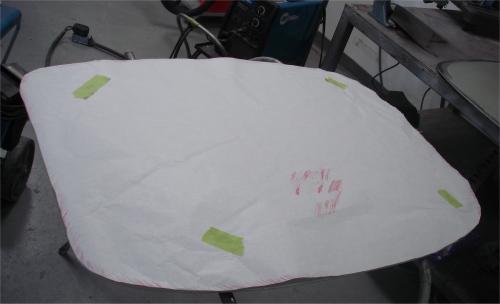
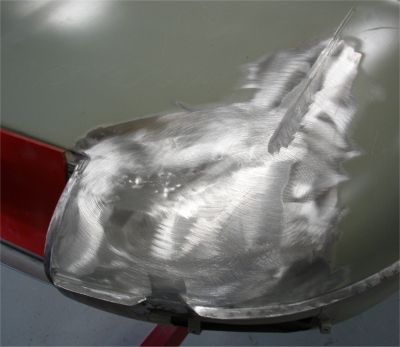
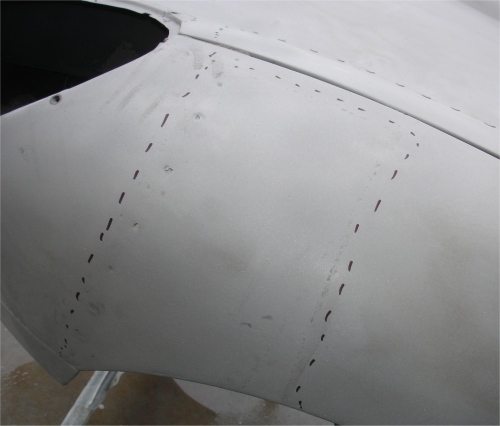
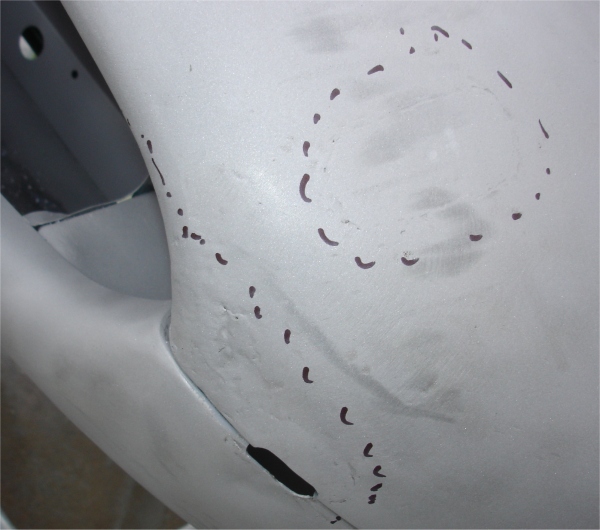
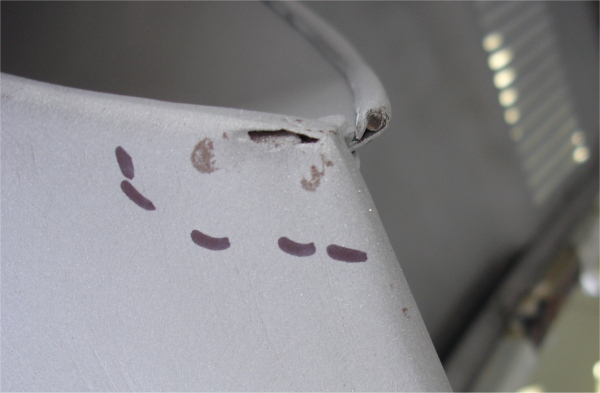
The following photographs show some of patch repairs in the bonnet, highlighted with a marker pen.
 |
 |
 |
 |
 |
 |
 |
 |
 |
 |
 |
 |
 |
 |
|
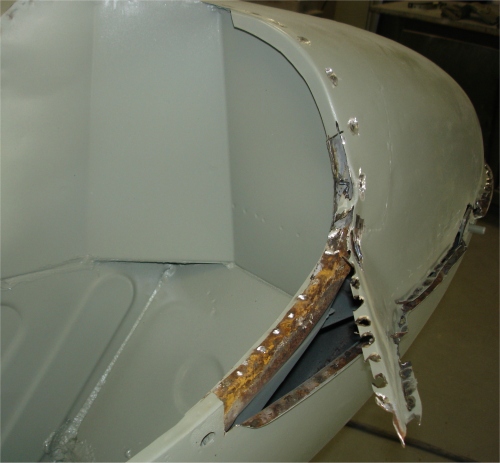
We finally received the car back from the blasters and unfortunately, the news is not good. The people that do our media blasting tell us that they have never seen as much bondo on a car - ever. Unfortunately, the car has been subjected to some poor bodywork where bondo has been wiped over rust and holes.It is difficult to demonstrate in the photographs, but basically the entire bodyshell (and the bonnet) is comprised of dozens and dozens of crudely welded together patches. The boot compartment (and in particular the lower 3/4 panels) is completely out of shape and needs major surgery. Both inner sills are paper thin and have a number of rust holes. The engine subrame mounting brackets need replacing, as do the front kick panels, the bulkhead side panels and the left hand shut face panel. Hopefully we will be able to save the floors (which are new) although the new outer sills will be destroyed during removal. Both doors look good. The boot lid has some problems but they can be very easily repaired (holes where a boot rack used to be fitted). The bonnet is something of a disaster area. It was originally from a different car (as evidenced by the early horn mounts behind the headlamps). In any vent, it is way beyond economical repair. Parts of the underside are so badly pitted that it already has holes through the center section
The cylinder head on your engine is from a RHD Daimler Sovereign. The differential, although labeled as a 3.54 is actually a 3.77.
 |
 |
 |
|
|
|
|
 |
 |
 |
|
|
|
replaced |
 |
 |
 |
|
|
|
|
 |
 |
 |
|
|
|
|
 |
 |
 |
|
|
|
|
 |
 |
 |
|
|
crudely wleded patches |
|
 |
 |
 |
|
|
panel |
|
 |
 |
 |
 |
 |
 |
 |
 |
 |
|
|
|
|
 |
 |
 |
 |
 |
 |
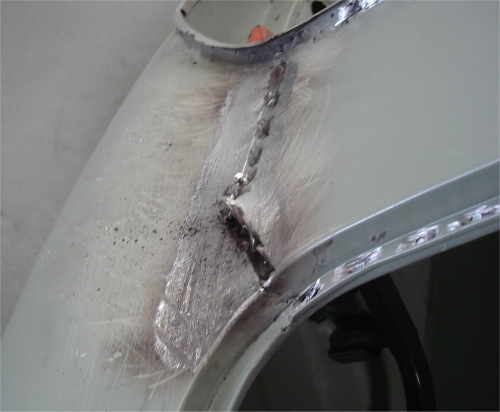
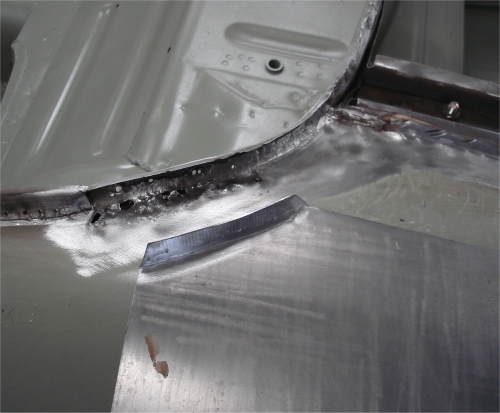
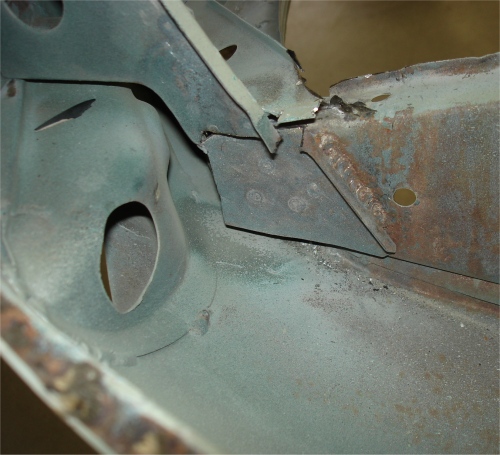
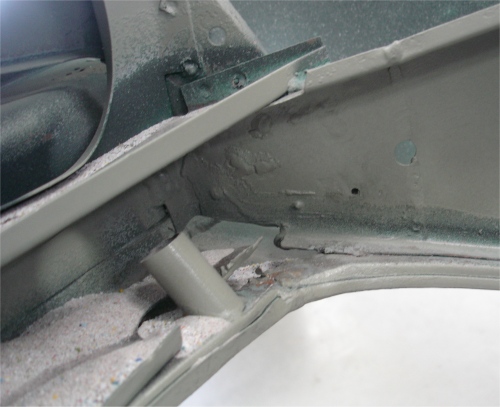
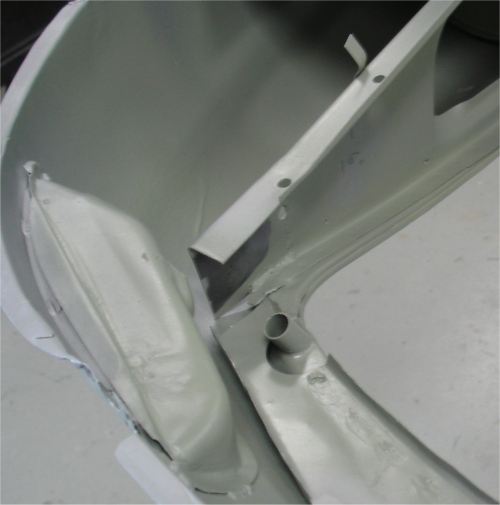
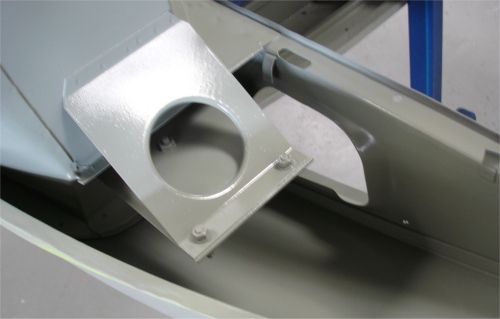
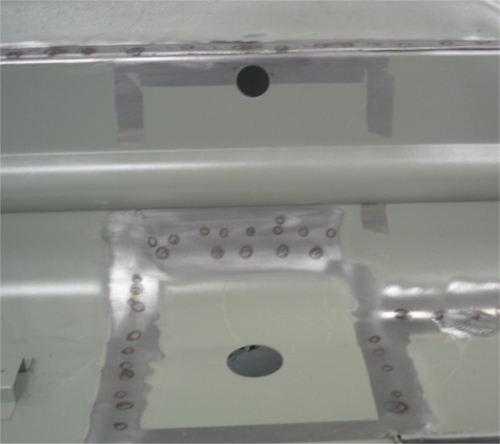
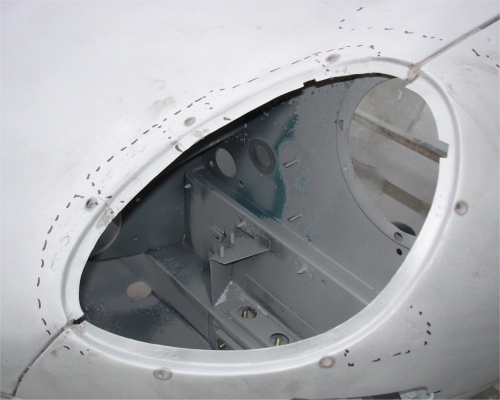
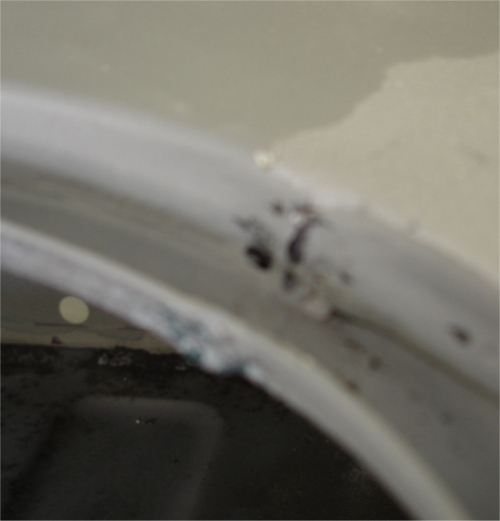
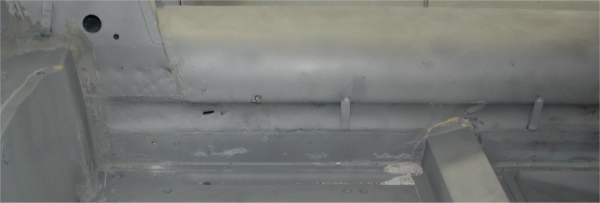
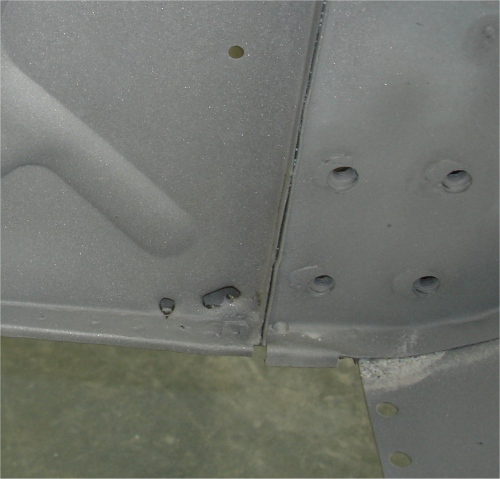
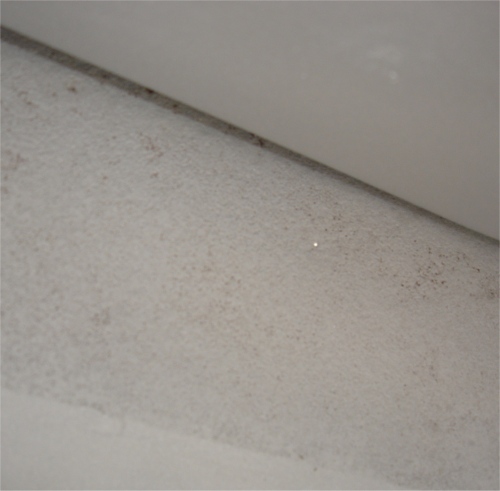
Much can be learned from the following sequence of photographs. The first half dozen images show some suspect areas inside the boot compartment. The edges of the boot floor (and adjoining lower 3/4 panels) should be welded to the curved brackets on each side of the boot compartment. In fact, they are not attached at all. On the right hand side, it is possible to put my fingers between the two panels which should be spot welded together (see photograph # 2). There are also some strange weld repairs that I have marked with a series of x's. It will be very interesting to see what lurks beneath the paint after the car has been blasted back to bare metal.The photographs showing the paint, primer and bondo being removed in chunks demonstrate very clearly what happens when bondo (or primer, for that matter) is applied over a surface that is not totally clean. Basically, the bondo never properly adhered to the metal and has been lifting and moving since the day it was applied. If you look at the backside of the bondo (photos 9, 13 and 14) you can still clearly see dirt and surface rust that was never completely removed when the car was stripped.
We will obviously know more once we have the car back from the blasters, although we already know why the paintwork was bubbling and shrinking.
 |
 |
 |
 |
 |
 |
 |
 |
 |
 |
 |
 |
 |
 |
 |
 |
||
Another CJ restoration gets underway!
 |
 |
 |
|
container was an adventure |
|
|
 |
 |
 |
|
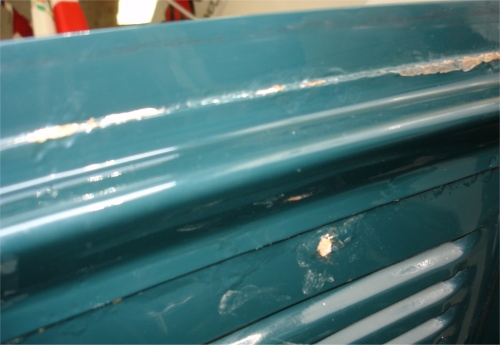
beneath the paint |
||
 |
 |
 |
|
|
||
 |
 |
 |
|
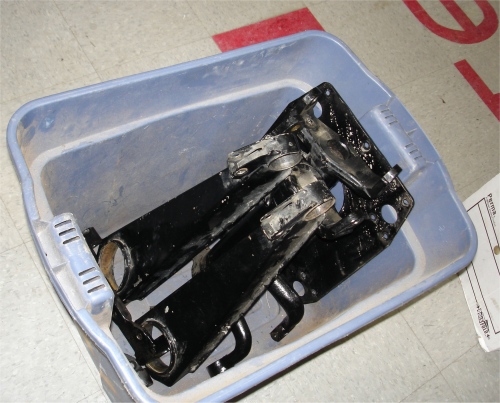
away from rest of hinge frame |
|
|
 |
 |
 |
|
|
|
|
 |
 |
 |
|
|
all the sound deadening material! |
|
 |
 |
|
|
|